There is a specific kind of Saturday afternoon that every cat owner knows. You are home, your cat is doing the thing where they clearly want entertainment but are too dignified to ask for it directly, and you are vaguely aware that the bag of cat toys in the closet contains nothing that has held their interest for longer than forty seconds in the past three months. You could drive to the pet store. Or you could look around your house at the cardboard boxes, the old t-shirts, the toilet paper rolls, the sisal twine, and the fabric scraps you have been meaning to use for something — and make something better, for free, in the next two hours.
That second option is this article. Twelve cat accessories you can make this weekend from materials you almost certainly already own, organized from the simplest five-minute project to the most satisfying afternoon build. Every single one here has been cat-tested by the collective experience of thousands of cat owners who shared their results on Pinterest — and the cats, without exception, approved.
Why Homemade Cat Accessories Work So Well
DIY projects are a lot of fun, and your cat will be happy to have new toys. Plus, you have control over the materials used. Most big-box pet companies use toxic materials that are dangerous to pets. With DIY and handmade, you know your cat is safe.
The scent argument is particularly important for accessories that your cat will interact with daily. Commercial toys arrive in plastic packaging, smelling of warehouses, synthetic materials, and the handling by many strangers. Homemade accessories arrive smelling of your home, your hands, and materials your cat has already assessed as safe and familiar. The adoption rate of a homemade toy versus a store-bought toy is consistently higher for this reason alone, and experienced cat owners notice it within the first play session.
Regularly inspect and maintain your DIY creations to ensure they remain safe and engaging for your feline friend. The lifespan of your DIY cat toys depends on several factors, including the materials used, frequency of use, and individual cat preferences. One practical advantage of making your own is that when something wears out — which it will, because a cat who loves a toy destroys it — you can make an identical replacement in twenty minutes rather than finding it out of stock or discontinued.
The No-Tool Accessories — Five Minutes Each
1. The T-Shirt Braid Toy
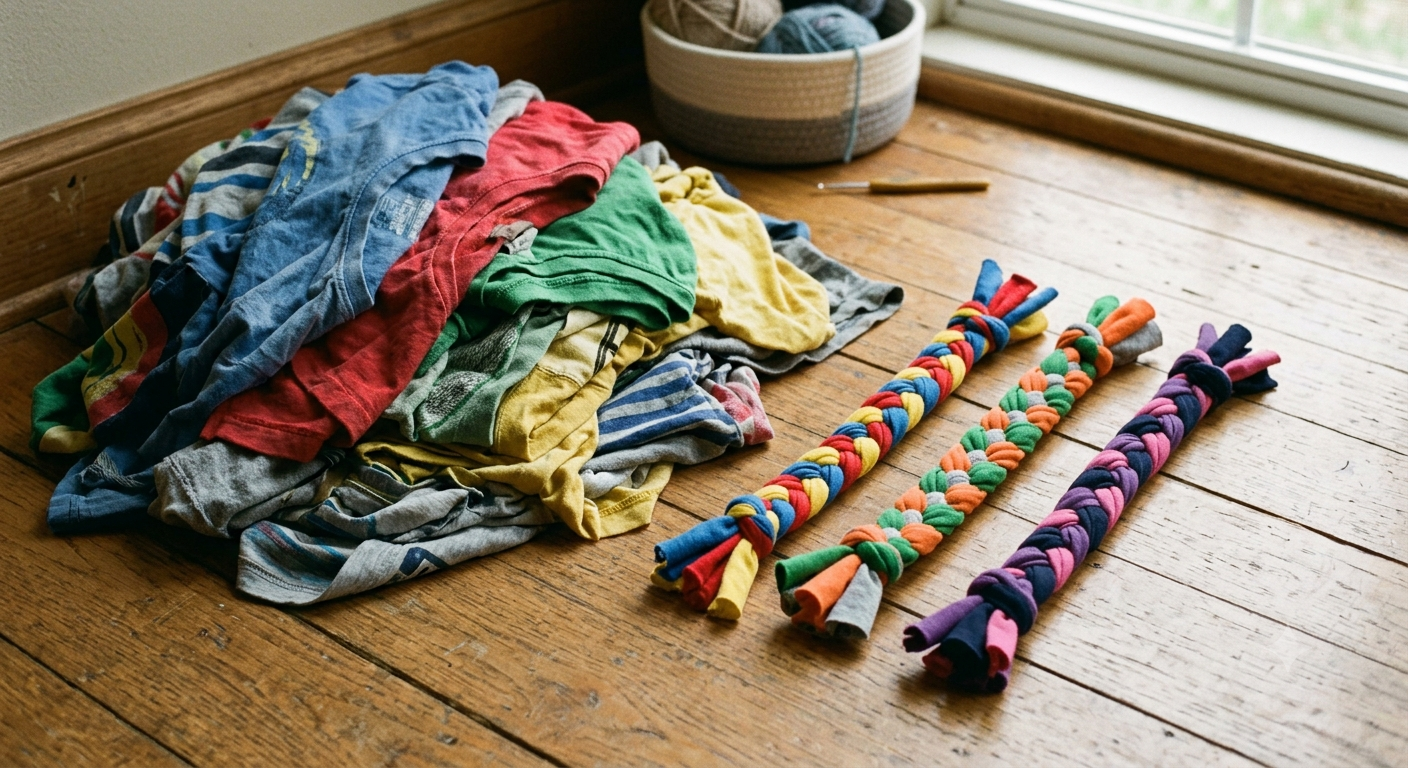
This cute cat toy makes it easy to upcycle old t-shirts. Cut the shirts along the sides and seams. Use a ruler and pencil to mark off evenly sized strips. Make the strips nice and wide to avoid giving your pet a toy that can cause an abdominal obstruction. Then cut the strips and pile them on top of each other as neatly as possible.
Take an old t-shirt and cut across the body to create loops of fabric. Cut each loop open into a long strip. Hold three strips together at one end and braid them tightly, knotting both ends to prevent unraveling. The finished braided rope is a pull toy, a chasing toy, and a biting toy in one — the soft fabric is gentle on teeth, the texture holds cat interest, and the slight stretch makes it responsive in play.
Important safety note: never leave long fabric strips unattended with a cat. They are for supervised play only. Keep an eye on your pet while they’re playing with their toy, as it can be dangerous if they manage to free a long, thin piece of fabric and ingest it.
2. The Toilet Paper Roll Treat Dispenser
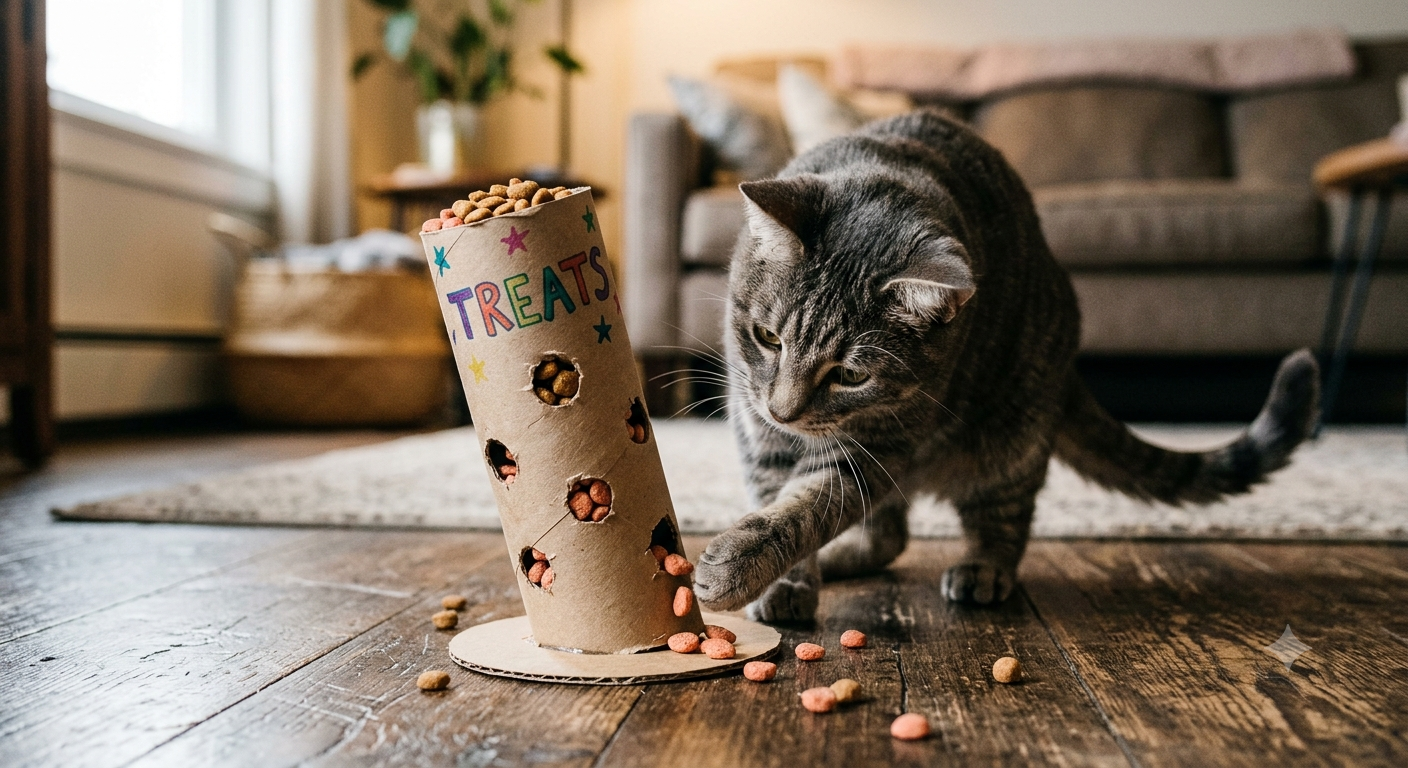
For toilet paper roll toys, you have so many different options. You can make treat-release toys, wand toys, or a scratcher with sisal rope.
Fold both ends of a toilet paper roll inward to close them — no glue or tools needed. Make three or four small slits around the middle of the roll with scissors, just large enough for a treat to fall through when the roll is batted and rolled. Add five to ten small treats inside before sealing the ends. This puzzle feeder is the entry point to enrichment feeding — it makes your cat work for every treat, engages their problem-solving brain, and can be made new every day from materials destined for the recycling bin.
For a more complex version, collect six to eight rolls, arrange them in a hexagonal cluster, and secure with a rubber band or a single piece of tape. Fold the ends of alternate rolls in different directions so some treats fall out easily and others require more manipulation. The variation in difficulty keeps cats engaged for significantly longer than a uniform dispenser.
3. The Catnip Sock Mouse
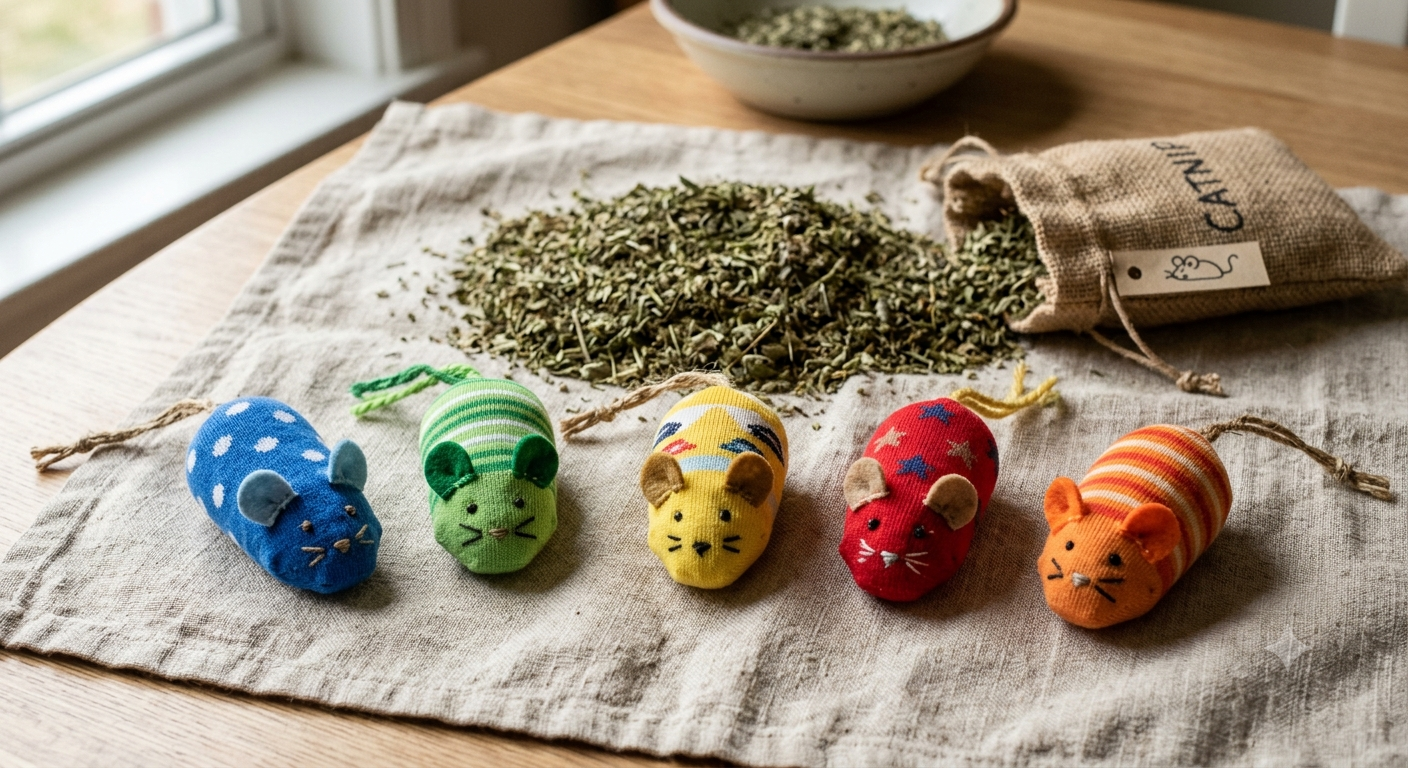
Take a clean, worn sock — ideally one without a pair, solving two problems simultaneously. Fill it with dried catnip to about one-third of its volume, then stuff the remainder with polyester fiberfill. Tie a knot at the top as close to the stuffing as possible. If you want mouse ears, cut two small triangles from a contrasting fabric and hand-stitch them to the tied top. Add a length of yarn as a tail, tied securely through the fabric with several knots.
For catnip toys, you will need some fabric, a needle and thread, scissors, and a cardboard cutout. Use premium organic catnip for the best response from your cat. The potency of the catnip matters more than the construction sophistication. A premium organic catnip-filled sock will produce more enthusiastic play than a beautifully constructed toy filled with grocery store catnip dust.
4. The Cardboard Box Castle
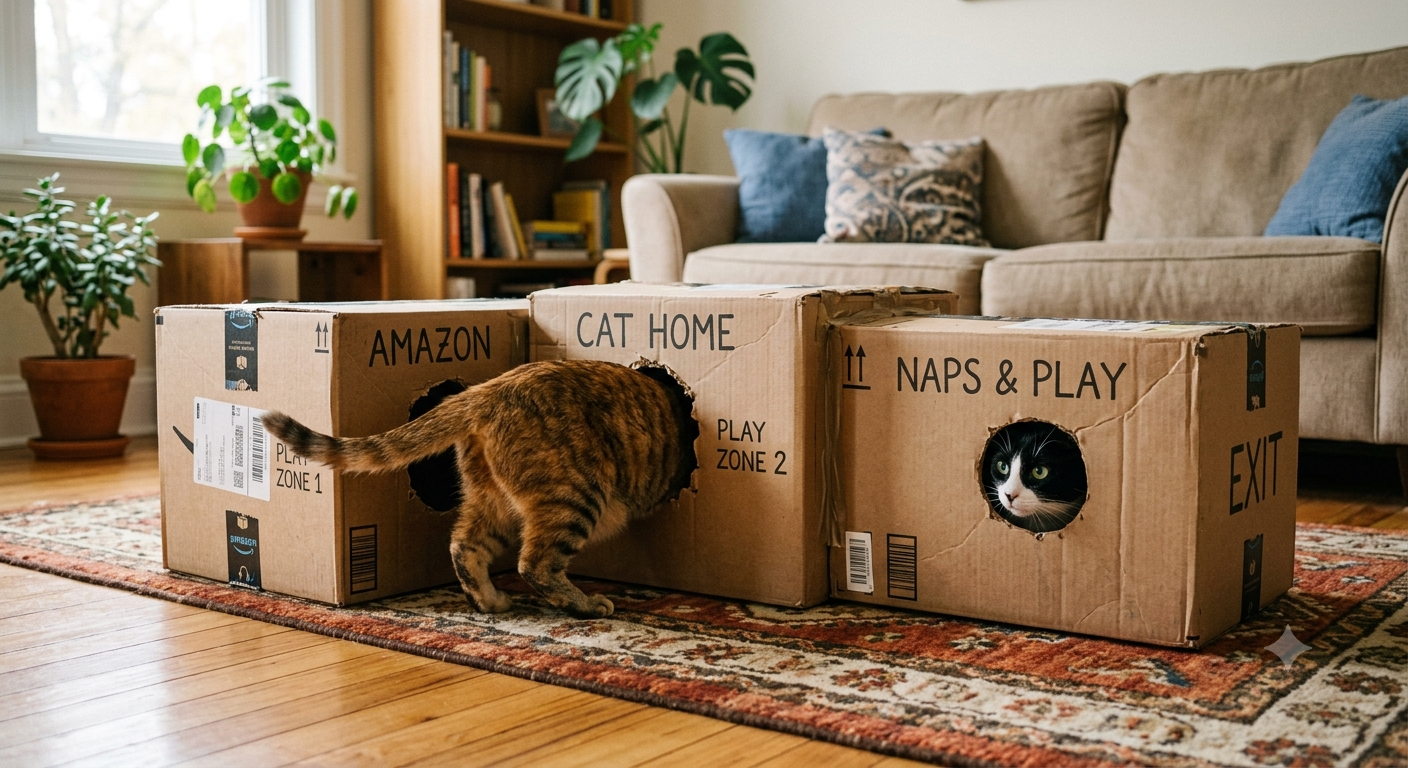
A DIY cat house made from cardboard is a big hit with cats because it’s made from trees. Soften the edges of the holes so your cat doesn’t get scratched.
Take any cardboard box with a lid and cut a circular entry hole in one side using scissors — the hole should be large enough for your cat to pass through comfortably, but not so large that it removes the enclosed, den-like quality they are seeking. Sand or fold the cut edge smooth with no sharp points. Add a smaller peephole on the opposite side for the cat equivalent of a window. If you have multiple boxes, connect them with a cut hole between them so your cat can move from room to room — the tunnel system that results from three or four connected boxes is something cats will use every single day.
Cats’ attraction to cardboard is not arbitrary. Cats love cardboard because it is made from trees, and trees are nature’s scratching post. It provides both the den security of an enclosed space and the scratching surface satisfaction of natural wood fiber. A cardboard box is, from a cat’s perspective, a luxury hiding spot and a high-quality scratch surface in one — the fact that it costs you nothing is entirely a human concern.
The One-Hour Accessories — Satisfying Afternoon Projects
5. The Wire Hanger Cat Tent
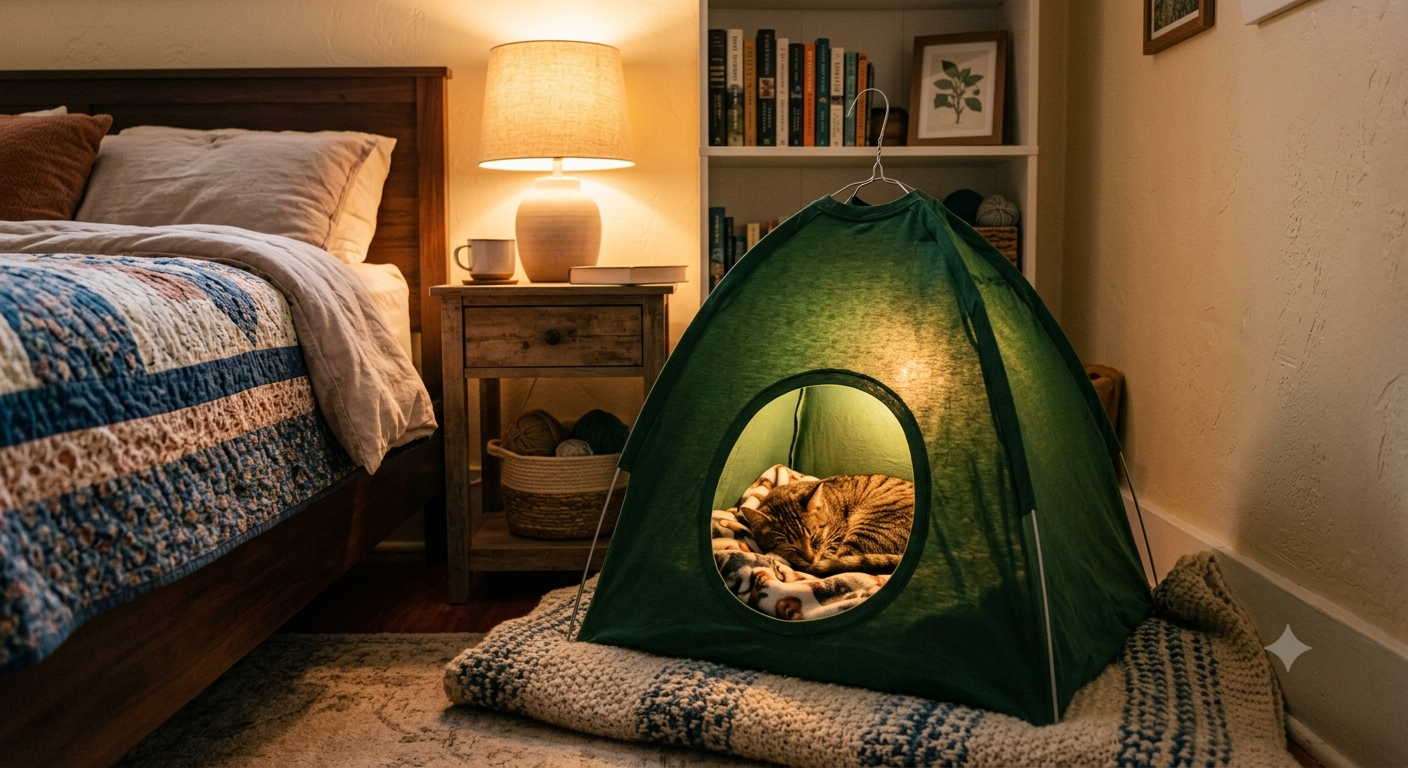
You can make a stylish indoor tent using wire hangers and an old T-shirt. Cats love the cocoon-like feeling, and you will love how simple it is.
Take two wire coat hangers and bend each into a large arc. Cross them at the top and secure where they intersect with a strong rubber band or wire twist. The result is a dome frame. Slip an old t-shirt over the frame with the neck hole as the tent entrance. Pull the shirt taut and secure the hem at the base with a heavy book or clip it to a flat cardboard base. A small cushion or folded blanket inside completes the tent.
The enclosed structure triggers the same denning response as a cardboard box, but with a softer aesthetic and a fabric interior that holds scent beautifully. For maximum adoption, wear the t-shirt for a day before making the tent — your scent in the fabric makes it immediately inviting rather than requiring a week of investigation. This is the project that most consistently appears in “my cat ignored all their toys and is now obsessed with this” posts across Pinterest and Reddit simultaneously.
6. The Sweater Cave Bed
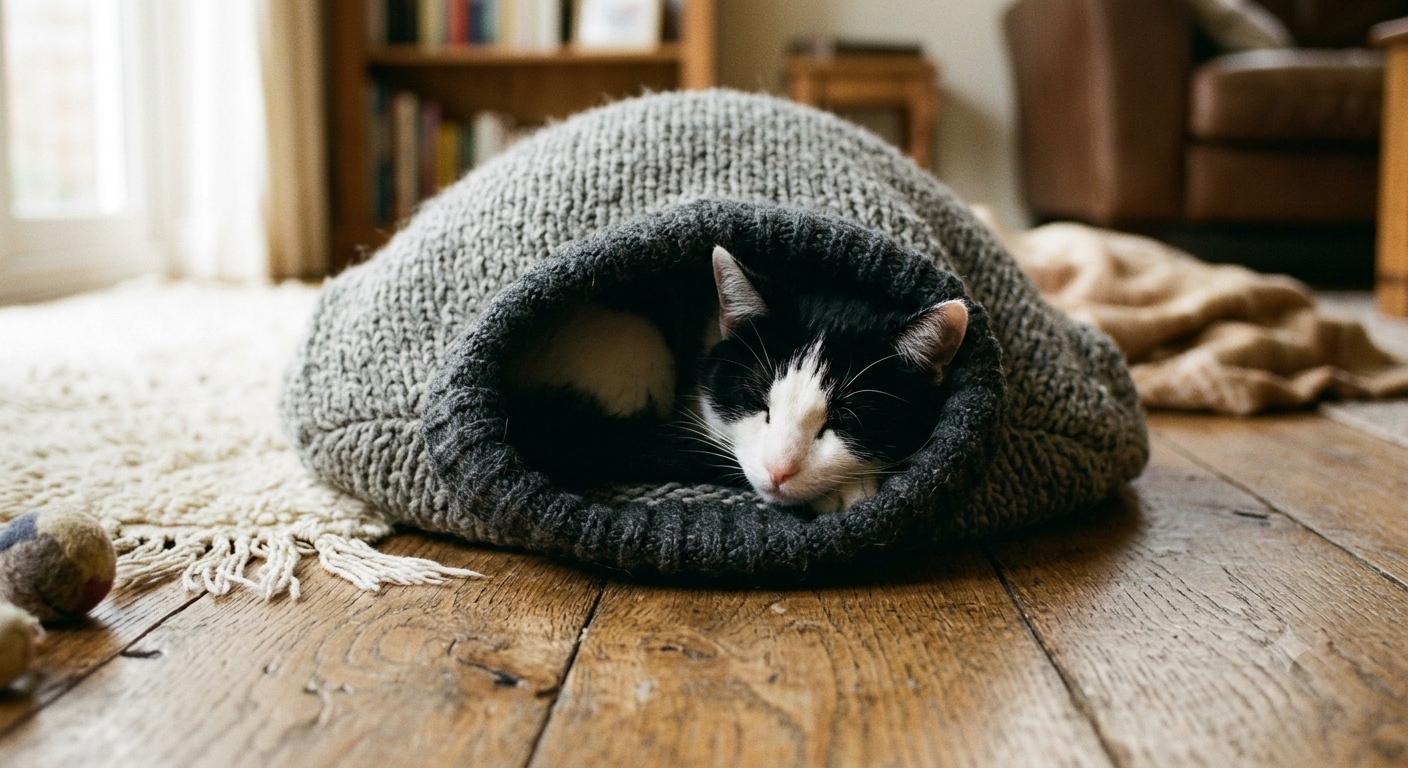
Transforming old items into cozy cat beds is eco-friendly and budget-friendly. Consider turning an old sweater or blanket into a plush cat bed. Cut out a suitable shape from the fabric, add some stuffing, and you have created a snug haven for your feline friend.
Take a thick-knit sweater — turtlenecks work particularly well. Sew the neck, bottom hem, and one sleeve closed using large hand stitches. Stuff firmly with polyester fiberfill, packing it more densely at the back so the bed forms a natural bowl shape with the open sleeve as the entrance. Sew the remaining sleeve closed with the cat’s favorite toy or a sachet of dried catnip tucked inside the body first.
The result is a cave-style bed with soft knitted walls that holds warmth, carries a familiar scent, and has the enclosed quality that anxious or shy cats particularly benefit from. The knit texture also provides a mild sensory stimulation against their whiskers and paws that many cats actively seek. A senior cat with arthritis, placed in a warm sweater cave in a draft-free corner, will typically return to it daily.
7. The Sisal Rope Scratching Mat
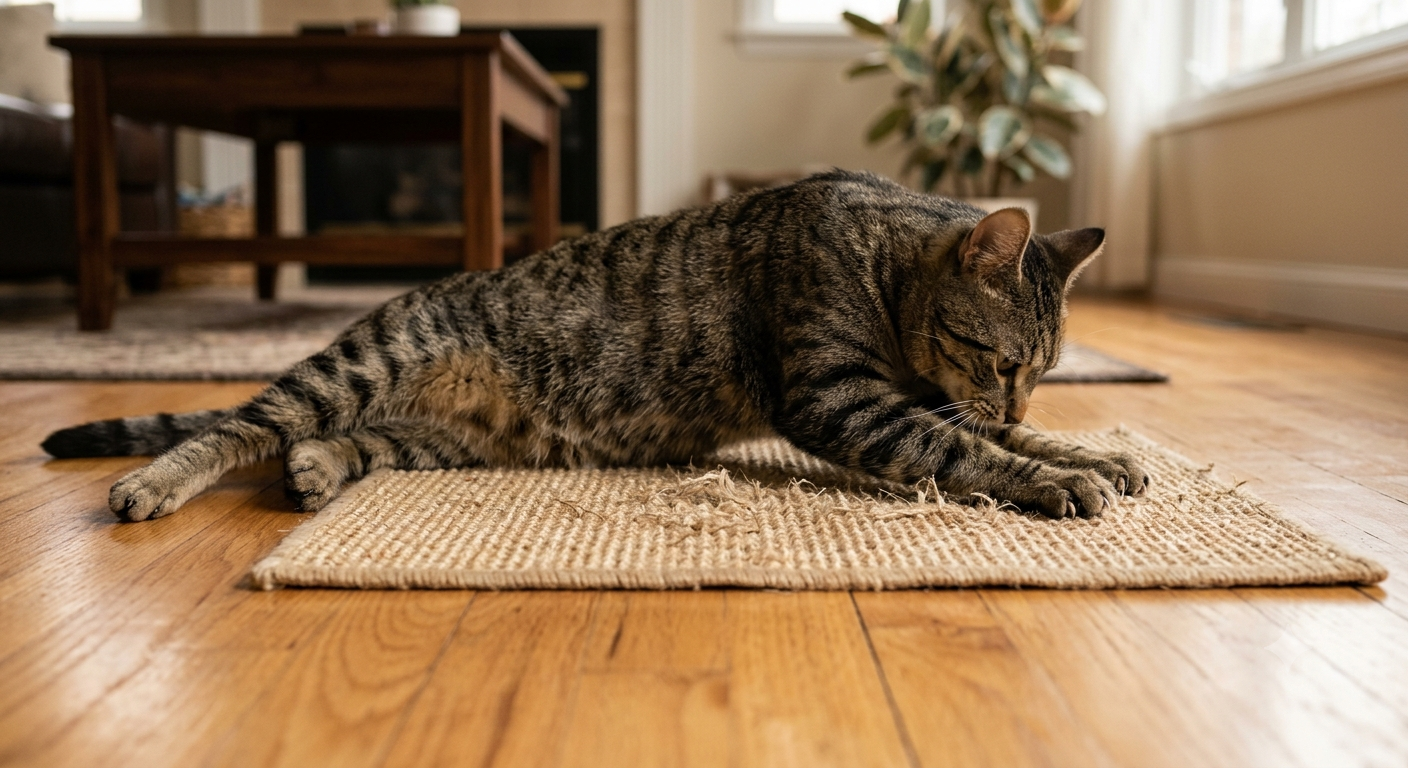
Cut carpet remnants, bath mat, or other shelf covering to size. Wrap sisal rope around posts at desired cat heights, starting by tying a knot at the back and wrapping the rope around the loose end.
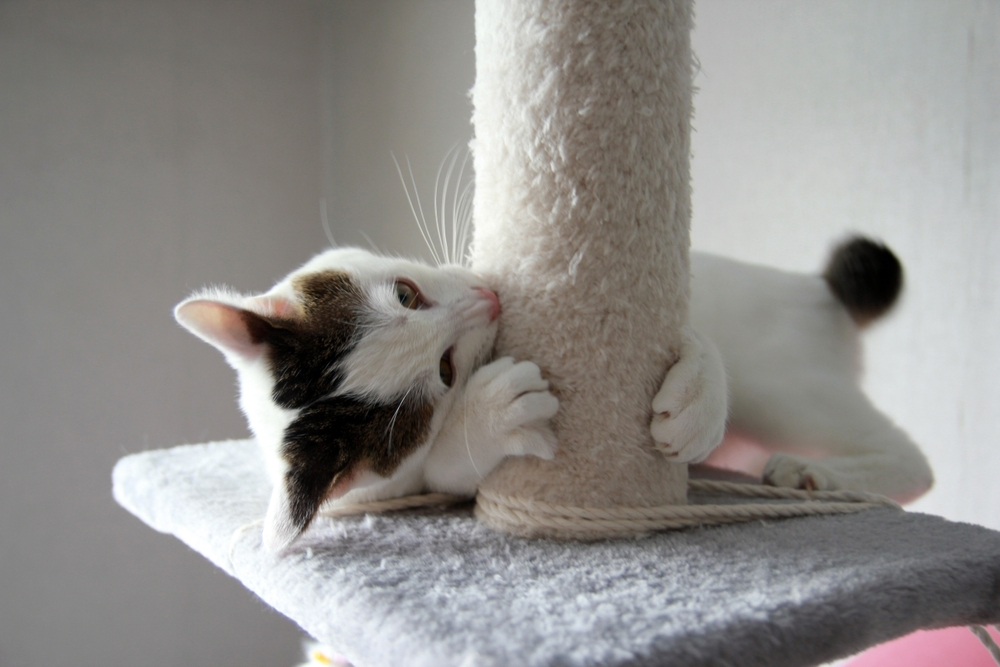
For a flat horizontal scratching mat — which many cats prefer over vertical posts because it allows them to fully extend and scratch forward — cut a piece of plywood to approximately 16×24 inches. Starting at one short edge, apply a line of strong wood glue and press the end of a 50-foot coil of 6mm sisal rope into it. Wrap the rope back and forth in parallel runs across the board, applying fresh glue with each pass and pressing firmly. Weight the finished mat down overnight to cure. The result is a dense, satisfying horizontal scratch surface that protects your rugs, satisfies the cats who scratch floors rather than posts, and is easily replaced when worn out.
8. The Feather Wand Toy
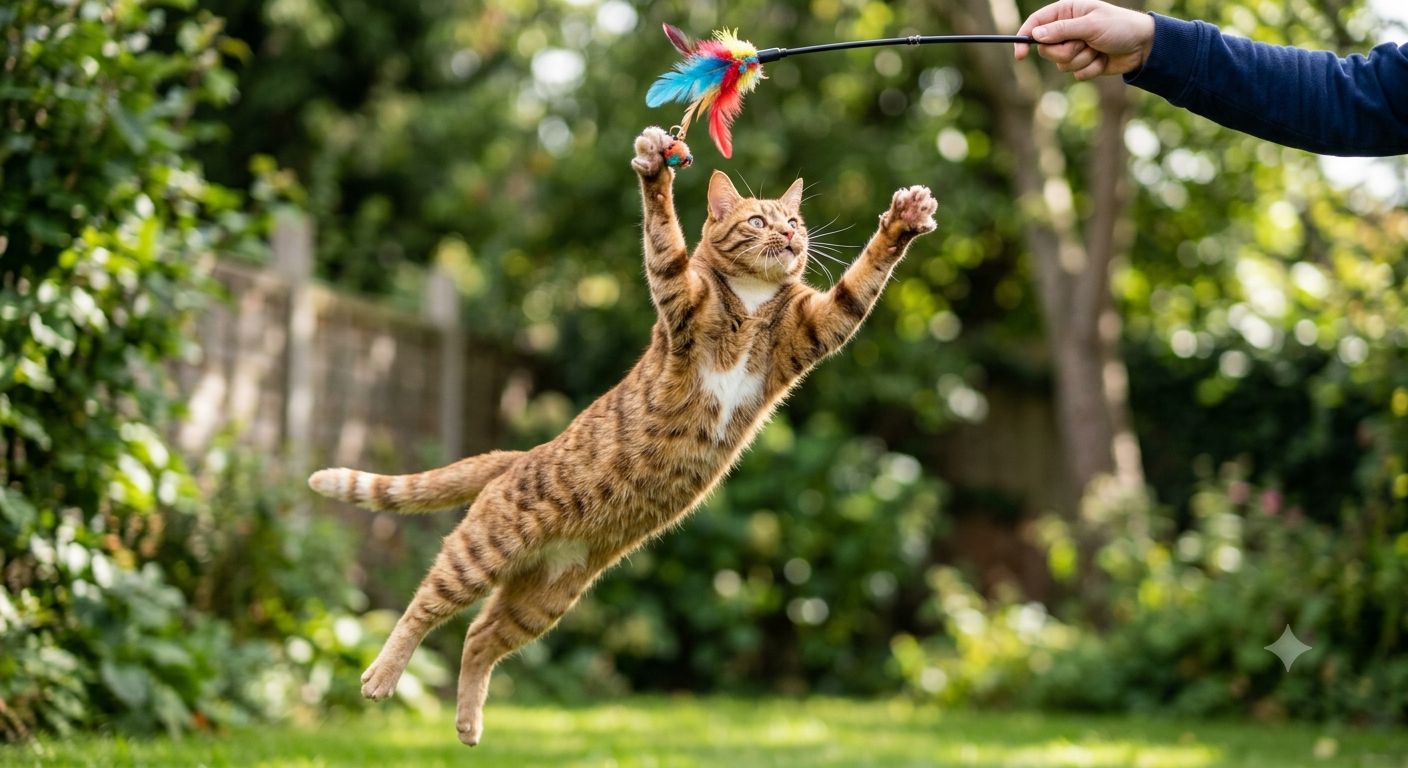
Cut a wooden dowel or repurpose a long chopstick to approximately 18 inches in length. Drill or puncture a small hole at one end and thread a 20-inch length of thin sisal string or paracord through it, knotting securely. To the other end of the string, attach one of the following: a cluster of real feathers gathered with a tight cable tie, a small catnip sachet in a fabric scrap tied with a knot, a crinkled piece of aluminum foil shaped into a ball, or a strip of fleece fabric cut in fringe.
The wand’s effectiveness comes from the specific combination of the handler’s unpredictable movement through the wand, the 20-inch string giving the attachment object its own secondary movement, and the attachment object providing visual, auditory, and scent interest. Move the wand like prey — dart it along the floor, hide it behind furniture, flick it high, and let it fall slowly. The improvised wand almost always produces more excited play than the store-bought equivalent because the handler’s connection through the wand is more direct.
The Afternoon Projects — The Builds That Make the Best Photos
9. The Framed Wall Scratcher
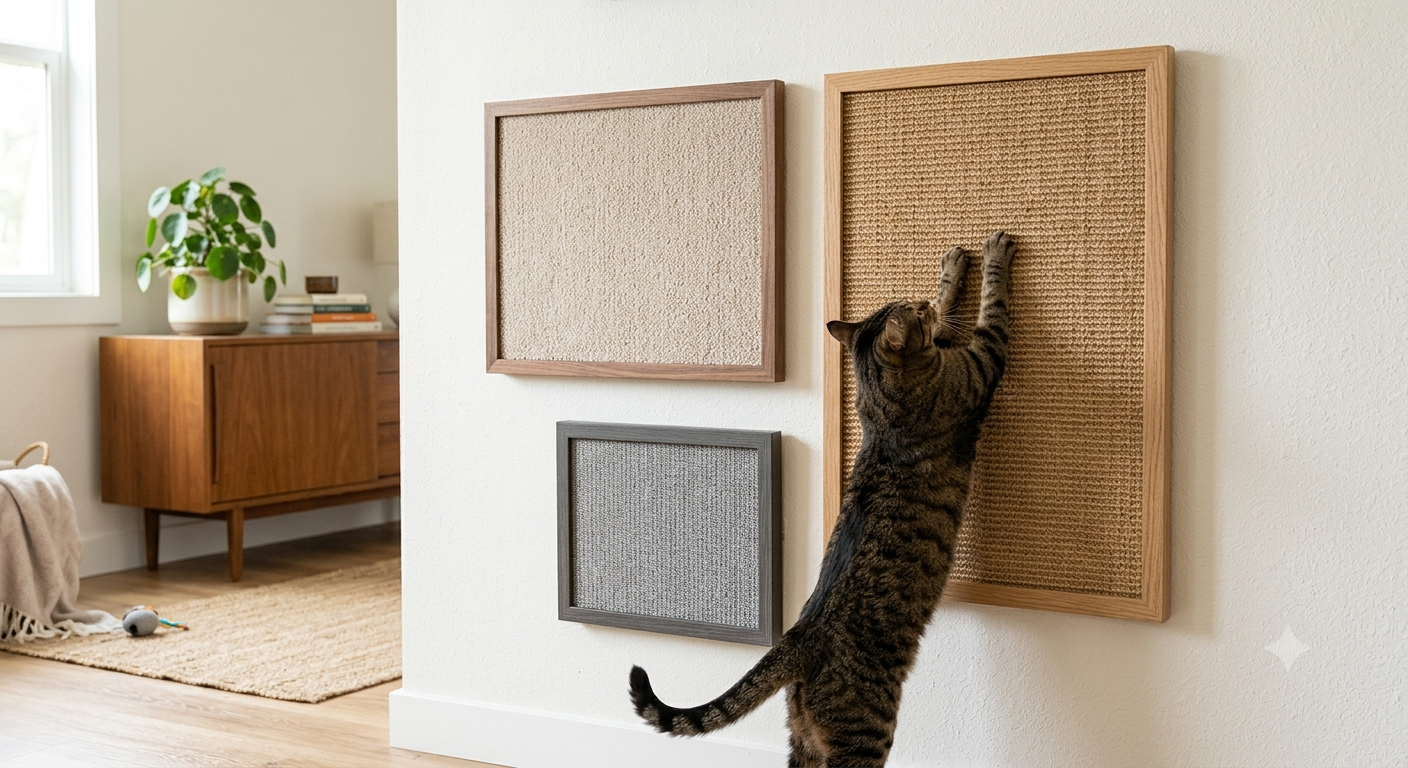
Wall-mounted framed scratchers look fantastic and give cats tons of room to stretch while getting busy with their claws. Head to the thrift store to score frames — you will be removing the glass, so there is no need to be selective about condition. Cut the carpet to the size of the frame’s exterior and securely fasten the back using the included clips.
Buy two or three thrift store picture frames of different sizes — the larger the better for this project, as cats want a full-stretch scratch surface. Remove all glass and backing. Cut a piece of sisal mat, loop carpet, or rough-weave fabric to exactly the outer dimensions of the frame and secure it to the back of the frame using the original picture clips. Mount the finished framed scratcher on the wall using secure adhesive rated for the frame weight — not a hook, which allows movement and will be knocked off. The visual result is wall art that is secretly a cat accessory, and it is one of the most clever camouflage solutions in DIY cat accessories.
10. The Radiator Shelf Bed
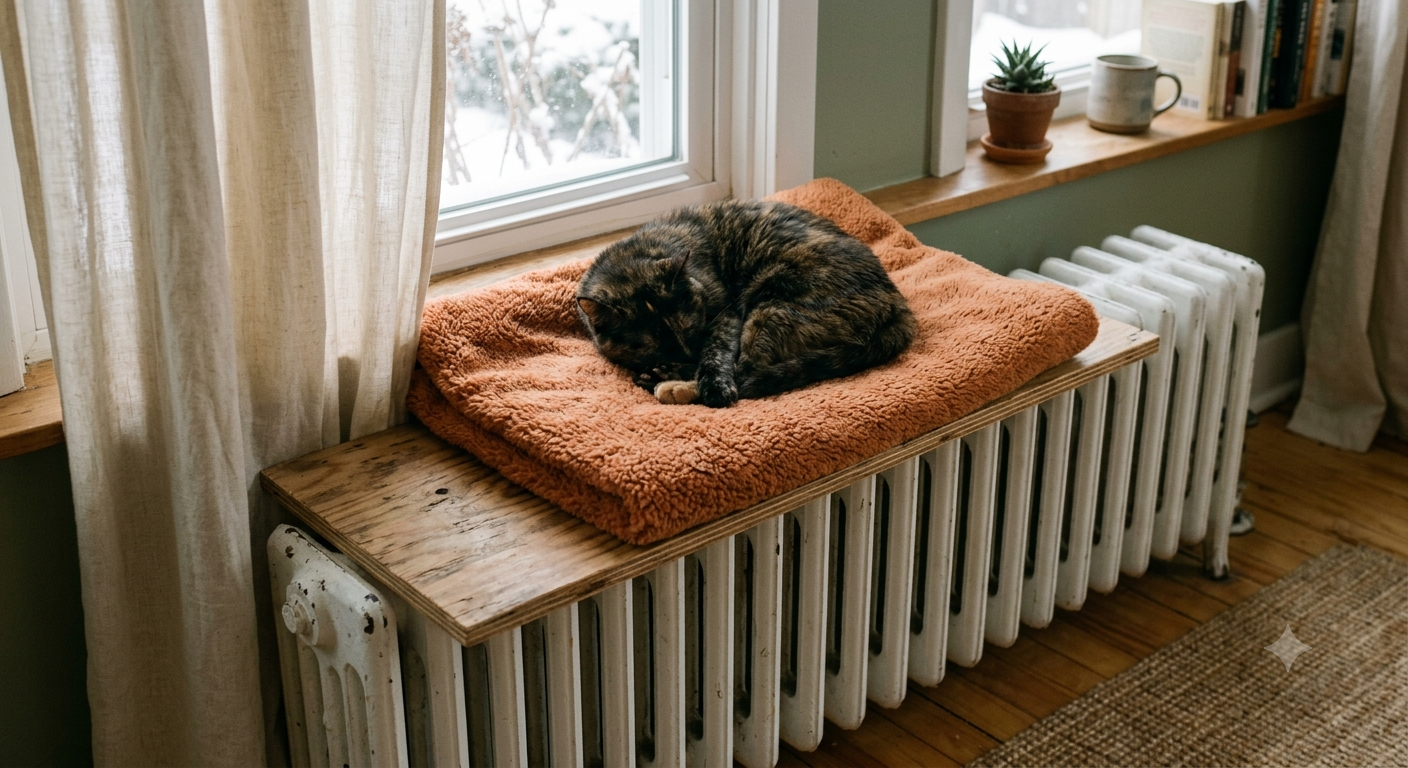
If your home has radiators, make them cozy with a special shelf bed. Your cat will thank you for the constant heat and perfect vantage point.
Cut a plywood shelf to sit snugly across the top of your radiator — measure the depth and width carefully so it rests stably. Round the front corners with sandpaper for a finished appearance. Cut foam to the same dimensions and cover with a washable fabric, stapled to the underside. The finished shelf creates a heated cat bed — the radiator’s warmth rises through the shelf, creating a temperature that is precisely in a cat’s thermoneutral zone. For cats in cold climates, this becomes the single most occupied piece of furniture in the home from October through April.
11. The Upcycled Suitcase Cat Bed
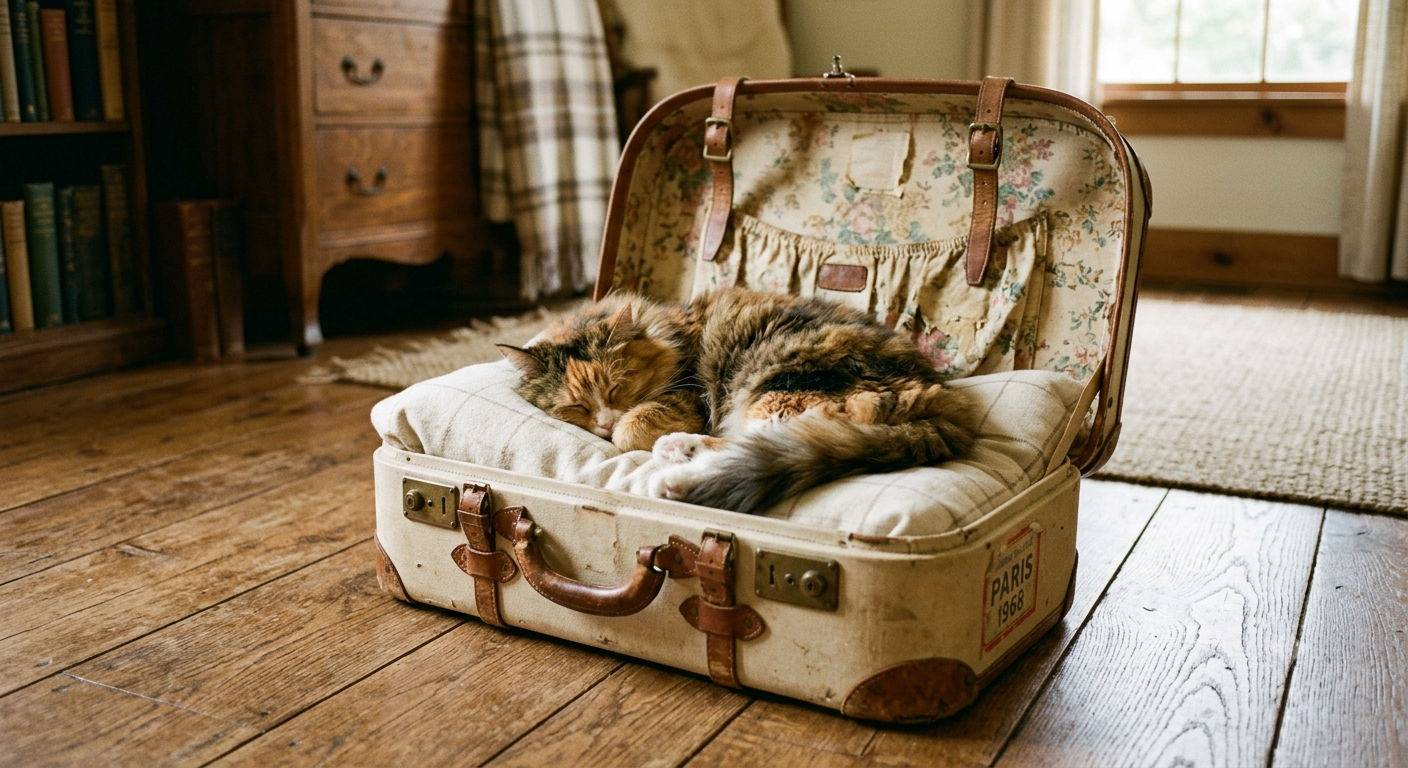
Upcycle a vintage suitcase into a quirky retro cat bed. Just remove the lid or prop it up safely, add a plush pillow, and you have a cozy retreat with tons of personality.
Find a vintage hard-shell suitcase at a thrift store — the round-cornered styles from the 1950s and 1960s are the most visually appealing for this project. Remove or permanently prop open the lid and secure it so it cannot close. Remove the interior lining if worn and replace it with a padded fabric insert cut to fit — a piece of quilt batting wrapped in flannel works perfectly. Position the open suitcase in a corner or against a wall and watch your cat investigate and immediately claim it.
The appeal is the enclosure — the suitcase walls create a defined, walled sleeping space that gives the cat the physical boundary they seek in denning behavior. The vintage aesthetic photographs beautifully and is one of the most consistently saved DIY cat accessory images on Pinterest.
12. The Macramé Cat Hammock

A sturdy macramé swing made with thick rope and a soft base can serve as both a piece of art and your cat’s favorite nap spot.
This is the most visually striking of the twelve accessories and the one most likely to become a centerpiece of your Instagram feed. Cut eight lengths of 5mm natural cotton rope to 120 inches each. Fold them in half over a wooden dowel and tie a gathering knot below the fold. Work basic square knots in groups of four strands across the full width to create the hammock net — three rows of knots spaced 2 inches apart create a sling that holds a cat’s weight comfortably. Gather all strands below the final knot row and secure with a strong gathering knot. Add a small fleece liner inside the sling for comfort.
Hang from a ceiling hook or a wall-mounted dowel bracket. The gentle swing of a macramé hammock, combined with the height from the floor, appeals to the same instincts as a tree branch — elevated, visible, enclosed on three sides by the rope sling, gently moving in a way that mimics the branch sway that cats evolved sleeping in.
The Rule That Makes Every Accessory Worth Making
There is one principle that experienced DIY cat accessory makers come back to consistently: Consider your cat’s preferences when it comes to texture and smell. Some cats love the feel of rough wood, while others enjoy the softness of plush toys. You can also add catnip or treats to make the DIY project more appealing.
Know your cat before you build for them. A cat who never plays with toys will not use the braided rope toy — but will use the sisal floor mat. A cat who avoids all beds will not use the sweater cave — but will use the cardboard castle. The twelve accessories in this guide cover every major feline behavioral preference, and one or several of them will be exactly right for the cat you have. Watch them. Build for who they are. And enjoy the Saturday afternoon of making something useful with your hands, for an animal who will appreciate it in exactly the way they appreciate everything you give them — by using it until it completely falls apart and then looking at you expectantly for the next one.