You have been saving crochet cat bag photos for months. You own a hook. You have a skein of cotton yarn in the exact right color. And you have been telling yourself you will start when you have more time, when you feel more confident, when you find the right pattern. This is the pattern. This is the tutorial that starts at the very beginning — what yarn to buy, how to hold the hook, what every stitch looks like at every stage — and ends with a finished, beautiful, actually usable crochet cat bag in your hands. No prior experience required. No abbreviations you have to look up. No assumed knowledge. Just a cat lover and some yarn turning into something genuinely worth carrying.
This step-by-step tutorial builds the Classic Cat Face Tote from the previous article — the beginner-friendly design with a flat base, straight walls, long handles, pointed ears, and an embroidered cat face on the front. It is the most consistently recommended first crochet bag project in the category, and by the time you finish reading this guide, you will know exactly how to make it.
Part One — What You Need Before You Begin
Yarn
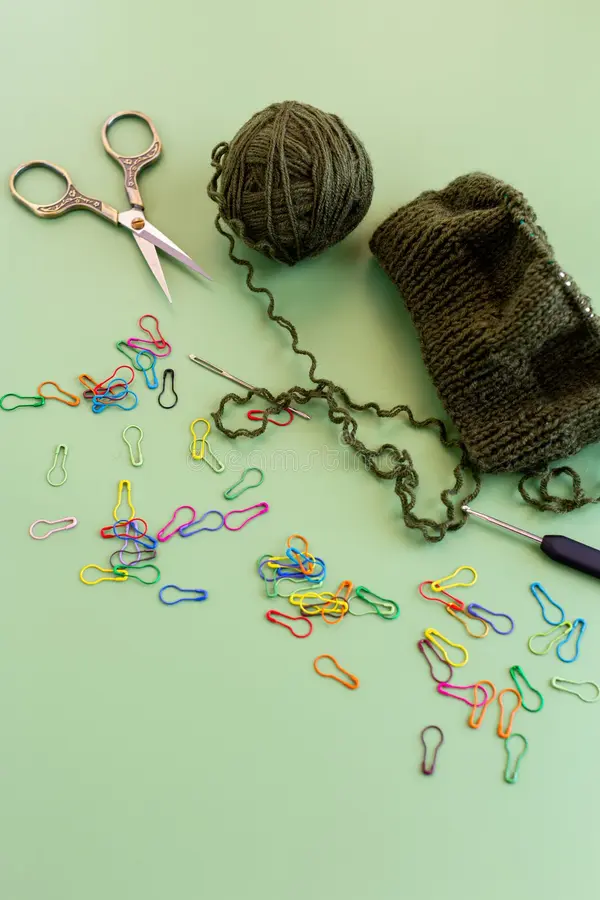
You will need worsted-weight yarn — approximately 3 to 4 oz in your main color. A 4mm (G) crochet hook. Choose a cotton or cotton-blend worsted-weight yarn for your main bag color. Suggestions: Lion Brand 24/7 Cotton in any neutral or bold color, Paintbox Simply DK in a slightly lighter option, or any worsted weight cotton from any craft store. You need approximately 200 yards of the main color for the bag body and handles.
For the cat face details: a small amount — 10 to 15 yards each — of pink, black, and white in sport or DK weight yarn for the embroidered features.
Hook and Tools
A 4mm crochet hook for the main bag body. A 3.5mm hook for the cat face circle and detail work. A yarn needle with a large eye. Stitch markers — at least three. Scissors. Optional: one button for a closure and one small piece of plastic canvas cut to 8×4 inches for the base structure.
Gauge Check
Work a test swatch of 15 single crochets across and 15 rows tall. Block flat and measure. Your gauge should be approximately 4 stitches and 4 rows per inch. If your swatch is smaller than this, go up a hook size. If larger, go down. Consistent gauge produces a bag that holds its shape over time. A bag worked too loosely stretches with use and loses the structured silhouette that makes cat bag designs work.
Part Two — The Stitches You Need
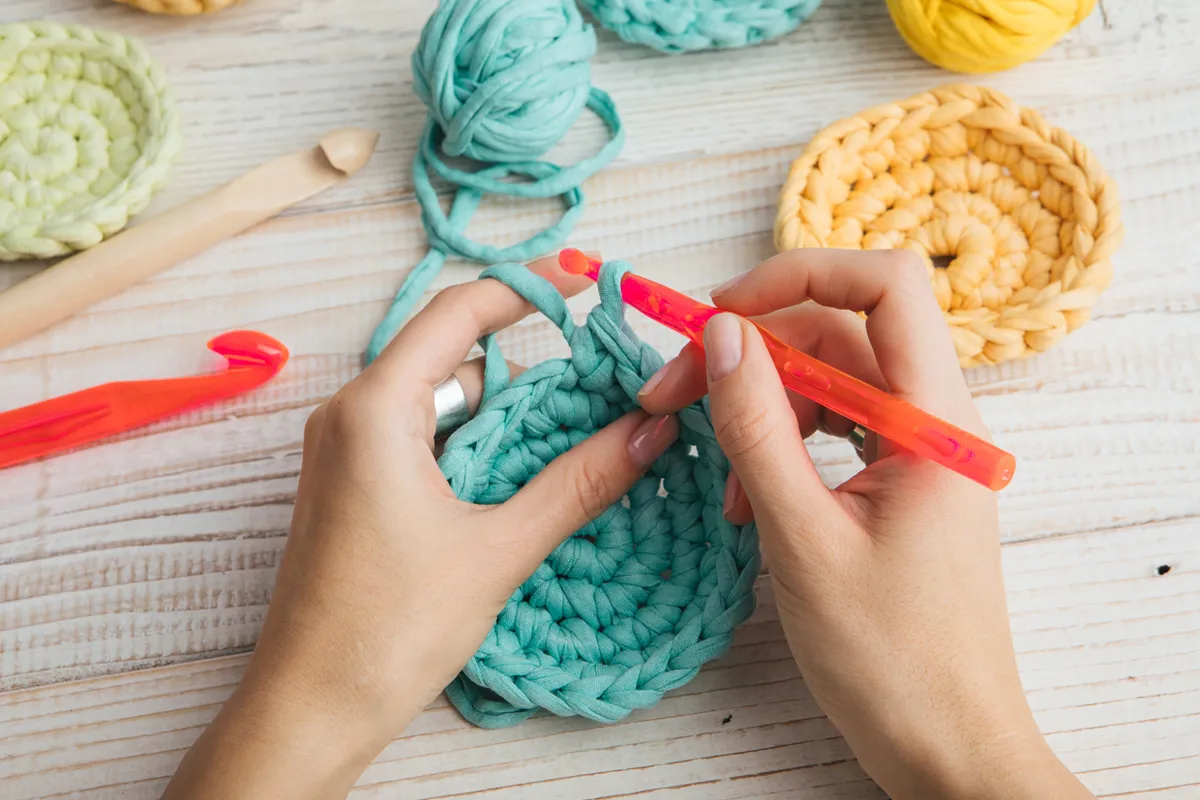
Before you work on any project instructions, practice these four things until they feel comfortable. Everything in this bag uses only these techniques.
The Slip Knot
Make a loop with your yarn, leaving a 6-inch tail. Insert your hook into the loop from front to back. Catch the working yarn with your hook tip and pull it through the loop. Pull both yarn ends to snug the knot onto the hook shaft — it should sit snugly but slide freely. This is your starting point for every crochet project you will ever make.
The Chain Stitch
Yarn over — bring the working yarn from back to front over the hook. Pull the yarn through the loop already on your hook. One chain stitch complete. The chain is the foundation of your bag — it will determine the width. Practice chains until they are consistent in size. Inconsistent chains produce an uneven foundation row.
The Single Crochet
Insert your hook into the stitch. Yarn over and pull up a loop — you now have two loops on the hook. Yarn over again and pull through both loops — one single crochet complete, one loop remaining. This is the only stitch used in the entire body of this bag. The pattern is made using all single crochet stitches.
The Magic Ring
Wrap the yarn twice around two fingers held together. Slide both loops off your fingers. Insert your hook through the center of both loops from front to back. Catch the working yarn and pull up a loop. The magic ring is how the cat face circle begins — it allows you to pull the center closed completely so no hole remains at the center of the circle.
Part Three — Building the Bag Base
Foundation Row
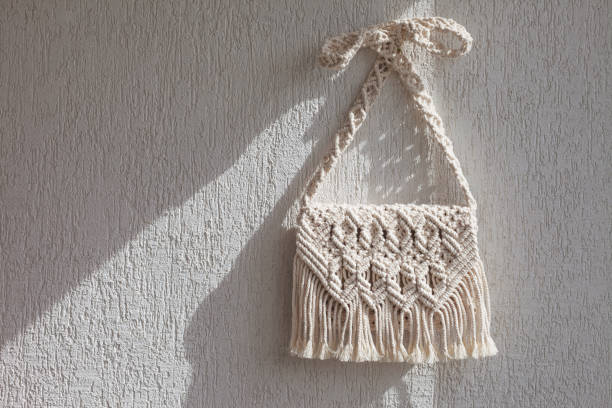
Make a slip knot and place it on your 4mm hook. Chain 36. This gives you the foundation for a bag base approximately 8 inches wide.
Row 1: Single crochet in the second chain from the hook and in every chain across — 35 single crochets total. Chain 1, turn.
Rows 2 through 12: Single crochet in every stitch across — 35 stitches per row. Chain 1 and turn at the end of each row. After 12 rows, your base rectangle measures approximately 8 inches wide by 3 inches tall. This flat rectangle is the bottom of your bag.
Do not fasten off. You will now work up the sides of the bag directly from the base.
Part Four — Working the Bag Walls
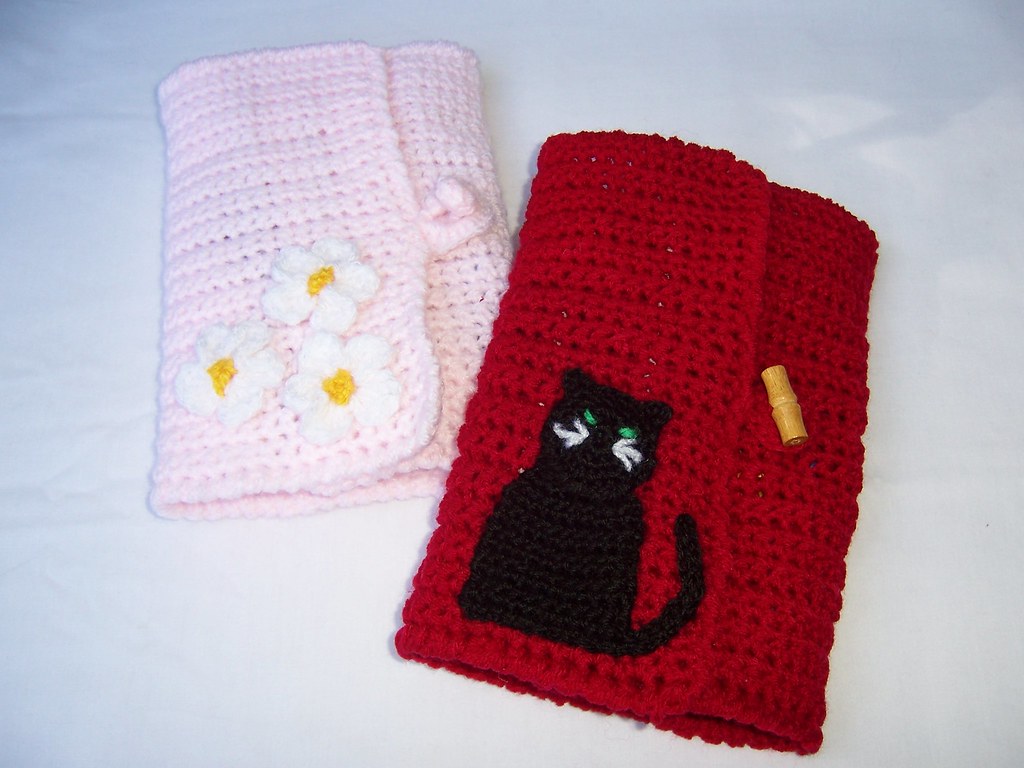
At the end of Row 12, do not turn. Instead, rotate your work 90 degrees clockwise and single crochet down the short side edge of the rectangle — approximately 12 single crochets evenly spaced along the side. At the corner, continue rotating and single crochet across the bottom edge of the foundation chain — 35 stitches. Continue around the remaining short side and back to your starting point. Join with a slip stitch to the first stitch of the round. Place a stitch marker in the first stitch of this round and move it up at the start of each subsequent round.
You are now working in continuous rounds, no turning. Single crochet in every stitch around for 24 rounds without any increases or decreases. Each round builds the wall height. After 24 rounds, your bag walls are approximately 6 inches tall — a standard tote height that holds everyday essentials comfortably.
At the end of round 24, slip stitch to close the round and fasten off. Weave in the end using your yarn needle. Your bag body is complete.
Part Five — The Ear Panels
The ears are worked flat in rows separately and sewn onto the top edge of the bag front.
Make the first ear: Chain 8. Single crochet across — 7 stitches. Chain 1, turn. Row 2: Increase in the first stitch, single crochet to the last stitch, increase in the last — 9 stitches. Rows 3 through 5: Increase at both ends every row — you reach 15 stitches by Row 5. Rows 6 and 7: Single crochet even, no shaping. Row 8: Single crochet 2 together at the beginning, single crochet across to the last 2 stitches, single crochet 2 together — 13 stitches. Rows 9 through 12: Continue decreasing at both ends every row until 5 stitches remain. Slip stitch across and fasten off.
Make an identical inner ear piece in pink yarn that is one row smaller on each dimension. Lay the pink piece centered on the main ear piece and slip stitch around the edge to join. Repeat for the second ear.
Position each ear on the top edge of the front bag panel — place the center of each ear base at the one-third and two-thirds points across the front top edge. Pin in place and sew down through the base of each ear using the yarn needle and a length of main color yarn.
Part Six — The Handles
The bag uses straps that can be made longer or shorter depending on how many rows you make.
Make two handles: Chain 5. Single crochet in the second chain from the hook and across — 4 stitches. Chain 1, turn. Repeat for 60 rows — this produces a handle approximately 15 inches long. For a longer shoulder handle, work 90 rows. For a crossbody length, work 120 rows. Fasten off, leaving a long tail.
Position each handle 2 inches in from either side edge on both the front and back panels. Using the yarn needle, sew each handle end securely through 4 to 6 rows of the bag wall on each side — running the needle back and forth at least 6 times through the attachment points before fastening off. The handles must be reinforced beyond what looks sufficient because this is the highest-stress point on any bag.
Part Seven — The Cat Face
The cat face is the detail that transforms a plain tote into a crochet cat bag, and it is worked entirely separately so you can perfect the face before committing it to the bag front.
The Face Circle
Using the magic ring and your 3.5mm hook with face-colored yarn: Work 6 single crochets into the magic ring. Pull the tail to close the center hole. Round 2: Increase by 12 stitches in every stitch. Round 3: Single crochet 1, increase, repeat around — 18 stitches. Round 4: Single crochet 2, increase, repeat around — 24 stitches. Round 5: Single crochet 3, increase, repeat around — 30 stitches. Round 6: Single crochet even around — 30 stitches. Slip stitch to join. Fasten off, leaving a long tail for sewing.
Embroidering the Features
Thread your yarn needle with black yarn. The eyes: embroider two small oval shapes approximately 0.75 inches in diameter at the 10 and 2 o’clock positions on the face circle. Fill each oval with satin stitch — parallel horizontal threads packed tightly together until the oval is solidly filled. Add a small white highlight dot at the upper right of each eye using white yarn and a single straight stitch.
The nose: thread the needle with pink yarn and work a small upside-down triangle at the center of the face circle using 3 straight stitches fanning from a central point. The nose triangle should be approximately 0.4 inches across at the base.
Using a tapestry needle, you can stitch the inside of the ears, nose, whiskers, and mouth. You can use a French knot for the eyes, or embroider them as you did the other features.
The whiskers: thread with black yarn or black embroidery floss for finer lines. Push the needle through the face circle from back to front, approximately 0.5 inches to the left of the nose, and bring it back through 1.5 inches to the left — creating one whisker line. Repeat for a second parallel whisker on the same side. Mirror both whiskers on the right side of the nose. Three whiskers per side is the classic cat look.
The mouth: using black yarn, work a small inverted V below the nose center point and a small curved line from each base of the V downward and outward. This gives the cat a subtle smile that reads as friendly rather than neutral.
Attaching the Face to the Bag
Center the completed face circle on the front panel of the bag, approximately 1 inch above the center height of the bag walls. Pin it in place and step back to check the centering and the expression before any sewing. Use the long tail to whipstitch around the perimeter of the circle through the bag fabric, keeping the stitches close and even. Fasten off and weave in all remaining ends.
Part Eight — The Finishing Details That Make the Difference
The Base Insert
Cut a piece of plastic canvas to 7.5×3.5 inches — slightly smaller than the bag base so it fits freely inside. Slide it through the bag opening and press it flat against the bottom of the interior. The plastic canvas prevents the bag base from sagging with weight and gives the bag the structured shape that makes it look made rather than homemade.
Optional Lining
I love adding fabric liners to crocheted bags — they make the bag really special, especially as a gift. Cut two pieces of cotton fabric to the interior dimensions of your bag plus a 0.5-inch seam allowance on all sides. Sew the side and bottom seams, leaving the top open. Fold the top edge inward by 0.5 inch and press. Slip the lining inside the bag with the folded edge aligned with the bag’s top opening. Hand stitches the lining to the bag opening using small invisible stitches through the crochet fabric.
The Button Closure
Sew a large decorative button to the center of the back panel, approximately 1 inch below the top edge. At the corresponding position on the front panel, work a chain loop closure: attach yarn at the corresponding position, chain 8, and slip stitch back to the start to form a loop large enough to pass over the button. Fasten off and weave in ends.
Your Bag Is Finished. Now Make It Yours.
The Classic Cat Face Tote is now sitting in front of you — the handles, the ears, the embroidered face, the structured base. It took you longer than any single-evening project and less time than you feared before you started. Every subsequent crochet cat bag you make will take less time than this one because the techniques are now in your muscle memory rather than in your instructions. Make this one. Then make the next one for someone you love. Then make the one after that for yourself in the color you really wanted all along.