There are two kinds of people on Pinterest right now. The ones scrolling past crochet cat bags thinking “I could never make that.” And the ones who already made one and are currently photographing their third. If you are in the first group, this article is your crossing-over moment — because the crochet cat bag is genuinely one of the most achievable, most rewarding, and most photographable projects in the entire crochet universe, and the range of styles available means there is a version that matches exactly where you are in your crochet journey right now. This guide covers eight distinct crochet cat bag styles, what each one looks like, what it takes to make it, and why cat lovers and crocheters around the world are making these faster than any other crochet accessory in 2025.
Before You Start — The Materials That Make Every Crochet Cat Bag Work
Regardless of which style you choose from the eight below, your material choices determine the final result more than almost any other variable. Getting these right before you begin saves you from the frustration of a bag that looks wrong, feels wrong, or falls apart within a month.
The Right Yarn for a Bag That Holds Its Shape
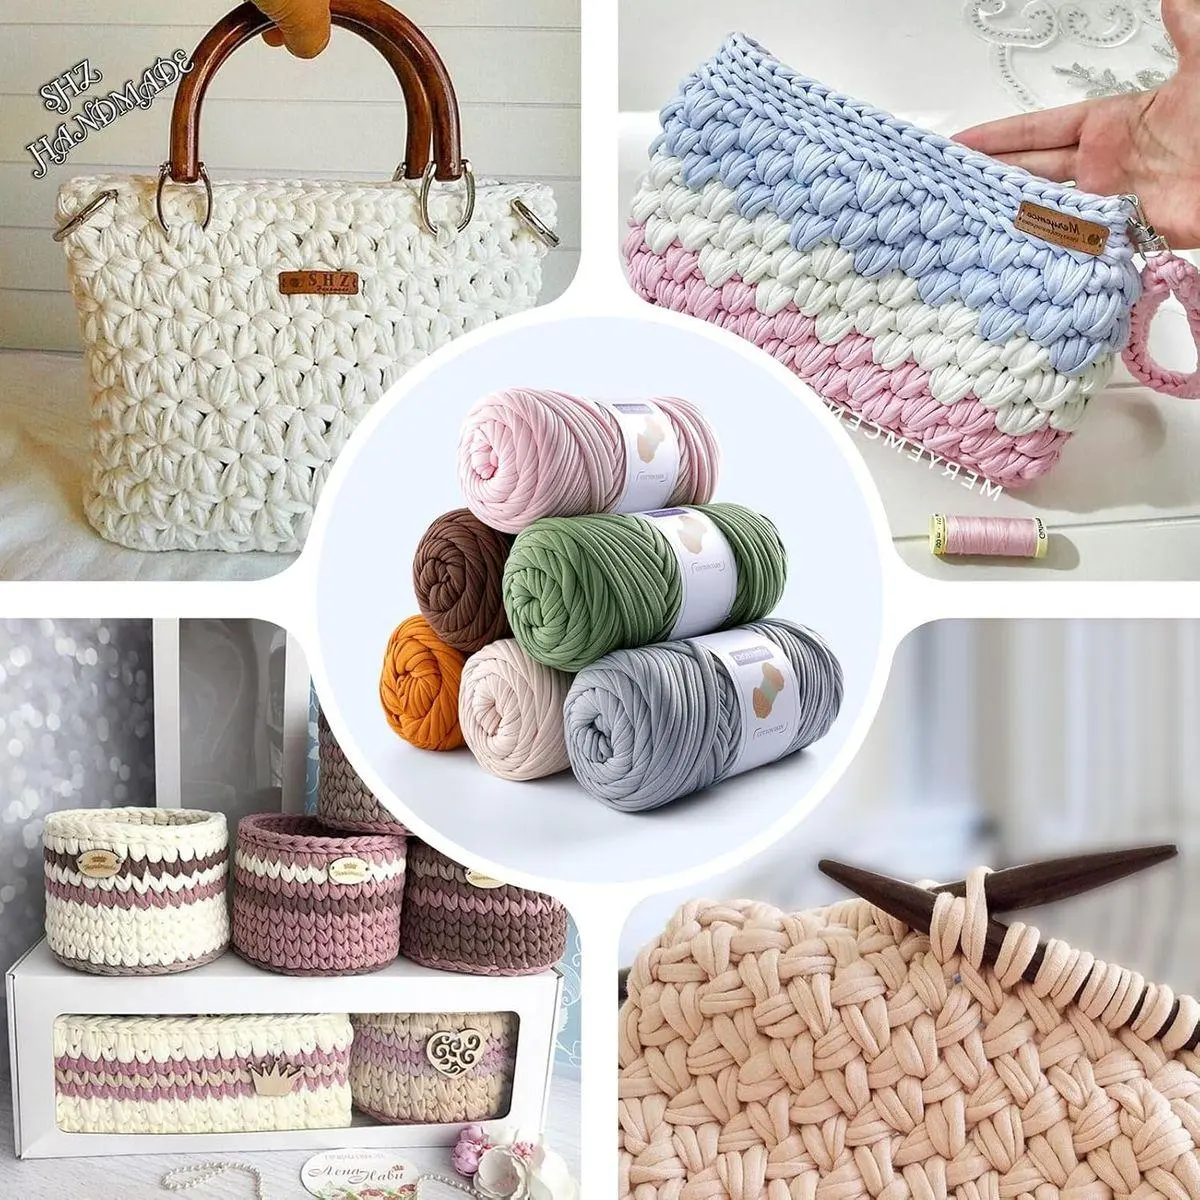
To make a crochet bag, you’ll typically need medium-weight cotton or acrylic yarn for durability and a crochet hook that matches your yarn — usually between 4mm and 6mm. Cotton yarn is the superior choice for bags because it holds its structure without stretching, washes easily, and produces crisp stitch definition that makes cat-face details and colorwork read clearly. Cotton or acrylic yarns work best for durability and structure. Avoid wool yarns for any bag that will be used daily — wool stretches with weight and loses its shape faster than cotton or acrylic when loaded with everyday items.
For the cat face details — nose, whiskers, inner ears — you will need small amounts of contrasting yarn in pink, black, white, and green or amber for the eyes. A 4-ply or sport weight yarn is recommended for the cat’s face, and a 3.5mm crochet hook. For the face features, you will need pink, green, black, white, and light grey yarn. Keep these separate from your main yarn and store them in small labeled bags so you can switch cleanly during the detail work.
The Essential Tools
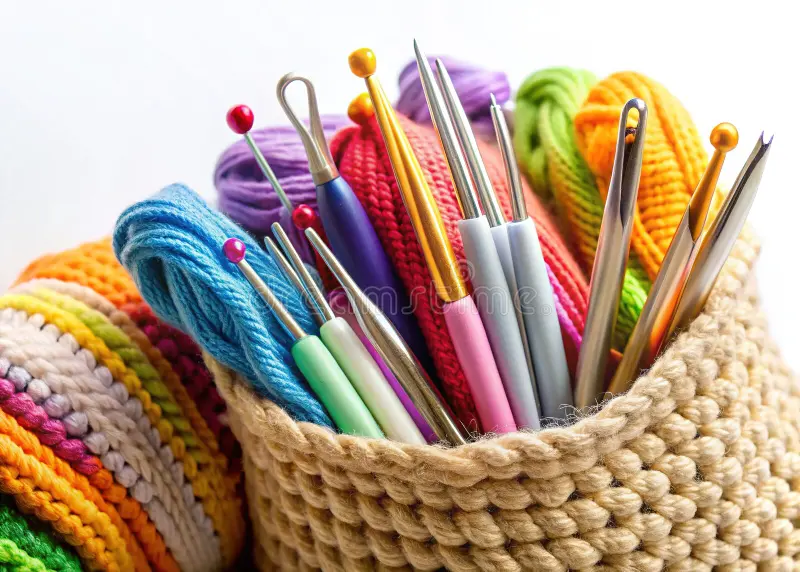
A yarn needle for weaving in ends and sewing pieces together. Stitch markers — even just scraps of contrasting yarn tied in loops — to track your round beginnings. Scissors. A tapestry needle to weave in ends and sew parts together if needed. For bags that need to hold their bottom shape, a piece of plastic canvas cut to the base dimensions sits inside the finished bag, eliminating the floppy, shapeless base problem that plagues most beginner bag projects. You can use plastic canvas to reinforce the bottom.
Style 1 — The Classic Cat Face Tote (Beginner, 4 to 6 Hours)
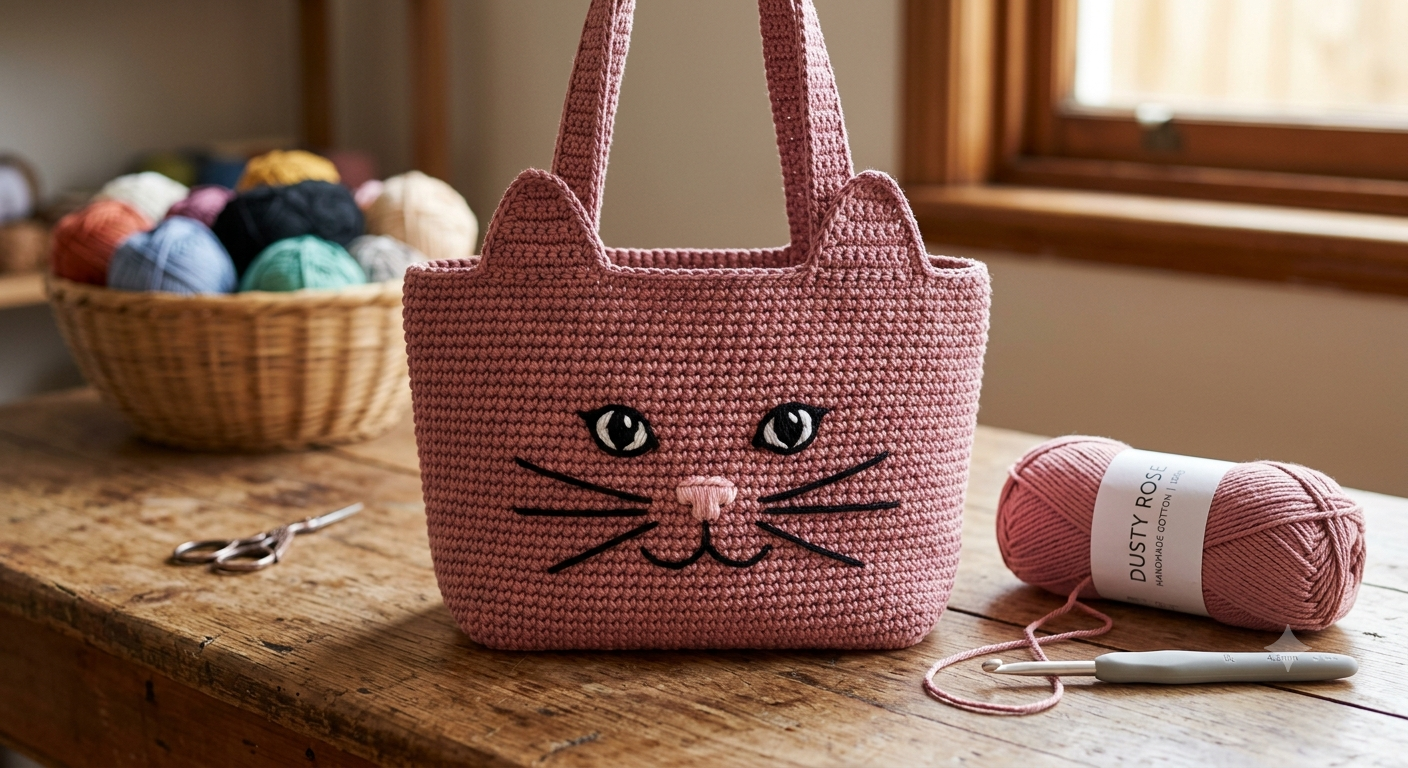
This is the entry point — the design that appears most in Pinterest searches, photographs most beautifully, and requires only the most foundational crochet skills to complete. A structured tote bag in a solid color with a crocheted cat face appliqué on the front panel, pointed ears built into the top rim, and long handles for shoulder carrying.
What Makes It Work
The bag is made up of two panels — front and back — and two straps. The pattern is fit for beginners, using single stitch, slip stitch, and tapestry crochet to change colours. The cat face is worked separately as a circle and sewn onto the front panel — a technique that allows complete control over the face’s placement and expression before any permanent attachment.
Construction Overview
Work two identical rectangular panels in single crochet using the main color — your choice of solid color becomes the cat’s “body” color. Size each panel to approximately 13 inches wide by 14 inches tall for a standard tote. Work the handles as long chains of single crochet, approximately 18 to 24 inches each, and attach them to the top corners of both panels. For the ears, work two small triangles from the same main color with pink inner ear sections, and sew them to the top edge of the front panel at the eleven and one o’clock positions. The cat face circle is worked from a magic ring using skin-toned or contrasting yarn and embellished with embroidered features before being sewn centrally onto the front panel.
Practicality is not compromised in these purses either. They typically feature a secure button or zipper closure, providing a safe space for your essentials like keys, cards, and small personal items. Add a button closure at the top of the tote by sewing a large button to the back panel and working a button loop in chain stitch on the front.
Style 2 — The Cat Ear Crossbody Bag (Beginner to Intermediate, 3 to 4 Hours)
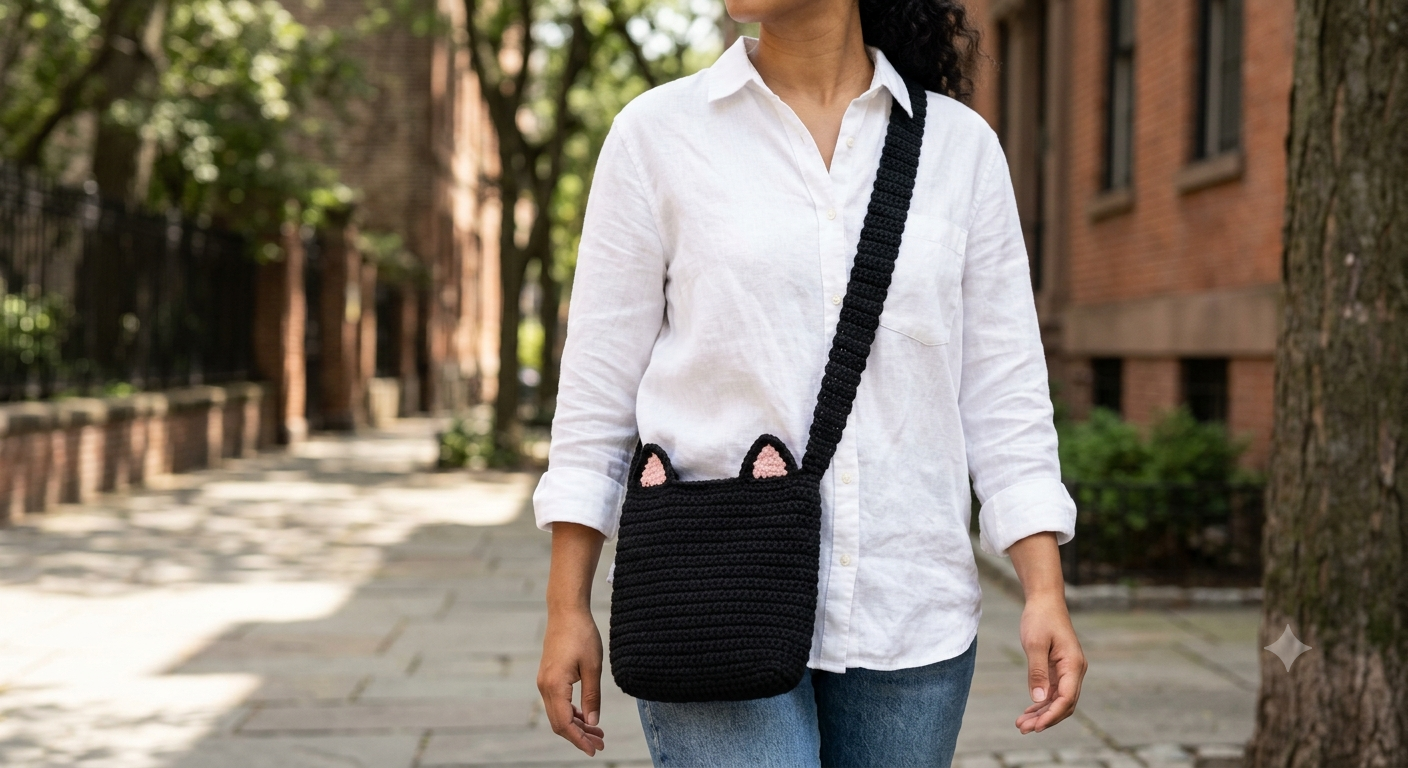
Smaller and more compact than the tote, the crossbody cat bag is the style worn across the body on a long strap — the format that photographs best in outdoor and lifestyle content and that functions for everyday errands. The defining feature is the cat ears built structurally into the top corners of the bag rather than added as appliqués.
Construction Overview
Work the bag body in the round from a foundation oval that forms the flat base. Stitch the tote in the round in half double crochet, with very simple color changes. Some additional basic shapes and embroidery are used to further define the fashionable feline design. You’ll also learn chain, color changes, and sewing pieces together to complete the project. Bag measures approximately 13 inches wide by 16 inches tall, excluding handles.
The ears are the structural feature that makes this design distinctive. Work each ear as a triangle separately using foundation chain and increase rows — chain 10, single crochet across, increase at both ends of every right-side row for 4 rows, then decrease back to a flat top. Make matching inner ear pieces in pink yarn that are one row smaller on each dimension, slip stitch them together, and attach the completed ear units to the top corners of the bag body before adding the crossbody strap. The strap is a long single crochet chain approximately 48 to 54 inches for a comfortable crossbody hang, attached with sturdy joining at both upper sides of the bag body.
Style 3 — The Cat Pouch Drawstring Bag (Beginner, 2 to 3 Hours)
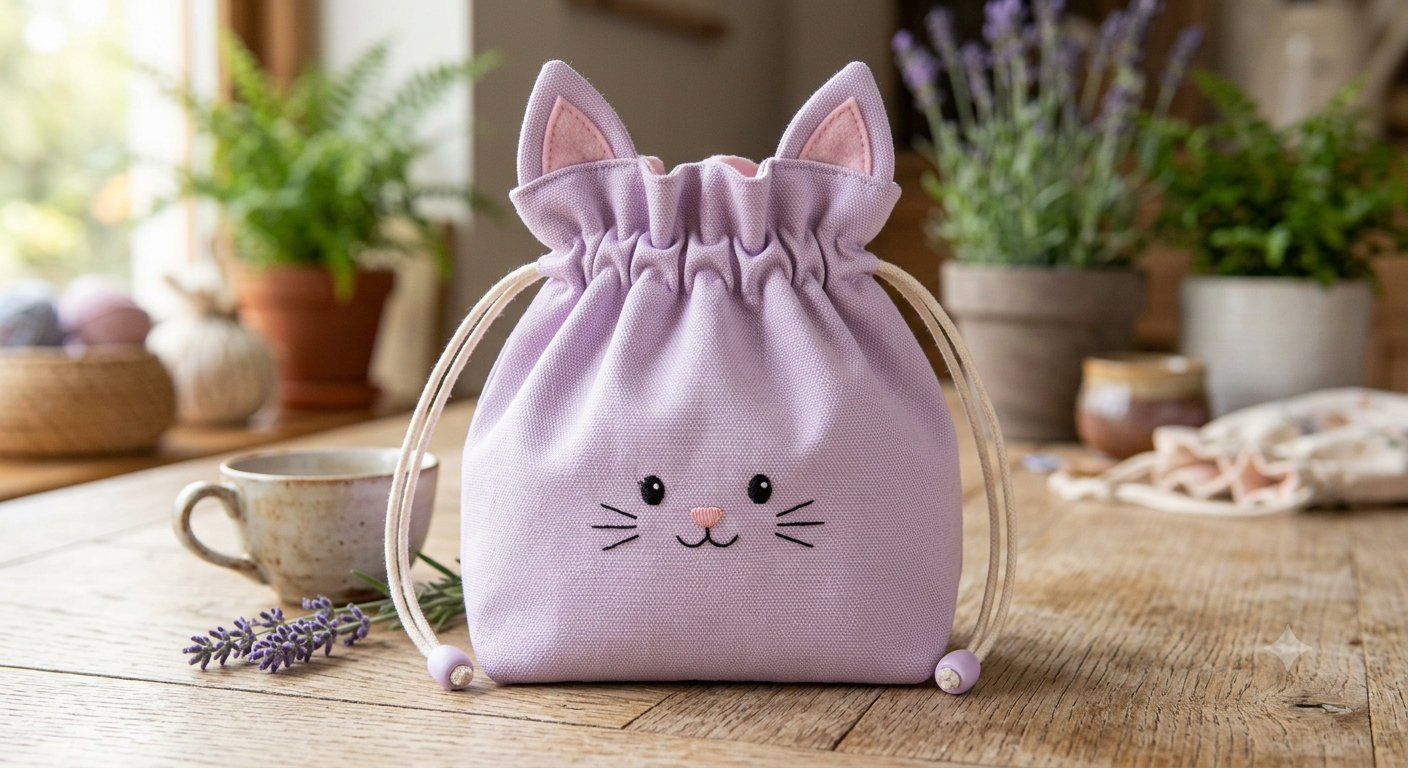
The drawstring pouch is the fastest and most charming crochet cat bag style — a small, rounded bag that transforms into a cat head silhouette when the drawstring is pulled. Pull the strap to transform the crochet cat pouch into a cute cat’s head shape. The ears emerge naturally from the gathered top corners when the drawstring cinches the opening, creating the cat shape without any separate ear construction.
Construction Overview
Work two identical rounded rectangles in single crochet, each approximately 5 inches wide by 6 inches tall. Take the two sides of the crochet pouch and place them together with the right sides facing each other. Using a yarn needle, sew the edges together by working through the outer loops of the stitches on each piece. Start at the first stitch immediately after the left hole for the drawstring strap and continue around the edges to the first hole on the right side, leaving the top middle section open for the bag’s opening.
The drawstring holes are created by working a chain 3 skip 1 pattern at the top edge of both panels before joining. Insert one end of the strap through the holes, weaving it in a zigzag pattern. This will allow the bag’s opening to tighten and close when the strap is pulled. Once the other end of the strap reaches the front, sew both ends together to secure the strap. Now pull the strap to transform the crochet cat pouch into a cute cat head shape.
Add embroidered eyes, nose, and whisker lines to the front face panel before assembly. The finished pouch is ideal for a small gift bag, a coin purse, a jewelry storage bag, or a project bag for small crochet hooks and supplies.
Style 4 — The Mosaic Cat Pattern Tote (Intermediate, Full Weekend)
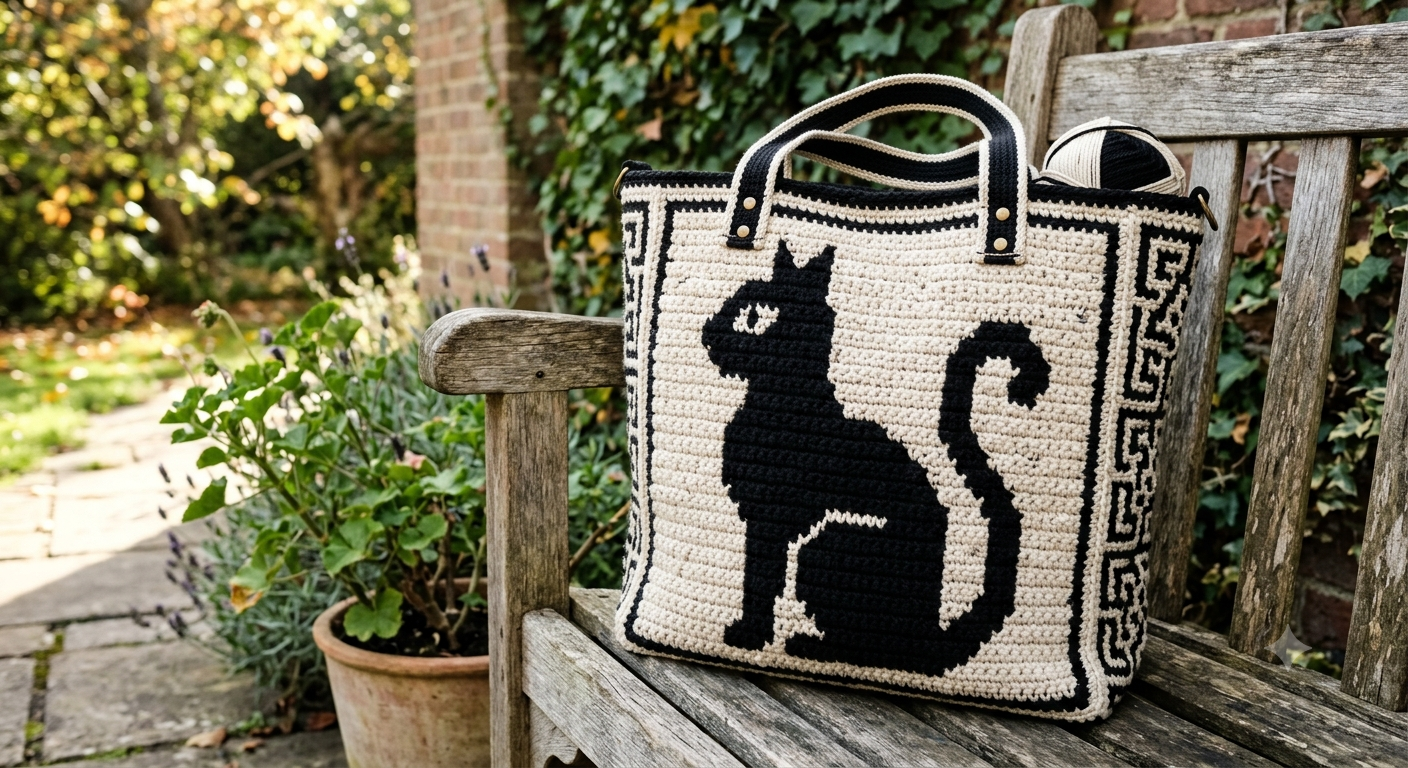
The cat bag mosaic crochet pattern comes with written instructions, charts, schematics, and video highlights for stitches and techniques. Mosaic crochet uses alternating rows of two colors to create geometric and pictorial patterns that look complex but use only one color per row — making it far more achievable than stranded colorwork for intermediate crocheters.
The mosaic cat pattern produces a bold, graphic cat silhouette across the front panel of the bag using dropped stitches that reveal the color from the row below. The technique creates a woven-looking textile with the cat motif emerging in the foreground color against the background color.
Why This Style Is Worth the Extra Effort
The mosaic cat bag is the design that stops people in their tracks when you carry it. The graphic quality of the cat motif in two high-contrast colors — black and cream, teal and white, rust and ecru — reads clearly from a distance and photographs with a quality that flat appliqué bags cannot match because the pattern is part of the fabric itself rather than sitting on top of it.
The finished bag typically measures 9 to 10 inches wide by 11 to 12 inches tall — compact enough for daily use but large enough to carry essentials. You can reinforce the upper edge with buckram or Pellon Peltex ultra-firm stabilizer and reinforce the bottom with plastic canvas.
Style 5 — The Granny Square Cat Bag (Beginner, Variable Time)
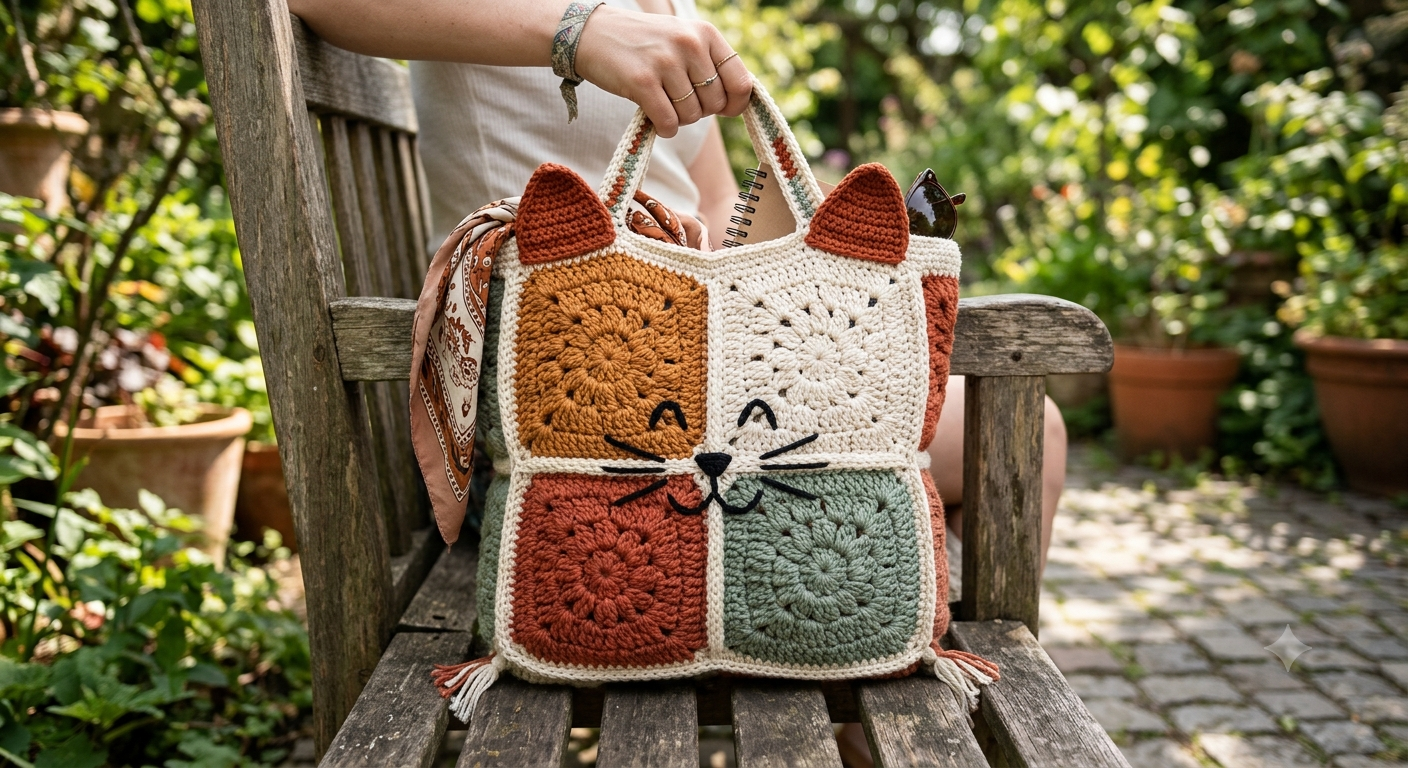
The crocheted cat granny square tote bag is a handmade cat lover gift that combines the classic granny square format with cat-themed colorwork or appliqué. This is the crochet cat bag style that recycles the most widely known crochet skill — the granny square — into a functional, beautiful bag that looks complex from a distance and is assembled square by square.
Work granny squares in two or three complementary colors until you have enough for the front panel (typically 4 squares in a 2×2 arrangement), back panel, and two strap sections. Join the squares using single crochet seams on the right side for a visible raised ridge that becomes a design feature, or slip stitch seams on the wrong side for a flat join. Add cat ear panels to the top edge of the front in a contrasting solid color, and embroider a simple cat face across the central joining point of the four front squares.
Style 6 — The Cat Tapestry Tote (Intermediate, Full Weekend)
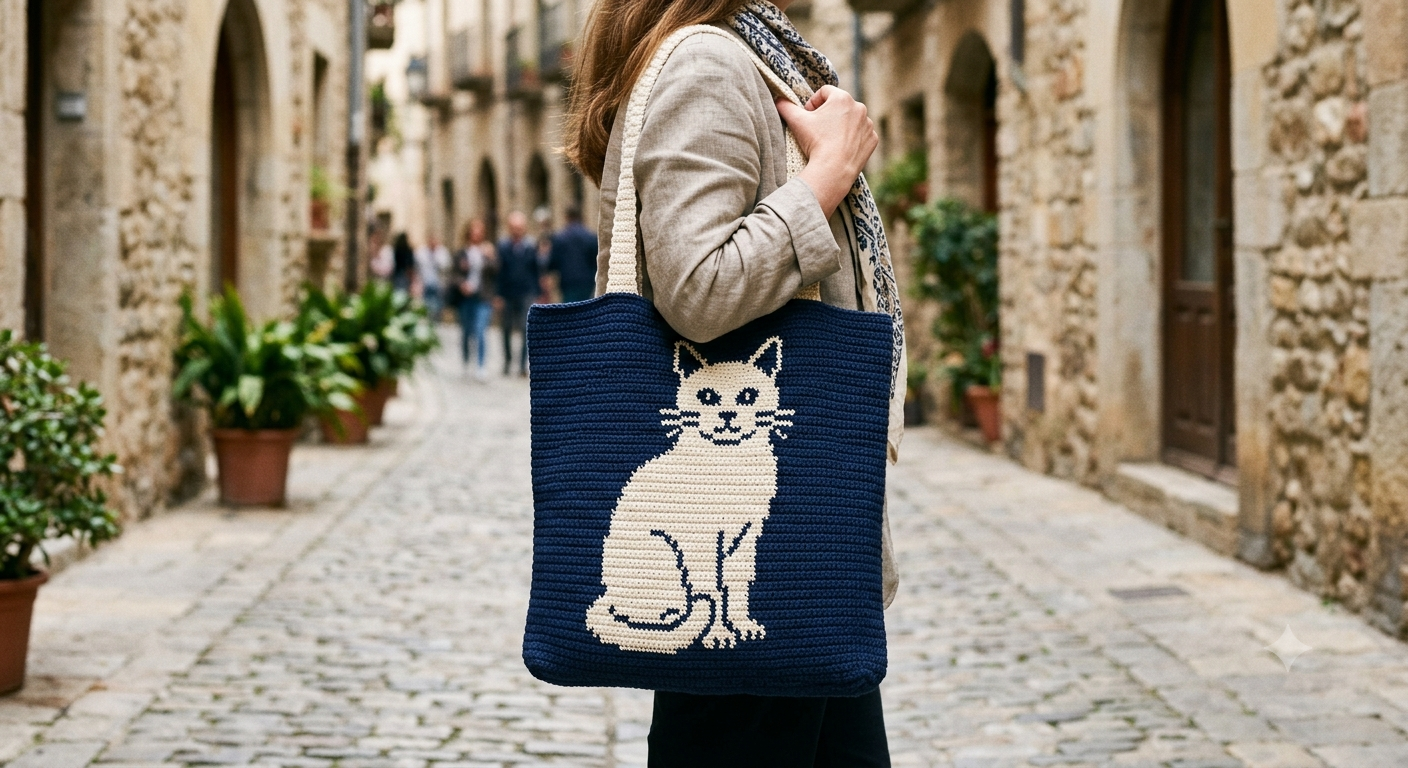
Tapestry crochet carries multiple yarn colors within each row, creating a dense, structured fabric with colorwork patterns that are precise and pictorial. The pattern uses tapestry crochet to change colours. It was someone’s first time trying Tunisian crochet — it worked up super quickly and was described as a big confidence booster.
The tapestry cat tote typically features a full cat portrait on the front panel — sitting cat, cat face, cat paw print, or cat silhouette — worked in two or three colors, with each stitch placing the correct color to build the image row by row. The result is a bag that looks printed rather than crocheted from any distance, with a fabric density and structure that require no lining to hold its shape.
Work tapestry crochet in single crochet for the clearest color definition — the compact stitch locks the carried yarn inside the work and produces the most precise color transitions of any colorwork technique in crochet. Graph paper or a pattern chart is essential for maintaining the cat image proportions across the panel.
Style 7 — The 3D Cat Bag (Advanced, Two Weekends)
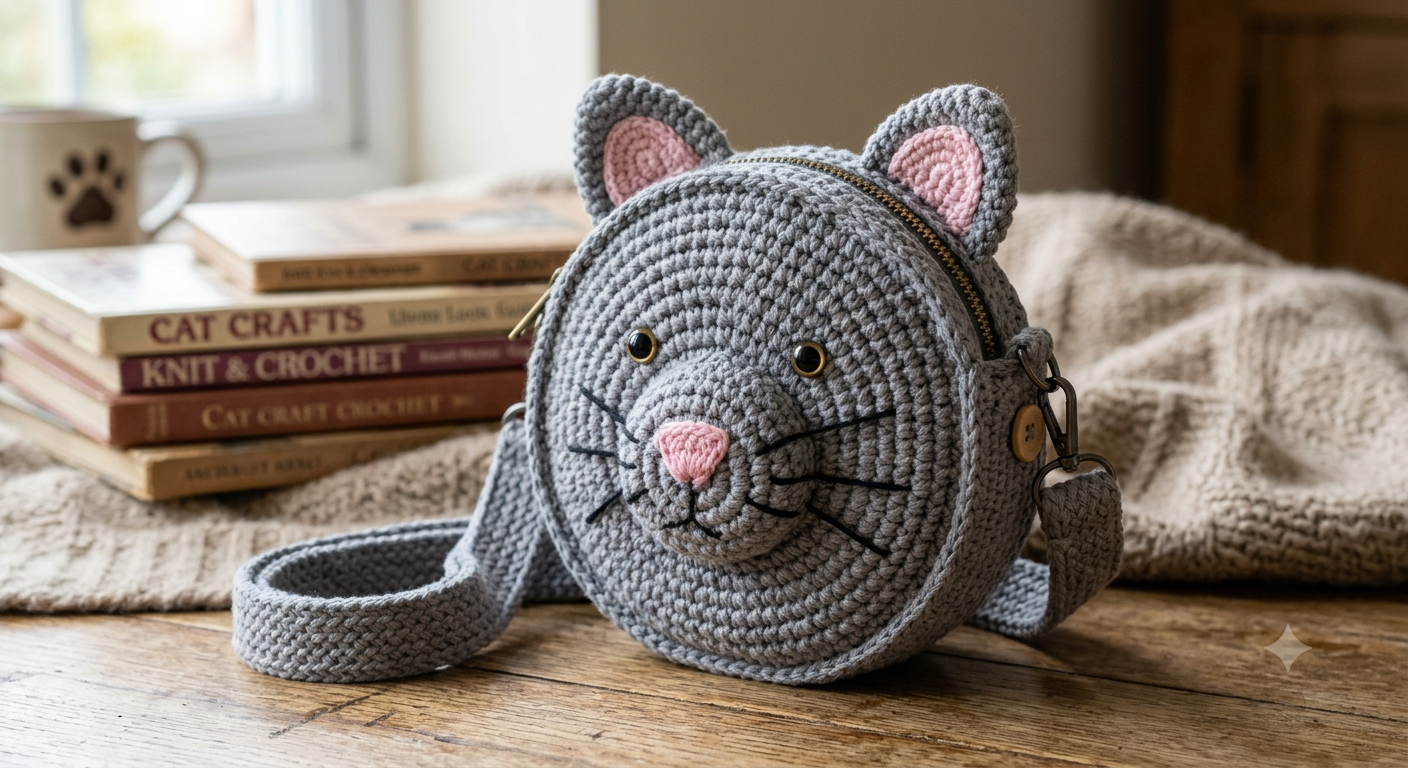
A crochet cat bag with a 3D cotton tote design that is artist-designed and handmade creates one of the most striking cat bag styles available. The 3D cat bag adds sculptural elements to the flat bag body — a raised muzzle that protrudes from the front panel, dimensional ears stuffed lightly with fiberfill, a crocheted nose button, and whiskers made from stiffened thread or thin wire covered in yarn. These elements are worked on separately and assembled onto the completed bag body.
The 3D techniques required — working in the round for the muzzle dome, shaping increases and decreases for the dimensional ears, and the finishing work of attaching and positioning each element — make this an advanced project, but the result is genuinely show-stopping. A 3D cat bag carried in public produces the specific reaction that every maker wants: strangers stopping to ask where you bought it, and the pleasure of saying you made it.
Style 8 — The Cat Project Bag (Beginner, 2 to 3 Hours)
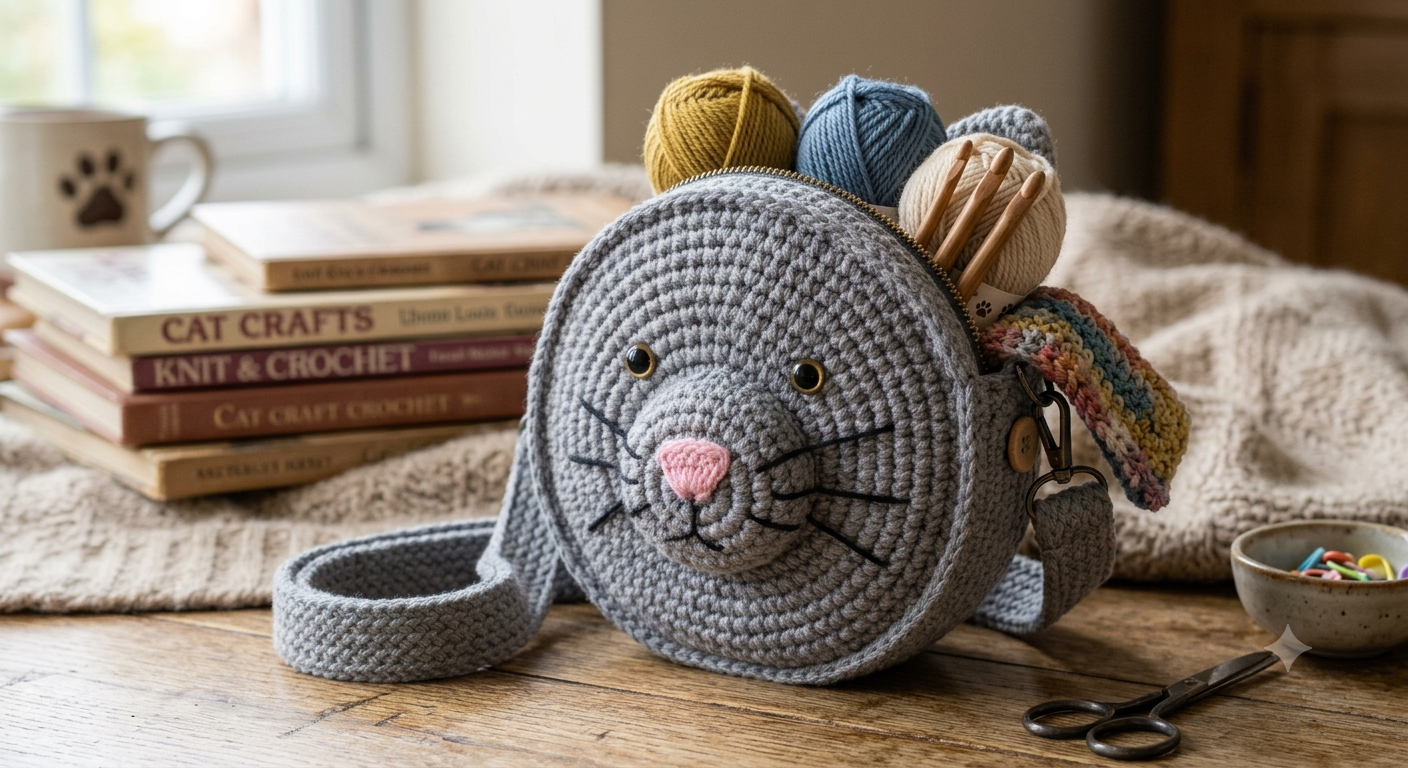
The free cat crochet project bag pattern is a must-make for crochet lovers who enjoy a side of whimsy. This adorable bag keeps your yarn tangle-free and your projects neatly tucked away, whether you’re crocheting on the couch or crafting on the go. With its cute kitty-inspired design, it’s as functional as it is fabulous.
The project bag is the most practical of all eight styles — designed specifically to hold an active crochet project, keeping yarn, hooks, and pattern notes all together. It is worked in continuous rounds from a foundation oval, increasing steadily to the desired base size, then worked straight up without shaping to the desired height.
In the second chain from the hook, sc 3, sc in the next 30, sc 6 in the last chain, working around the other side of the chain, sc in the next 30, sc 3 in the first chain space, join, and ch 1, giving 72 stitches. The cat details are minimal but perfectly placed — embroidered face on the front, a row of cat-ear edging at the top opening. The project bag is also the ideal gift for another crocheter — personal, handmade, useful, and specific to the recipient’s identity as a cat lover.
The Thing Every Crochet Cat Bag Has in Common
Whether you spend an afternoon making a drawstring pouch or two weekends building a 3D dimensional bag, you will finish with the same thing: something made by your hands that carries your taste, your color choices, and your skill into the world every time you use it. A crochet cat bag that gets worn is a crochet cat bag that tells a story. Pick the style that matches where you are today. Build the skills. Make the bag. And then make the next one.