There is a wall in your home that is doing nothing. You walk past it every day. It holds up the ceiling, separates two rooms, and serves as a surface for light to fall on. Your cat walks past it too — and every time they do, they probably glance at it the way you glance at an unused gym membership. The potential is enormous. The follow-through has not happened yet.
The DIY cat wall is the most transformative single project in cat furniture, and it is also the one most surrounded by intimidation, which the actual difficulty does not justify. Yes, it involves drills and wall studs, and brackets. But the core principles are straightforward, the material costs are modest, and the result — a floor-to-ceiling climbing route, sleeping perch, and observation platform that your cat will use every single day — is one of the most satisfying things you can make with your own hands. This is the guide that gets you from that blank wall to a completed cat playground, step by step.
Why Cats Need Vertical Space — The Biology That Makes This Worth Building
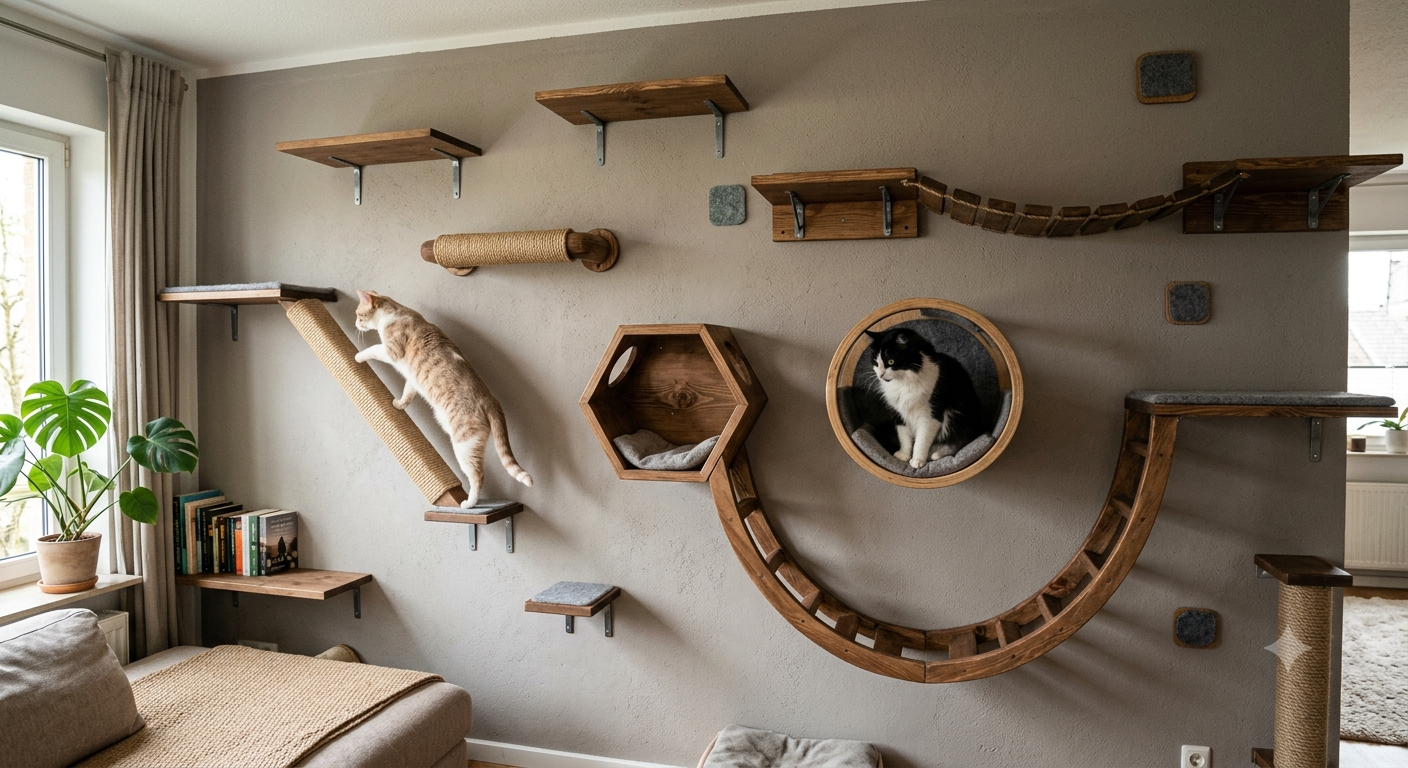
Before the build, the why — because understanding what this does for your cat’s behavioral health makes you significantly more motivated to do it correctly.
Vertical space satisfies cats’ natural desire to climb, leap, nap, and survey their territory from above. A cat wall isn’t a decor trend — it’s a feline necessity for healthy climbing and mental stimulation. Wall-mounted cat shelves free up floor space, provide vertical stimulation, and can be tailored to your home decor.
Cats are not floor animals by evolutionary preference. Their wild ancestors spent significant time elevated — in trees, on rock outcroppings, on elevated terrain — for reasons that were simultaneously about safety (higher than most ground predators), hunting strategy (visibility over a wide area from above), and thermoregulation (catching warm air that rises). Every domestic cat carries those instincts unchanged. An indoor cat with no vertical territory is a cat with a fundamental environmental need unmet, and the behavioral consequences — increased stress, more aggressive or disruptive behavior, over-attachment to owners as the only source of enrichment — are consistent enough that vertical enrichment is now a first-line recommendation in most veterinary behavioral programs for indoor cats.
From trending TikTok setups that rival interior design magazines to cozy shelf naps worthy of a slow blink, cat wall designs are now a must-have for the modern cat parent. The aesthetic shift in cat wall design over the past five years has moved from utilitarian carpet towers attached to walls to genuinely beautiful wall systems in natural wood, clean lines, and intentional design that improve the appearance of a room rather than compromising it.
Phase One — Planning Your Cat Wall Before Buying a Single Screw
Planning is everything. Before you whip out the drill and start screwing in shelves, pause. Your cat’s habits and your home layout should dictate the shelf setup.
Assess Your Cat First
Agile leaper? Go higher and steeper. Senior snoozer or tripod? Keep shelves low and accessible. Shy kitty? Start with enclosed nooks.
Spend a week observing your cat before buying anything. Where do they currently try to get high — on top of bookcases, refrigerators, window ledges? That tells you the height range they are seeking. Do they jump confidently or approach new heights cautiously? That tells you how far apart to space shelves — confident jumpers can manage 18-inch gaps, cautious cats or seniors need 10 to 12-inch steps. Do they prefer open perching or enclosed hiding? Open cats need large flat shelves with clear sightlines. Hidden cats need enclosed sleeping boxes between open perches.
Choose Your Wall
The ideal cat wall has three characteristics: it runs along a clear path between two or more destinations your cat already uses — like between their feeding area and their favorite sleeping spot; it has accessible studs for secure mounting; and it is visible from a comfortable human sitting position, so your cat gets the audience they are performing for. Cats do not use high perches when nobody is watching. They use them when someone below will look up.
Corner locations are very desirable for cat perches or beds. They offer cats a great vantage point to observe their surroundings. Corners also allow shelves to be installed on both walls, creating a route around the corner.
Design the Route
Sketch your layout on paper or photograph the wall and draw on the image. The most effective cat walls have a defined route with a clear starting point low on the wall and a defined destination at the top — a sleeping platform, a window perch, or an enclosed box. If your living room has one open wall, mount a series of staggered shelves starting low and zigzagging upward, ending in a cozy nap spot like a plush wall hammock.
Key spacing principles from experienced cat wall builders: First shelf at 12 to 14 inches from the floor — low enough to feel safe, high enough to be interesting. Subsequent shelves staggered alternately left and right with 12 to 18 inches of vertical gap and 6 to 12 inches of horizontal overlap — enough that the cat can step or jump comfortably. Final platform at the top as the reward destination — a wider shelf with a cushion, an enclosed sleeping box, or a hammock directly adjacent to a ceiling or high window.
Phase Two — Materials and Tools
The Complete Materials List
For a six-shelf cat wall serving one to two cats, you will need the following. Six pine boards in 1×8 dimensions, cut to your chosen shelf length of 18 to 24 inches each — most hardware stores will cut these for you at purchase. Twelve heavy-duty shelf brackets rated at a minimum of 50 pounds each — buy more than you think you need. Two boxes of 2.5-inch wood screws for bracket-to-shelf attachment. One box of 3-inch screws for bracket-to-wall mounting. Carpet remnant or fleece fabric enough to cover all shelf surfaces. Non-toxic craft glue. Fine sandpaper in 120 grit. One 50-foot coil of 6mm sisal rope for adding scratch surfaces to shelf edges. Optional: one 30-inch length of wooden dowel for a bridge section. One enclosed cat sleeping box — either purchased or built from a plywood box with a circular entry hole.
Tools needed: Stud finder. Drill with drill bits and screwdriver bits. Level. Tape measure. Pencil. Utility knife for cutting carpet. Scissors. Sandpaper.
Phase Three — The Build, Step by Step
Step 1 — Find and Mark Every Stud
For your cat wall to be secure, you need to install cat shelving into studs, concrete, cement, or brick. Drywall alone cannot support the weight of your cat. Even with drywall anchors, you need at least one mounting point of each bracket secured into a stud.
Run your stud finder horizontally across the wall at multiple heights, marking each stud location with a small pencil mark. In most residential construction, studs are spaced 16 inches apart. This spacing constrains your shelf placement — your bracket positions must align with studs, which means your shelf positions must accommodate bracket positions that hit studs.
Draw a vertical line down the wall at each stud location using a level and pencil. These lines become the reference grid for your entire layout.
Step 2 — Sand and Cover Your Shelves
Before mounting, prepare all shelves on a flat surface. Sand every edge thoroughly — no sharp corners anywhere that a cat will walk across, lie on, or push off from. Pay particular attention to the front long edge and the two short cut ends. Apply carpet or fleece to the top surface of each shelf using craft glue — cut the fabric to extend 1 inch over the front edge, then fold under and glue down for a finished appearance. Allow glue to cure for at least two hours.
For any shelf you want to include as a scratch surface, wrap the front edge with sisal rope using hot glue, working from one end to the other in tight continuous runs.
Step 3 — Mount the Lowest Shelf First
Begin with platforms that are easily reachable. A low starting height of around 12 to 14 inches off the ground helps your cat feel safe and encourages exploration.
Hold your first bracket against the wall at the correct height, aligning one mounting hole with a marked stud location. Drill a pilot hole into the stud, then drive your 3-inch screw through the bracket into the stud. Check that the bracket is level before mounting the second screw. For the second mounting hole of the same bracket, if it falls between studs, use a heavy-duty drywall anchor rated for 50 pounds minimum, following the anchor’s installation instructions precisely.
Mount the second bracket for the same shelf at the other end, following the same process. Lay the shelf across both mounted brackets and drive screws up through the bracket holes into the underside of the shelf. Check the entire shelf with your level. It should be perfectly horizontal — a slightly tilted shelf will cause every cat that uses it to gradually slide toward the lower end, which is uncomfortable and which they will eventually stop using.
Step 4 — Build Upward Shelf by Shelf
Mount each subsequent shelf following the same process, checking the stepping distance from the previous shelf each time before driving the final screws. Hold your hand flat from the edge of the lower shelf and confirm the next shelf is within a comfortable reach — if it feels like a stretch for a human hand, it is likely too far for a smaller or older cat.
Creative arrangements like zig-zags, catwalks, and window climbs add personality and function. Safety matters: use wall studs, level each shelf, and supervise your cat’s early exploration.
Step 5 — Add the Bridge or Rope Walkway (Optional but Spectacular)
Connect one wall shelf to another with a rope bridge. You will need a sander, circular saw, and drill for this build. Your cat will love being able to go from shelf to shelf without having to climb down.
For a simpler bridge, drill two holes at the front edge of an upper shelf and two corresponding holes at the front edge of a lower shelf that is positioned slightly apart horizontally. Thread a length of thick rope through each pair of holes, knotting beneath the shelf to prevent pull-through. The hanging rope between the two shelves creates a swaying bridge that most cats approach cautiously, adopt completely within a week, and thereafter use with the specific swagger of a cat who knows they have the best commute route in the building.
Step 6 — Add the Top Destination
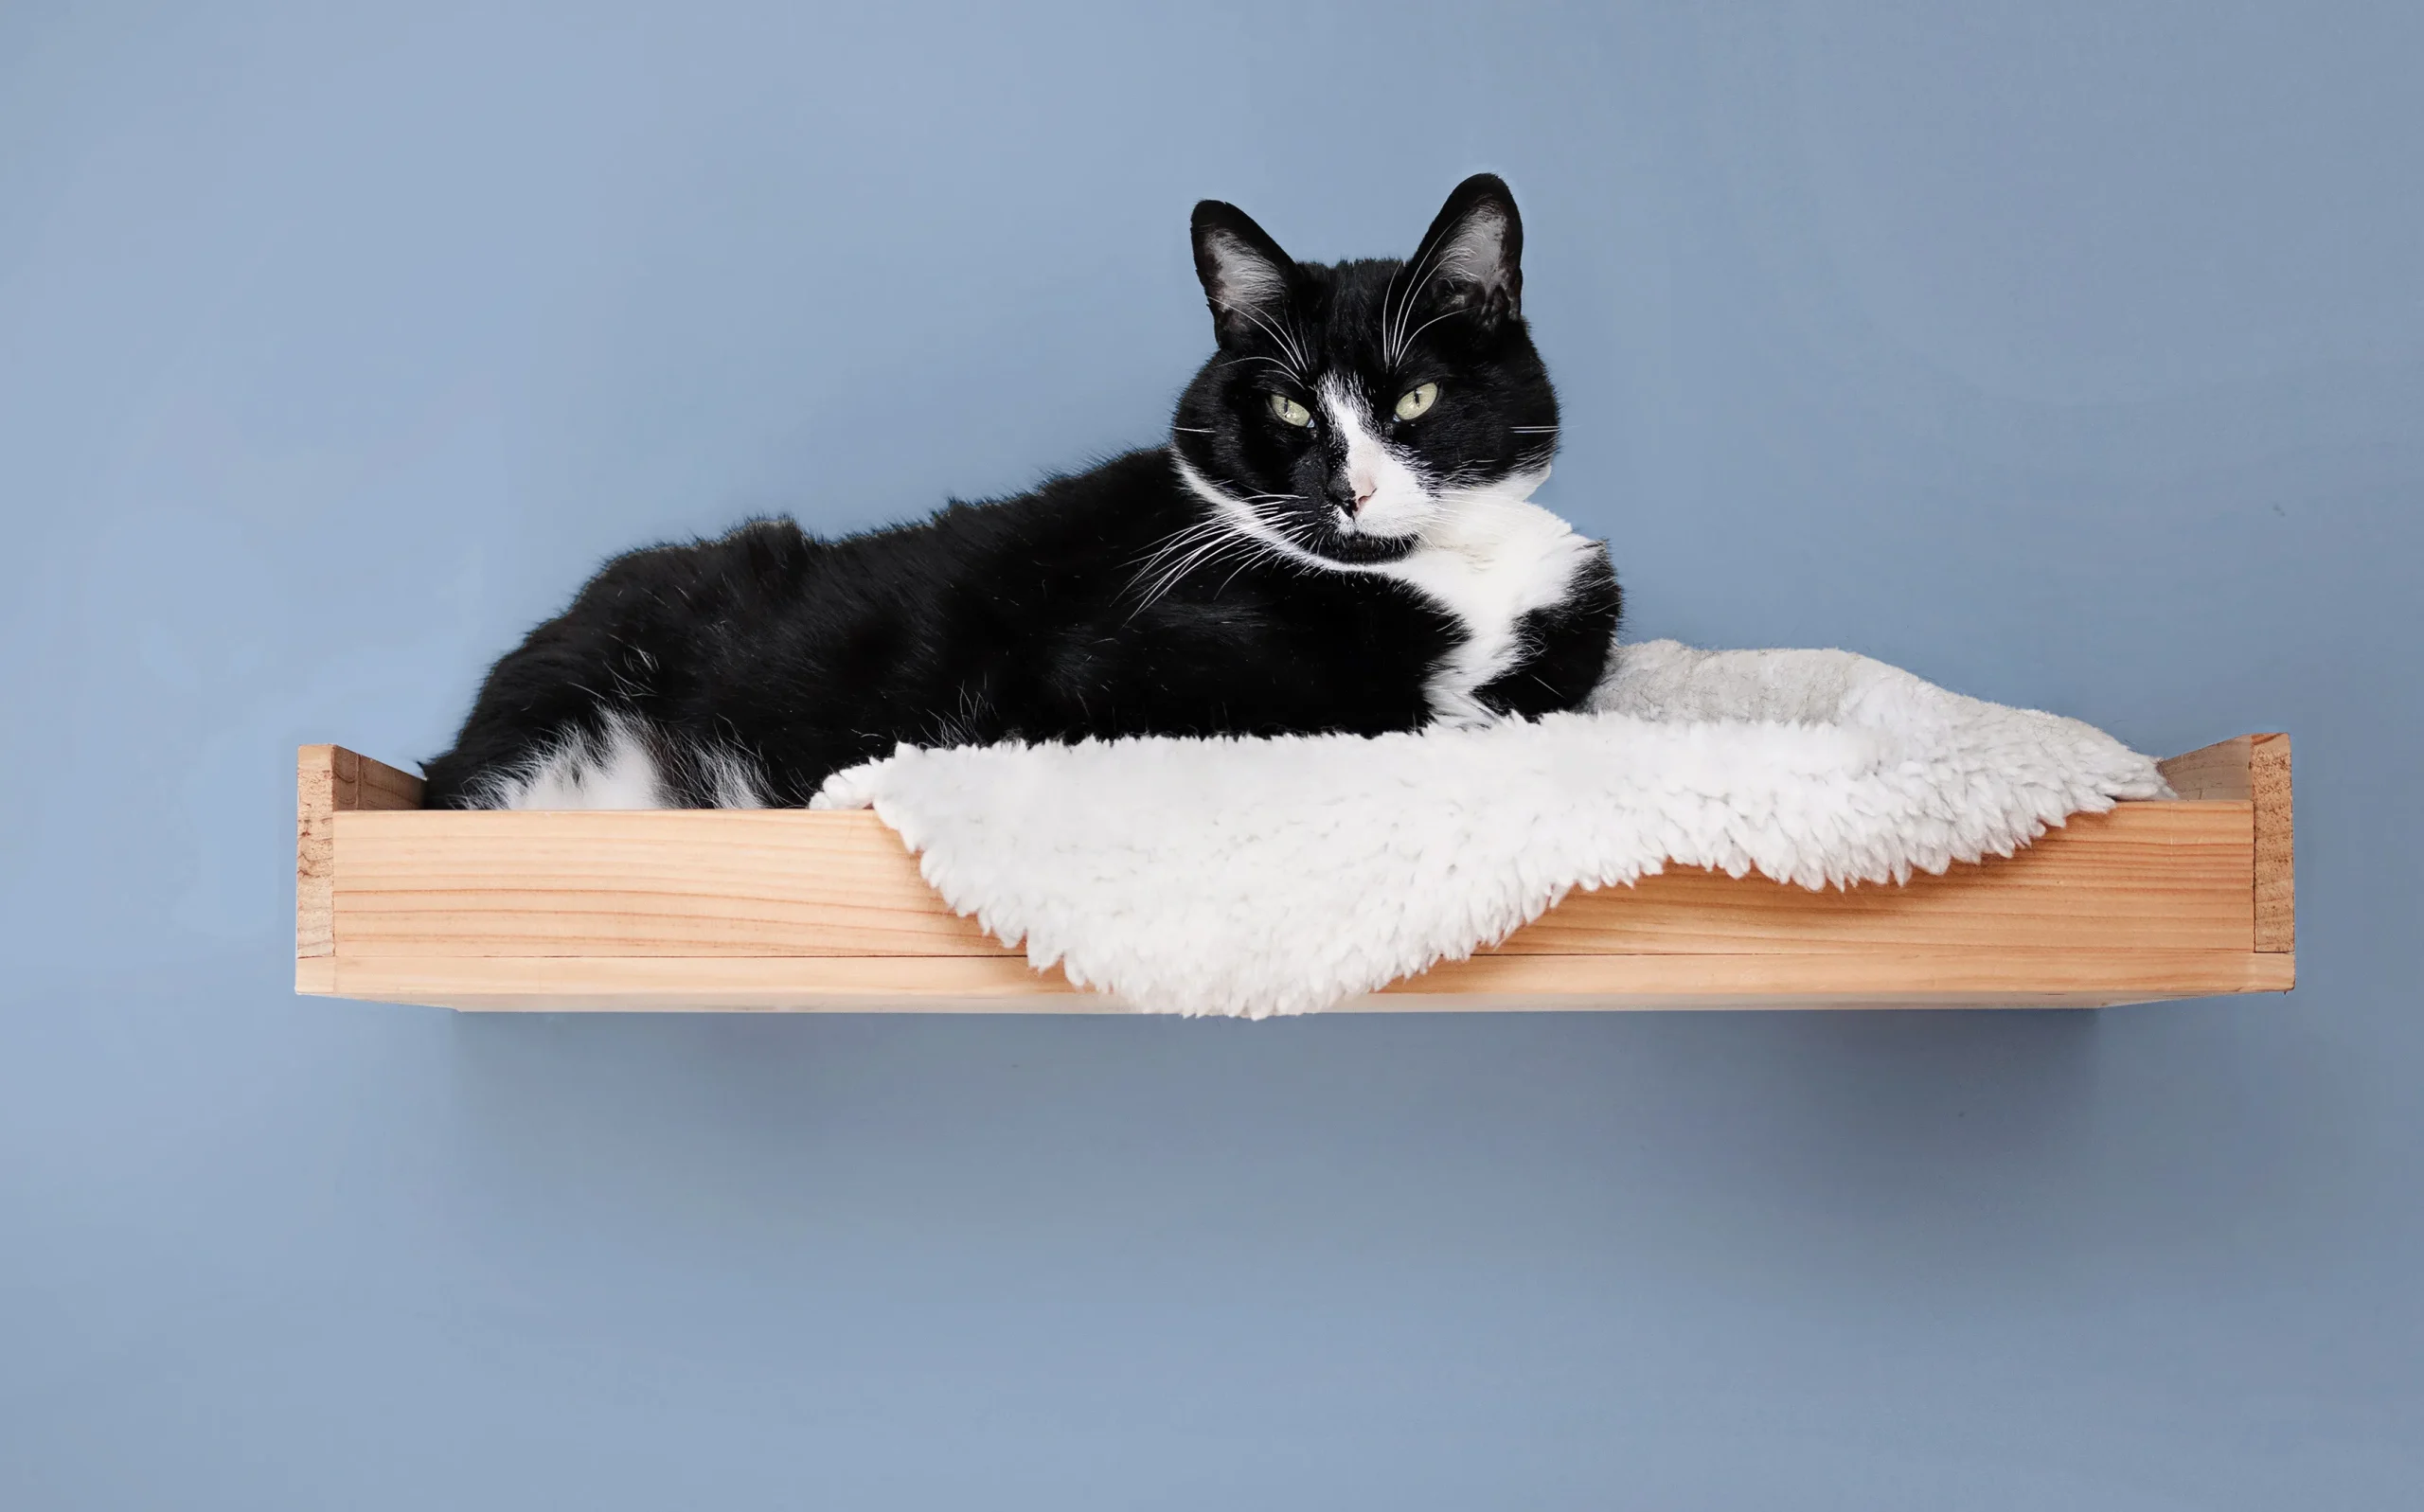
The top shelf deserves special treatment as the reward for the entire climb. Make it the widest and most comfortable — 24 inches is the minimum width that allows a full adult cat to lie down and turn around. Add your thickest cushion here. If the wall ends at the ceiling, a small enclosed sleeping box mounted on the final shelf creates the most sought-after location on the entire wall — the highest, most enclosed, most private space in the room.
Install a Hammock, Scratching Poles, and Bridges at perches near corners and doorways. Cats especially enjoy any bridge or hammock installed where people will pass beneath them — they use this opportunity to paw down at the person’s head as they pass by.
Phase Four — Getting Your Cat to Use It
You built it. You photographed it. Your cat is sitting on the floor staring at it.
Give your cat a few weeks to adjust. Try catnip, treats, or rubbing the shelf with familiar scents. Start with lower shelves, use treats or catnip, and place shelves near favorite spots.
The introduction process that works most reliably: place a treat on the lowest shelf and allow your cat to discover it without any encouragement from you. Leave treats at progressively higher shelves over three to five days, never placing them higher than the shelf your cat has already visited voluntarily. Do not pick up your cat and place them on a shelf — forced placement on an unfamiliar elevated surface can cause a negative association with the whole system that takes weeks to undo. Rub your hands across the shelf surfaces and allow your cat to investigate the resulting scent there. Place a toy they already like on the third or fourth shelf to draw them upward on their own initiative.
Most cats who have been successfully introduced to the lower shelves will self-discover the upper route within one to two weeks. The first time you watch your cat walk the entire route from floor to top platform in one continuous journey — the casual ease of it, the absolute ownership in their posture — is worth every screw you drove.
The Wall That Was Doing Nothing Is Now the Center of Your Cat’s World
Style it like art — your cat furniture can elevate your space as much as your cat’s mood. That is the double win of a well-built DIY cat wall. Your cat gets the vertical territory, the enrichment, the exercise, and the observation platform their biology requires. You get a piece of wall art that photographs beautifully, integrates with your home’s aesthetic, and demonstrates a level of care for your cat that a beige carpet tower from a pet store simply cannot communicate. Build it this weekend. Your wall is waiting.