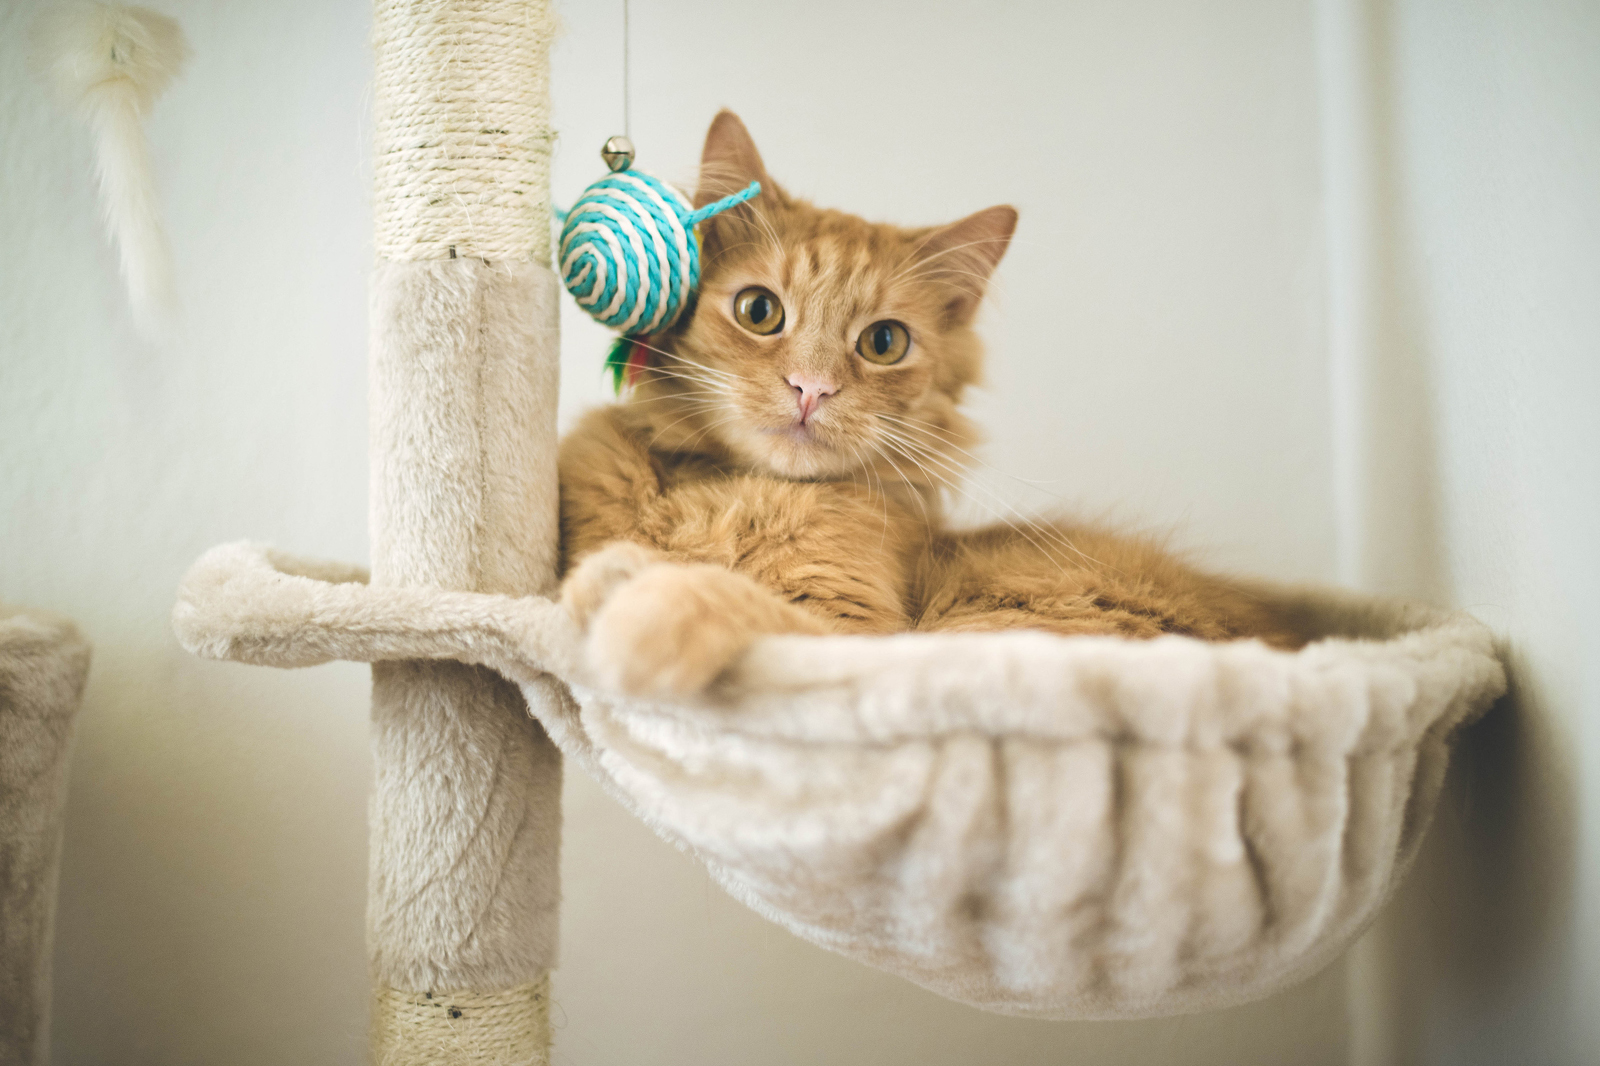
The cat hammock occupies a specific category of furniture that is difficult to explain to someone who has not watched a cat discover one for the first time. The cat approaches it with the standard investigative caution. They sniff the edge. They paw at the surface to test the resistance. They put one front paw in and feel the slight give of the suspended surface. They step fully in and experience — for a split second — the specific sensation of a surface that moves slightly and then holds perfectly under their weight.
And then they settle into it with the complete, immediate satisfaction of a creature who has found exactly what they did not know they were looking for.
The hammock works because it provides warmth from below (suspended air beneath the cat rather than a solid floor surface), the gentle swaying that mimics the movement of tree branches (which wild cat ancestors slept in), and the elevated vantage point that cats prefer for resting. It is simultaneously the most practical and the most cat-psychology-aligned resting furniture available.
It is also — and this is the point that makes it genuinely remarkable — one of the easiest and most affordable DIY cat projects available. The simplest hammock on this list takes twenty minutes and costs four dollars. The most elaborate takes two hours and costs twenty. Every single one works.
The Two Types of Cat Hammocks
Suspended hammock: Attached at four corners to an existing structure — chair legs, crib posts, cot frame, or dedicated standalone frame. The cat lies in the fabric, which is suspended below the attachment points. This is the most common and most widely recognized cat hammock format.
Platform hammock: A fabric platform suspended on a frame, from the wall, or from the window, that provides an elevated flat surface rather than a cradle shape. The platform hammock is used like a shelf — the cat sits or lies on top of the fabric rather than being cradled by it.
Both types are included in the eight designs below.
Hammock 1: The Under-Chair Hammock — 20 Minutes, $4
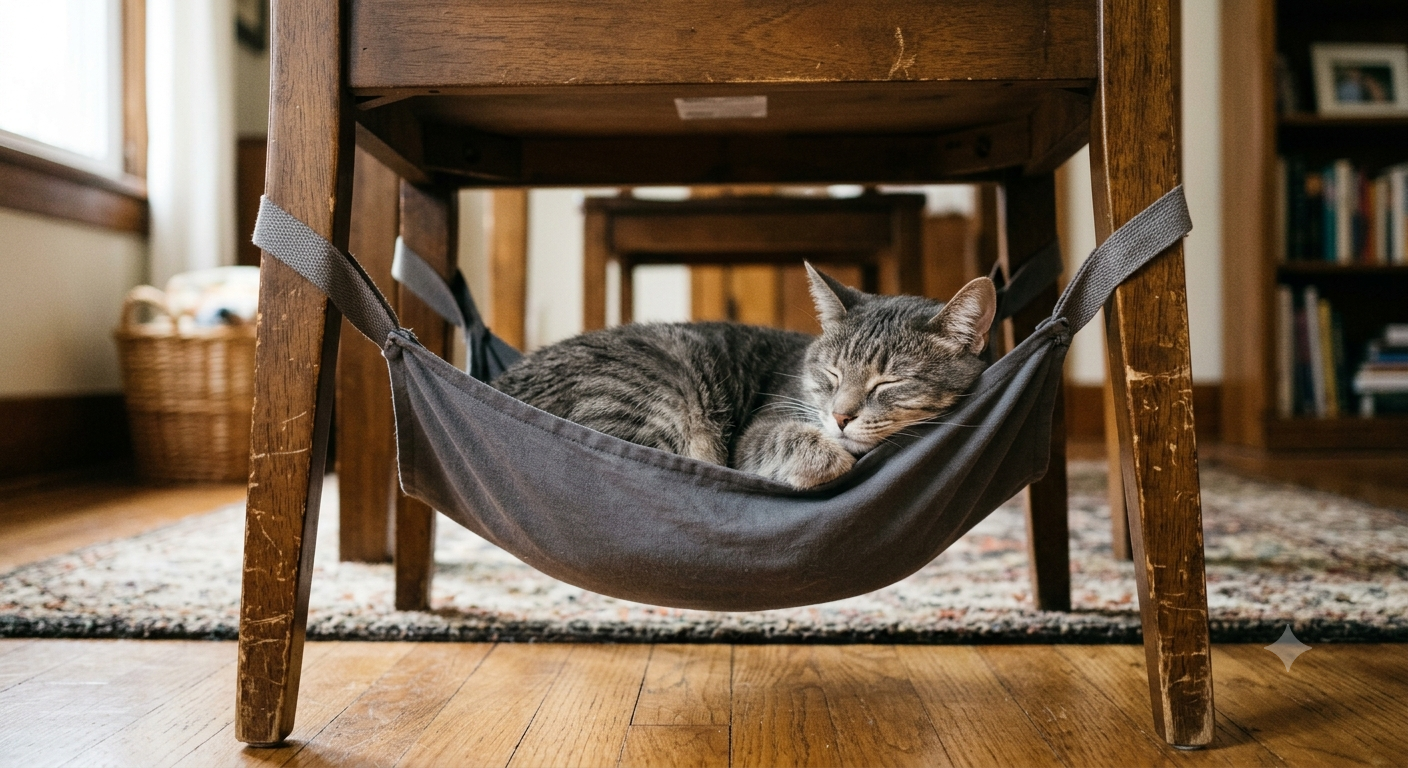
This is the hammock design that requires no sewing, no drilling, no special materials, and almost no time. It is the first hammock most DIY cat furniture makers build because it is the one that convincingly demonstrates that the concept works before any additional investment is made.
Materials:
- One fabric panel: 20 inches x 16 inches (cut from an old t-shirt, pillowcase, or piece of heavy fabric)
- 4 zip ties or 4 pieces of cord, each 8 inches
- Scissors
- One standard four-legged chair
The build: Cut the fabric panel to size. Punch or cut a hole approximately 1 inch in from each corner of the fabric. Thread a zip tie or cord through each hole and tie securely. Attach each corner to one chair leg, positioning the hammock so it hangs approximately halfway between the chair seat and the floor.
The chair legs provide the structural frame. The fabric panel is the hammock surface. The cat has a suspended resting space in a piece of furniture that was already in the room.
Testing the attachment: Pull each corner firmly after attachment to confirm that the zip ties or cord are genuinely secured. The hammock will carry 10 to 20 pounds of cat weight. Weak corner attachment fails, and the cat falls — one experience of this and the cat will avoid the hammock permanently.
Hammock 2: The Window Suction Cup Hammock — 45 Minutes, $15
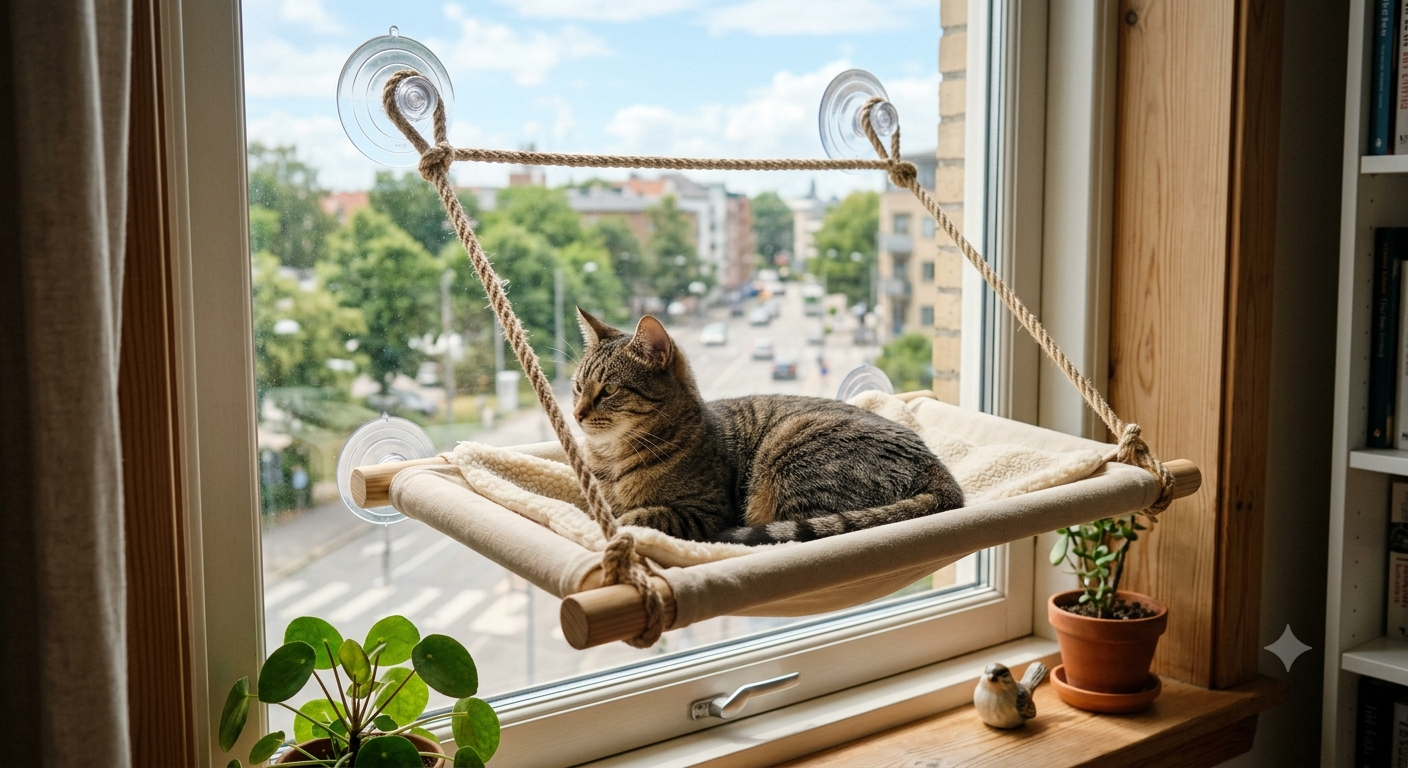
The window hammock is the design that consistently generates the highest cat engagement — because it positions the cat at the optimal viewing point for outdoor observation while providing the suspended resting surface that makes extended viewing comfortable.
Materials:
- Heavy-duty suction cups with hooks, load-rated for at least 20 lbs each — 4 cups required
- Fabric panel: 24 inches x 18 inches of heavy canvas, denim, or thick fleece
- 4 metal D-rings sewn or bolted to the fabric corners
- 4 lengths of lightweight rope or heavy cord, each 6 inches
The installation: Apply suction cups to the window at the four corners of the desired hammock position. Ensure the window is completely clean and dry at the suction points — any residue prevents proper suction.
Attach the rope lengths from the fabric D-rings to the suction cup hooks. Adjust the rope lengths so the hammock hangs level and at the desired position relative to the window sill.
The load safety note: Individual suction cups have load ratings that are much lower than their packaging suggests in practice. For a cat weighing over 10 pounds, use suction cups rated for at least 30 pounds each — the 4-point suspension divides the load, but not evenly, and any individual cup may carry significantly more than one-quarter of the total at any moment.
Test protocol: After installation, load the hammock with weight equivalent to your cat’s weight — canned goods work well — and leave for 24 hours before allowing your cat access. Any suction cup failure at this stage is dramatically preferable to a failure with the cat inside.
Hammock 3: The Crib Rail Hammock — 30 Minutes, Free
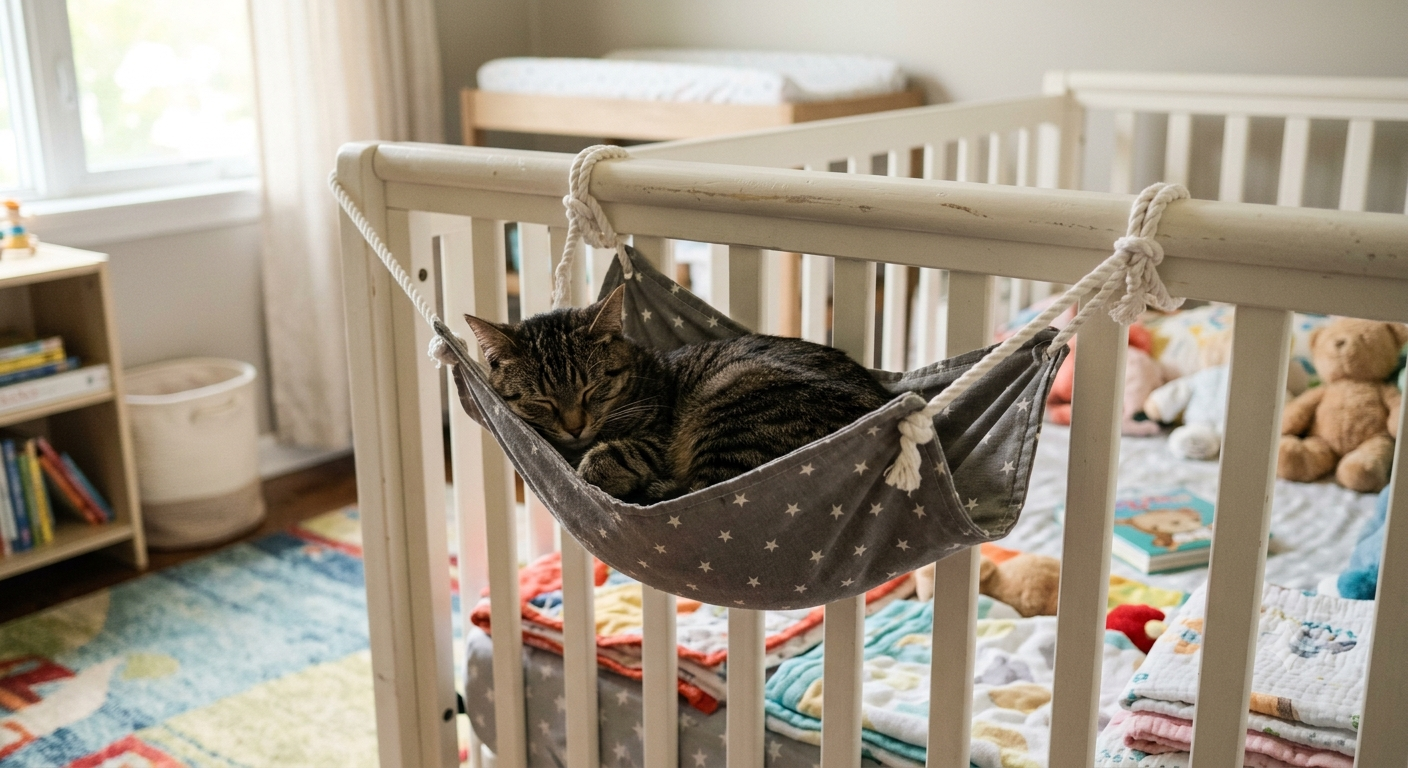
If you have a crib, a cot, a bunk bed, or any piece of furniture with vertical rails, the rails provide a ready-made hammock frame that requires no drilling and no modification.
Attach the hammock fabric corners to the vertical rails using cable ties or cord, at any height that provides the cat with appropriate access. For floor-level access: position 8 to 10 inches from the floor. For elevated access: position at a height the cat can reach with a single jump.
The crib rail hammock is the most popular under-bed cat hammock format — the bed frame’s existing structure provides a high-clearance suspended surface that gives the cat their own sleeping space beneath the human bed without consuming any additional room space.
Hammock 4: The No-Sew Fabric Hammock — 20 Minutes, $5
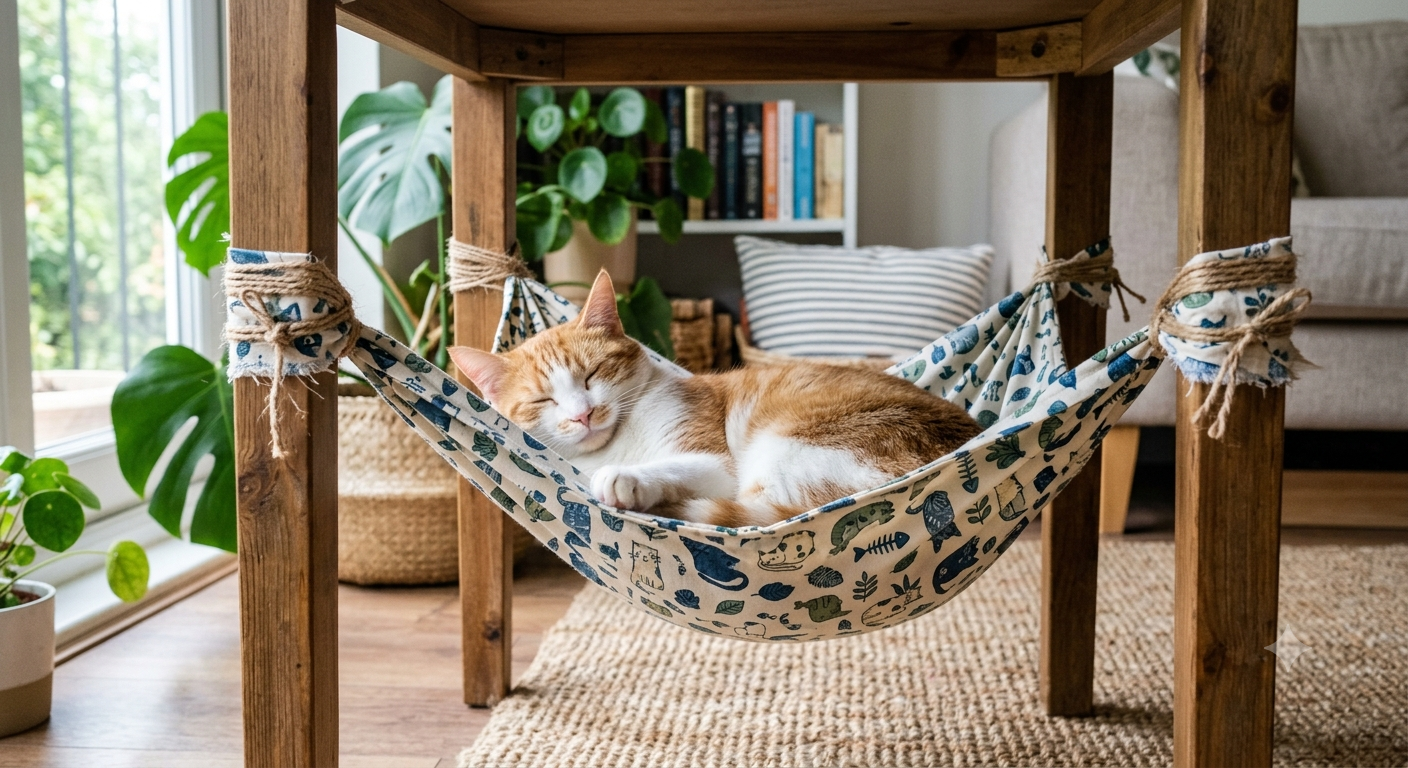
No sewing machine, no needle and thread, no skill required. The no-sew cat hammock uses fabric adhesive, iron-on hemming tape, and basic cutting to produce a finished hammock panel from any piece of fabric.
The no-sew corner reinforcement: Cut small squares of a second, stiffer fabric (denim or canvas) approximately 3 inches square. Use iron-on adhesive to bond these reinforcing squares to the underside of the main fabric at the corners. Punch or cut the attachment holes through both the main fabric and the reinforcing square — the double layer dramatically increases tear resistance at the highest stress points.
Apply iron-on hem tape around all four edges to prevent fraying without sewing.
Hammock 5: The Macramé Cat Hammock — 2 Hours, Intermediate
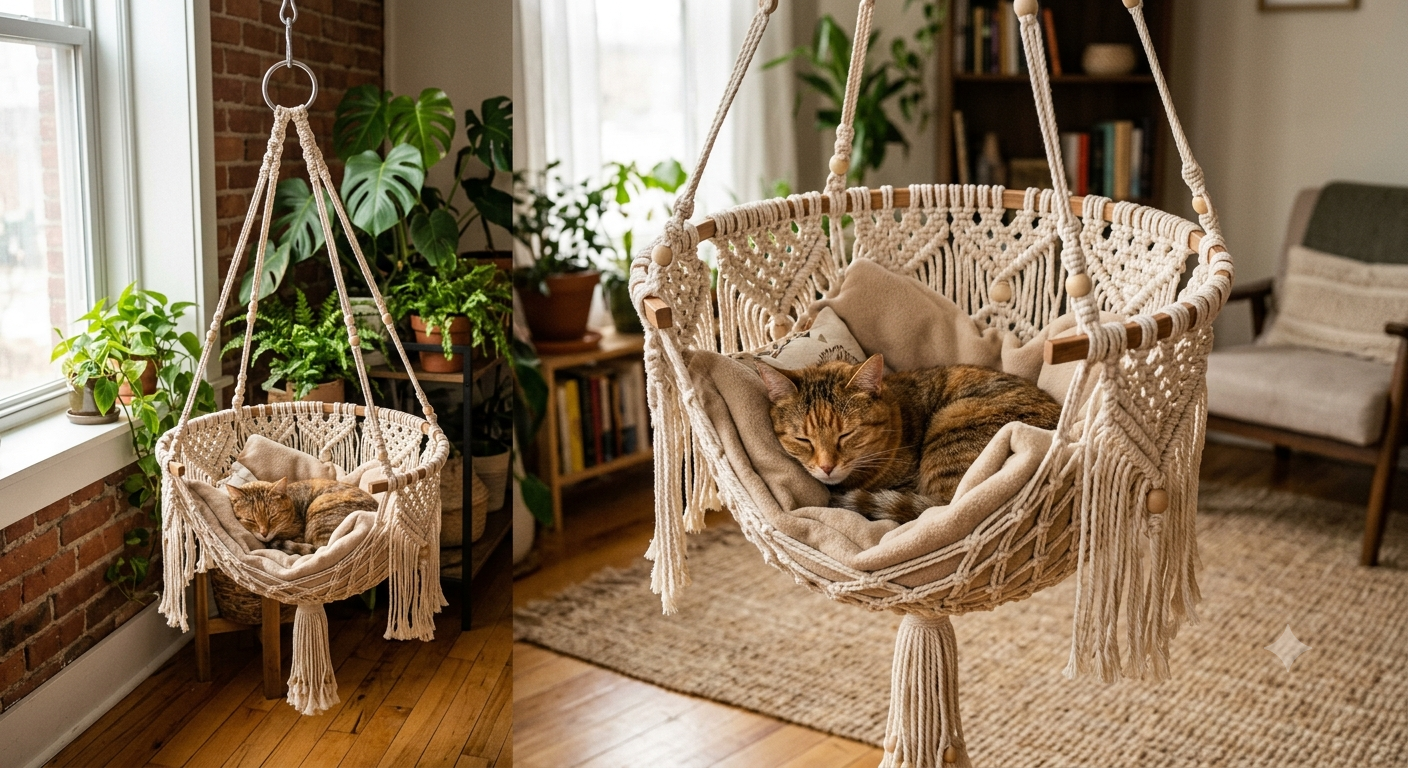
The macramé cat hammock is the design that photographs best of any hammock on this list — the knotted-cord texture, the fringe at the ends, and the organic, bohemian quality of macramé make the resulting hammock a genuine piece of decorative fiber art that happens to function as cat furniture.
Materials:
- Natural cotton macramé cord, 5mm or 6mm diameter — approximately 100 meters
- A wooden dowel or driftwood piece, 24 inches long, for each end
- Scissors
- A measurement guide taped to your work surface
Basic macramé knots required: Square knot (the foundation of macramé), gathering knot (for the end fringes). Both are learnable from a five-minute tutorial and require no prior macramé experience.
The pattern: Fold all cord lengths in half and mount at the center fold over the first dowel using a lark’s head knot. Work a pattern of square knots across the full width of the hanging cords. Continue for the desired hammock length. Mount the end loops over the second dowel. Trim the fringed ends to an even length.
The resulting hammock is approximately 20 inches wide and 14 inches long between the dowels, with the fringed decorative ends providing an additional 6 to 8 inches of visual interest on each side.
Hammock 6: The Stackable Multi-Level Hammock
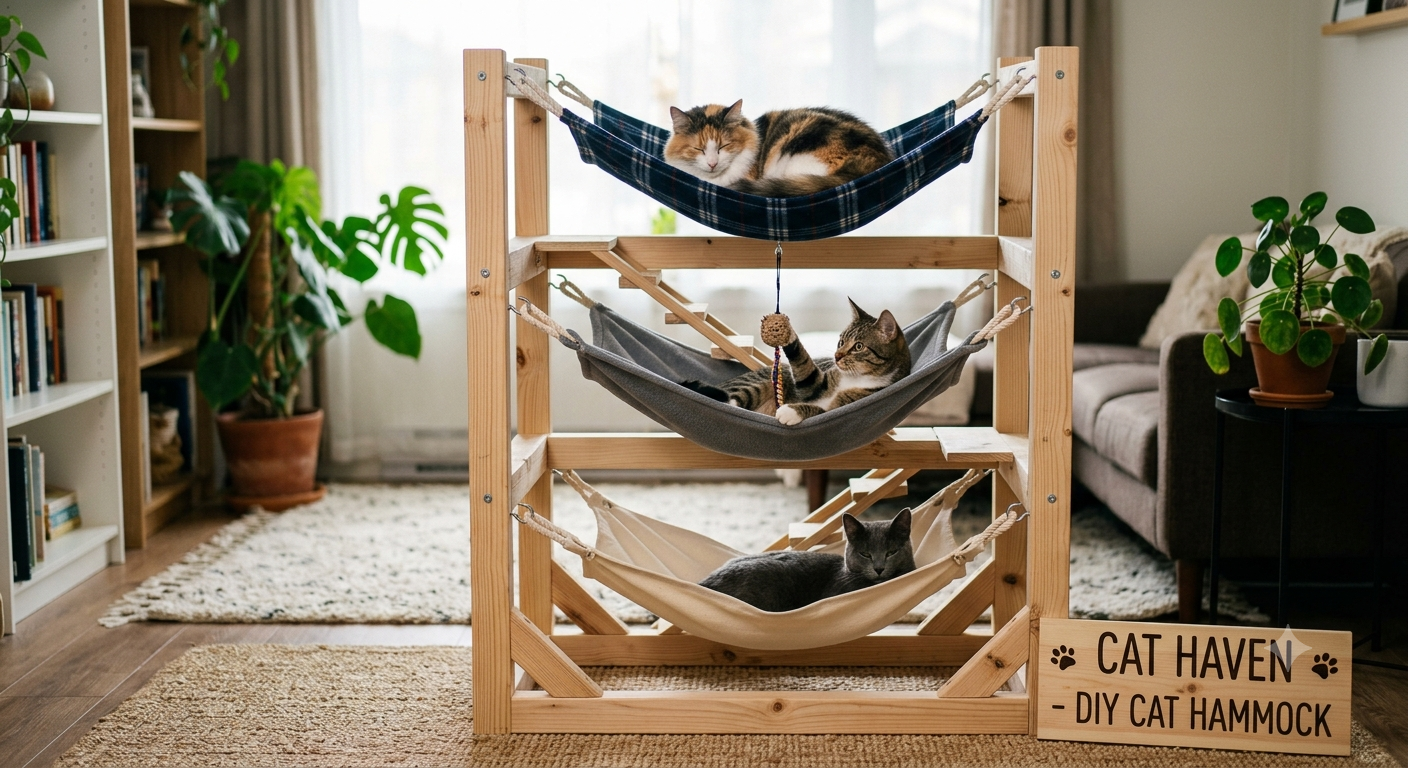
Multiple hammock panels are suspended at different heights from the same four-post frame, creating a bunk bed system of suspended cat resting surfaces. Each cat in a multi-cat household has their own level, reducing social competition for the single high spot while providing the suspended resting surface at multiple heights.
The frame: PVC pipe in a rectangular frame, 24 inches by 18 inches, with corner joints connecting horizontal and vertical elements. Three horizontal hammock attachment bars at 12-inch vertical intervals provide the mounting points for three suspended fabric panels.
Each fabric panel attaches to the horizontal bars with cord loops at all four corners. The panels at different heights sway independently — the cat on the middle level is not disturbed by the cat changing position on the upper level.
Hammock 7: The Crochet Cat Hammock — 3 Hours, Beginner/Intermediate
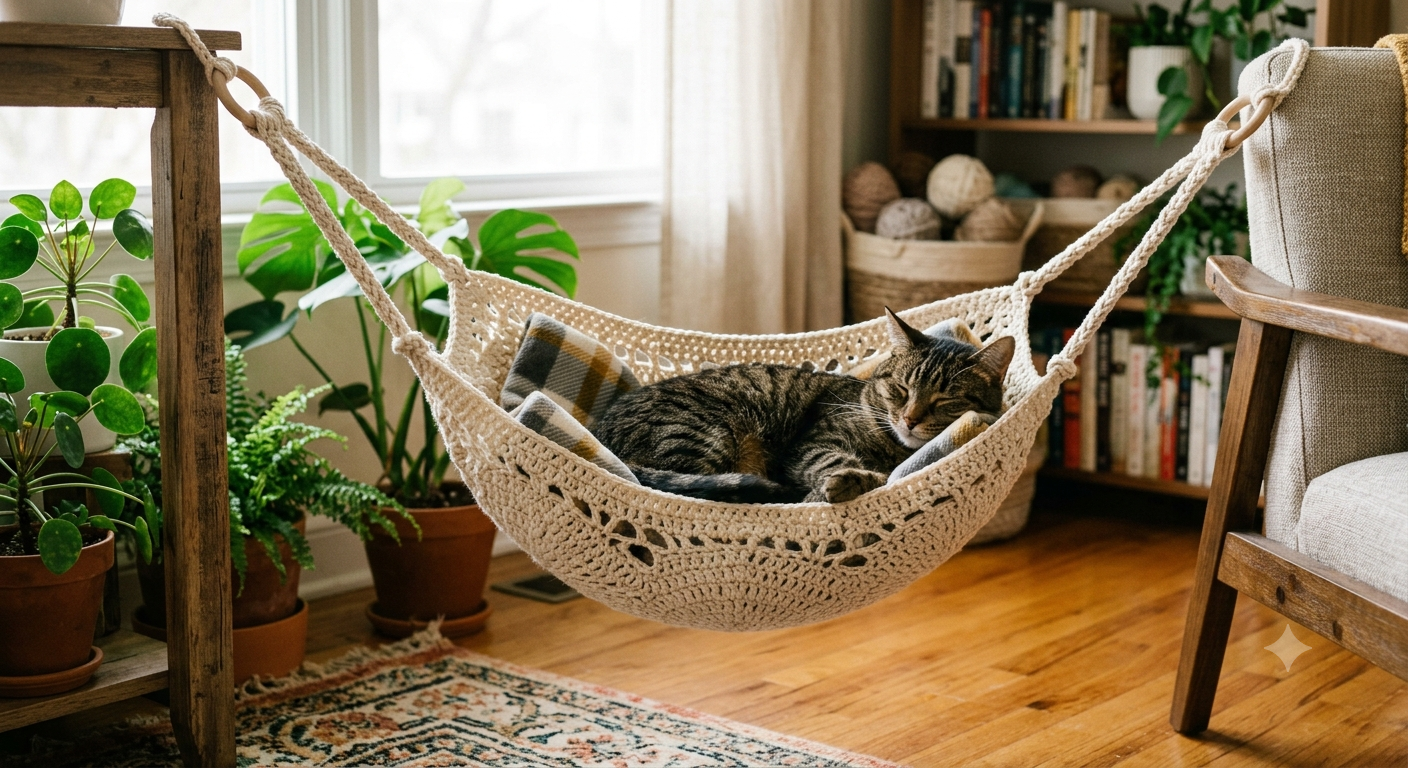
The crocheted hammock combines the comfort of a crocheted surface with the suspended benefit of hammock design. The crochet construction creates a slightly stretchy surface that conforms slightly to the cat’s body shape — more comfortable than a rigid fabric panel, particularly for cats who like to press their paws against the surface while resting.
The crochet construction: Using a size 9mm hook and bulky yarn, chain 44. Single crochet across — approximately 40 stitches. Chain 1, turn. Continue until the panel measures approximately 18 inches in length. Fasten off. Attach a cord to each corner through the outermost stitches.
For a more decorative version, work the panel in a shell stitch or another open-work stitch pattern — the visual texture of an open-work crocheted hammock is particularly striking, and the open stitches provide ventilation that solid-panel hammocks do not.
Hammock 8: The Radiator Hammock — 30 Minutes, Heat-Seeking Solution
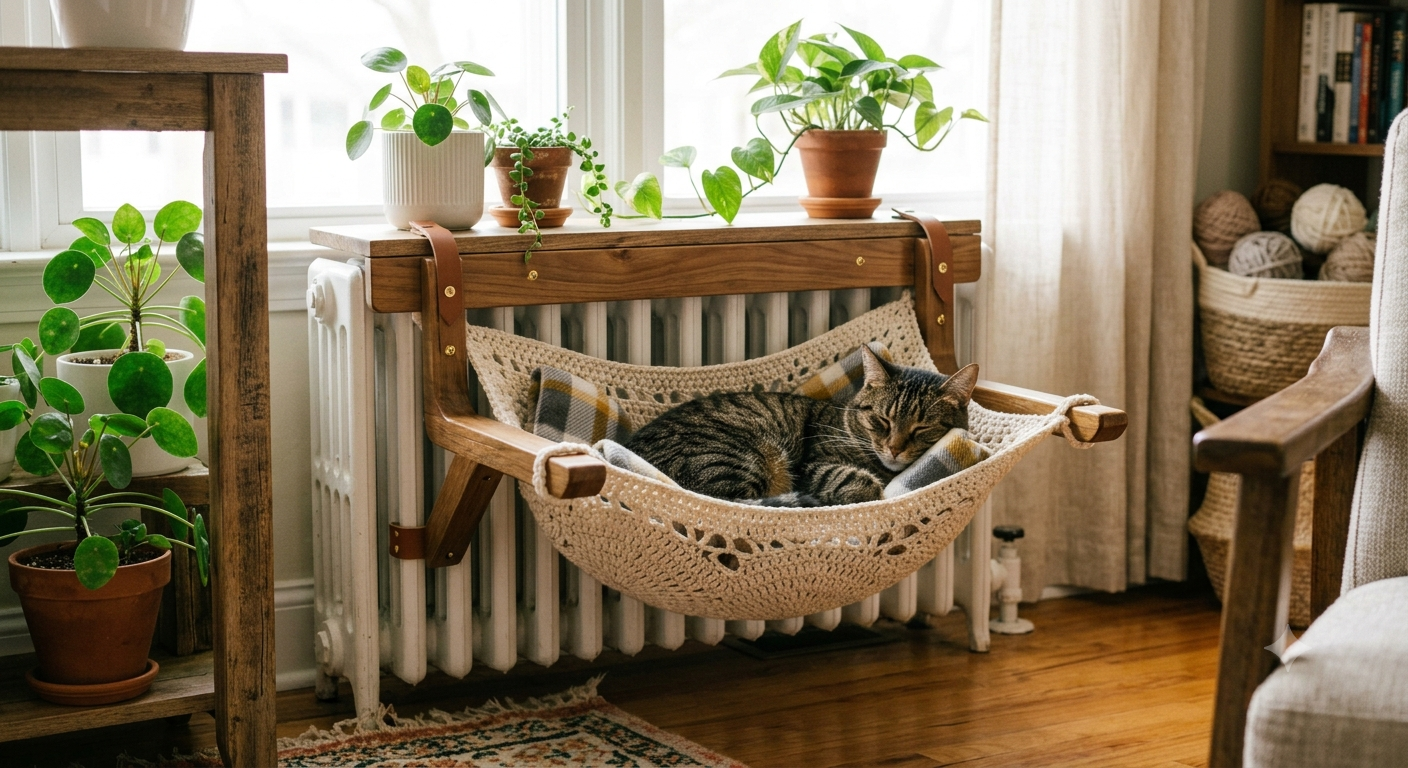
For homes with radiators, a hammock designed to hang directly from the radiator provides the suspended warmth position that heat-seeking cats are already trying to achieve by lying directly on the radiator.
The specific design: A fabric panel approximately 18 inches wide by 16 inches long, with corner attachment points designed to hook over the top of a standard upright radiator. The panel hangs down in front of the radiator, holding the cat slightly away from the hot surface while providing the maximum radiant heat exposure available in the home.
Safety requirement: The fabric used for a radiator hammock must be heat-resistant — wool, denim, or canvas are appropriate. Never use synthetic fabrics near a hot radiator. Ensure the hammock does not contact the radiator surface itself — the cat should be suspended above and in front of, not touching, the heat source.
The Four-Step Hammock Introduction
Place the hammock in position and leave it without using it or drawing the cat’s attention to it for 24 hours. On day two, place a small amount of catnip and a worn piece of your clothing on the surface. Observe from a comfortable distance — active observation inhibits investigation.
Once the cat has slept in the hammock once, they will return independently. The scent marking that occurs in the first sleep converts the hammock from a new object to their territory.
The cat hammock is the cat furniture project that generates the most genuine surprise — the discovery that twenty minutes and four dollars produce something that the cat uses for hours every day, indefinitely. The simplicity of the concept and the effectiveness of the result are in beautiful proportion.
Eight designs. Twenty minutes to two hours. Free to twenty dollars. Save this to Pinterest, share it with every cat owner who has an under-chair space going unused, and build one today. Your cat is about to discover a new favorite spot.