There is a specific texture hierarchy in a cat’s world. At the very top of it — the material they will choose over every other surface in the room when given a free choice — is something dense, deeply soft, and slightly warm. The faux fur throw your partner bought and placed on the sofa arm. The thick wool blanket your grandmother made. The Sherpa jacket you left on the bedroom chair.
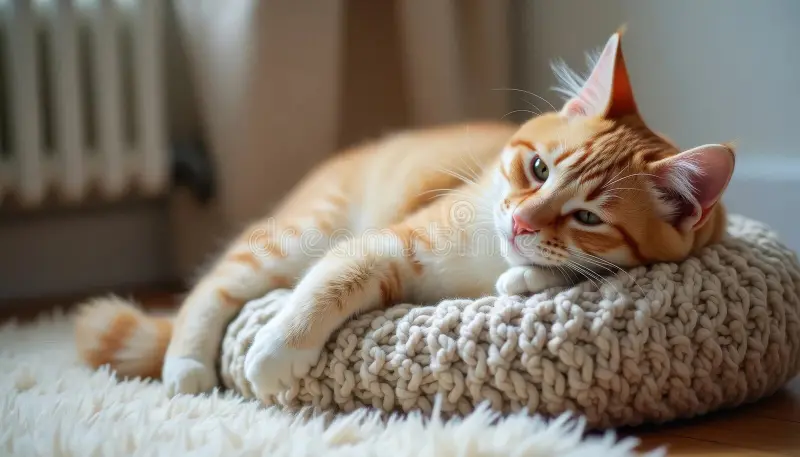
A crocheted cat bed, made with the right yarn at the right gauge, lands in exactly this category. The textured loops of a dense crochet stitch create the complex surface that cats grip gently with their paws during the kneading that precedes sleep. The depth of a properly made crochet bed traps warmth at a level that flat commercial beds cannot match. And the weight of a hand-crocheted piece — denser and more substantial than most manufactured equivalents — provides the specific pressure and resistance that cats find comfortable when settling.
The commercial cat bed that gets ignored is often not ignored because it is in the wrong location. It is often ignored because the material does not engage the cat’s paw-touch sensitivity properly. A hand-crocheted bed, with its textured surface and insulating depth, rarely has this problem.
These eight patterns range from the beginner-accessible bowl bed that works up in two hours to the elaborate cat cave that takes a weekend and produces something genuinely beautiful. All of them are free patterns or can be made using free-pattern principles. All of them have been used by real cats who had opinions about the result.
Before You Start: The Yarn and Hook Decisions That Determine Everything
The yarn you choose for a crochet cat bed determines the bed’s comfort, durability, ease of care, and how your cat actually experiences the surface. This is not a secondary consideration.
The best yarns for crochet cat beds:
Bernat Blanket yarn (super bulky, Category 6): The most widely recommended yarn for crochet cat beds. Super bulky chenille yarn that works up quickly and creates an exceptionally soft, plush surface. Machine washable. Available widely. The chenille texture provides the deep softness that cats respond to most strongly.
T-shirt yarn: Works up quickly, is extremely durable, is machine washable, and the cotton content provides a cooler surface than synthetic yarns — preferred by some cats, particularly in warmer climates. The stretch of t-shirt yarn produces a slightly different drape from standard yarn that many cats find comfortable.
Cotton yarn in bulky weight: For amigurumi-style cat toys, opt for cotton or acrylic yarns as they hold their shape well. Cotton for a cat bed provides better washability than acrylic, a cool surface in summer, and durability that outlasts most synthetic options.
What to avoid: Mohair and other fuzzy novelty yarns that can shed fine fibers — a cat sleeping in a mohair bed ingests fine fibers during grooming. Loosely plied yarns that unravel with claw contact. Very lightweight yarns that produce a flimsy structure without significant padding.
Hook size: Use the hook recommended on the yarn label for standard fabric. Using two strands of yarn held together ensures the sides of the bed are quite stiff, giving the bed structure. Working one size down from the yarn label’s recommendation produces a denser fabric with better structure — important for the sides and walls of any cat bed.
Pattern 1: The Classic Bowl Bed — 2 Hours, Beginner
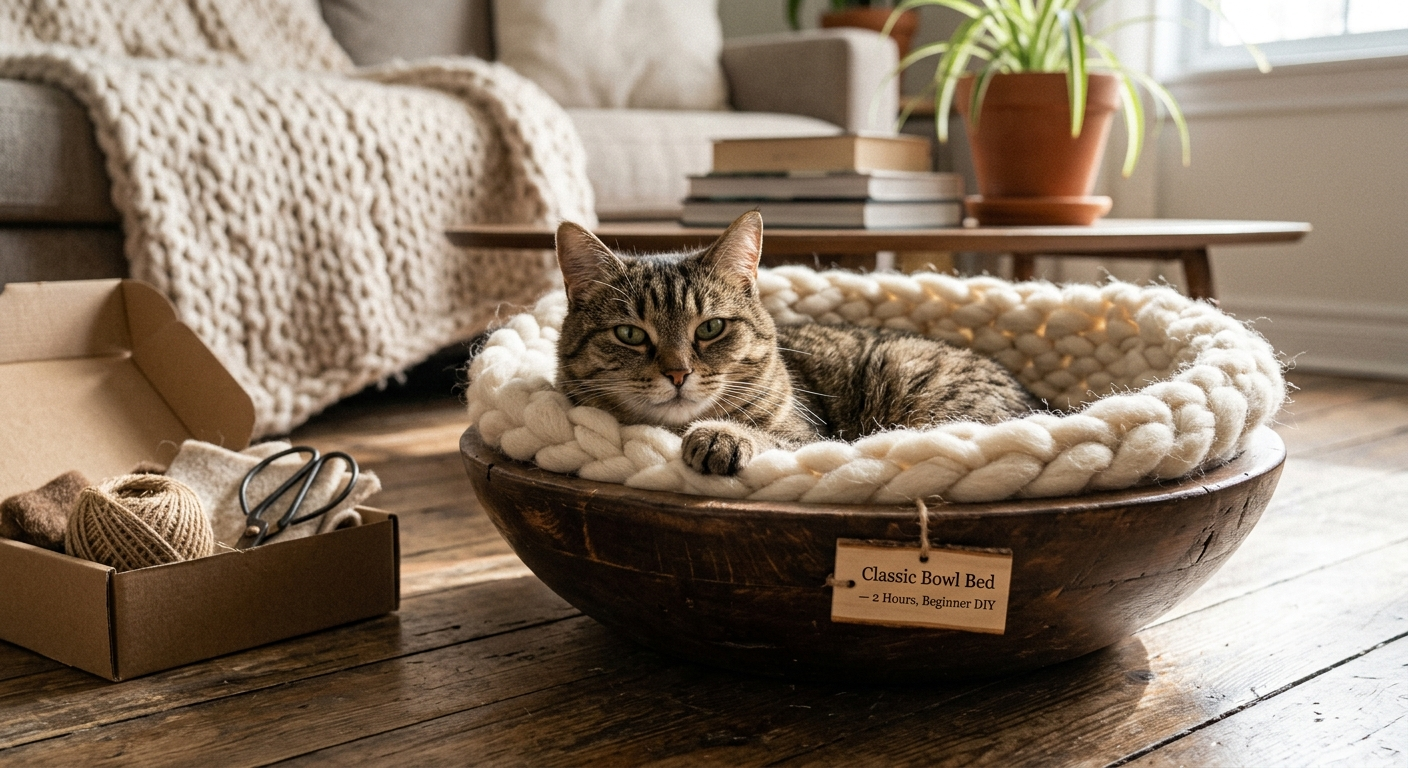
For a classic, sturdy, and comfortable crochet bed for your cat, this bed is quick and relatively simple to make and is great for lounges or bedrooms where cats love to sneak off for a quick nap. You can make it in any color to match your home, and it’ll only take a couple of hours from start to finish.
The bowl bed is the foundational crochet cat bed form — a circular flat bottom that builds upward into curved walls, creating a bowl shape that cradles the cat and provides the specific security of sleeping in a contained space rather than on a flat surface.
The pattern:
Using a size 9mm hook and super-bulky weight yarn:
Row 1 (flat bottom): Magic circle. Single crochet 6 into the circle. Pull tight to close. (6 stitches)
Row 2: 2 sc in each stitch around. (12 stitches)
Row 3: sc 1, 2 sc in next — repeat around. (18 stitches)
Row 4: sc 2, 2 sc in next — repeat around. (24 stitches)
Row 5: sc 3, 2 sc in next — repeat around. (30 stitches)
Row 6: sc 4, 2 sc in next — repeat around. (36 stitches)
Check measurement: the flat circle should be approximately 12 to 13 inches in diameter. If smaller, add one more increase round before proceeding.
Row 7 (begin walls): sc in back loop only of each stitch around. (This creates the transition from floor to wall without a visible ridge on the outside.)
Rows 8–12: sc in each stitch around without increasing. (5 wall rounds, approximately 4 to 5 inches of wall height depending on your gauge)
Final row: slip stitch around the top edge. Fasten off and weave in ends.
Size: Approximately 15-inch diameter floor, 5 inches tall. Suitable for cats under 10 pounds. For larger cats, add two additional increase rounds to the floor section.
Pattern 2: The Padded Rim Bed — 4 Hours, Beginner/Intermediate
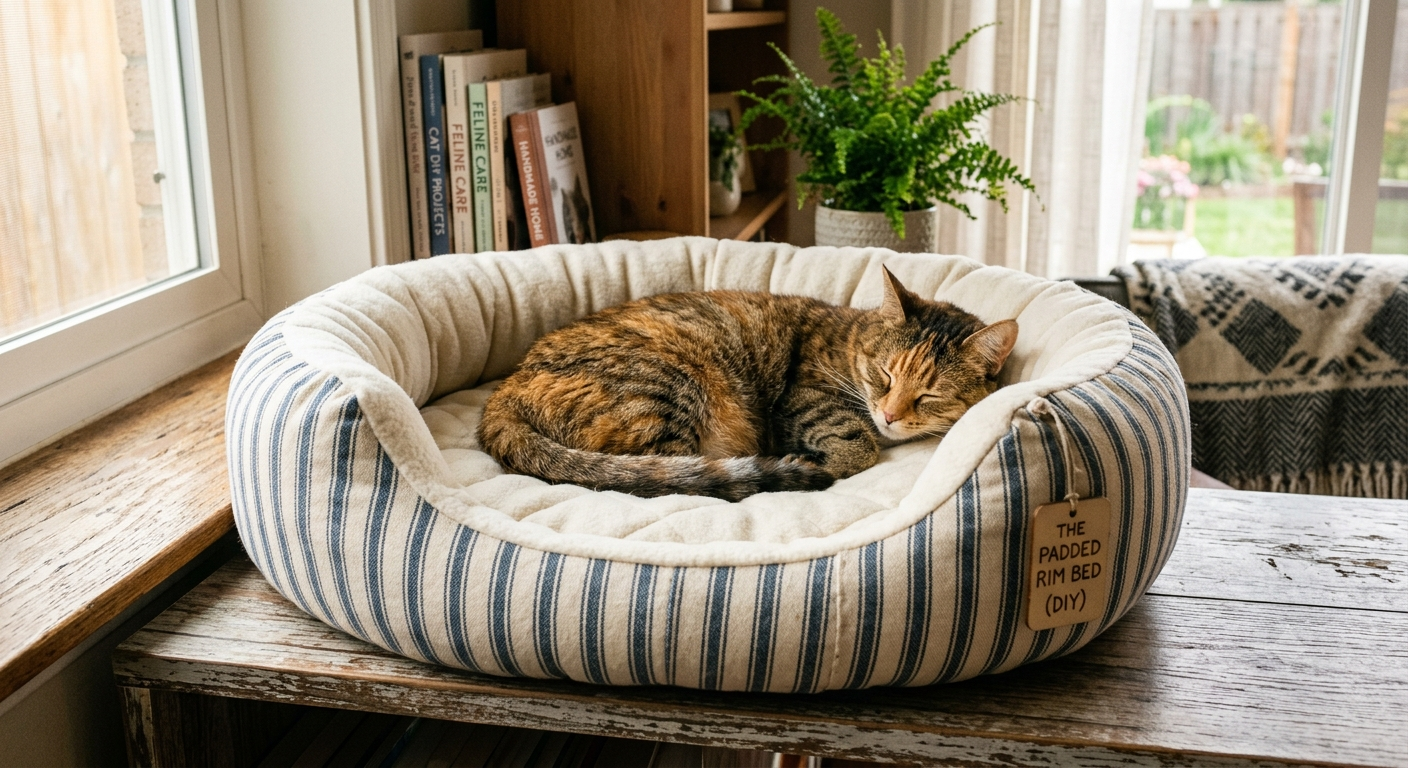
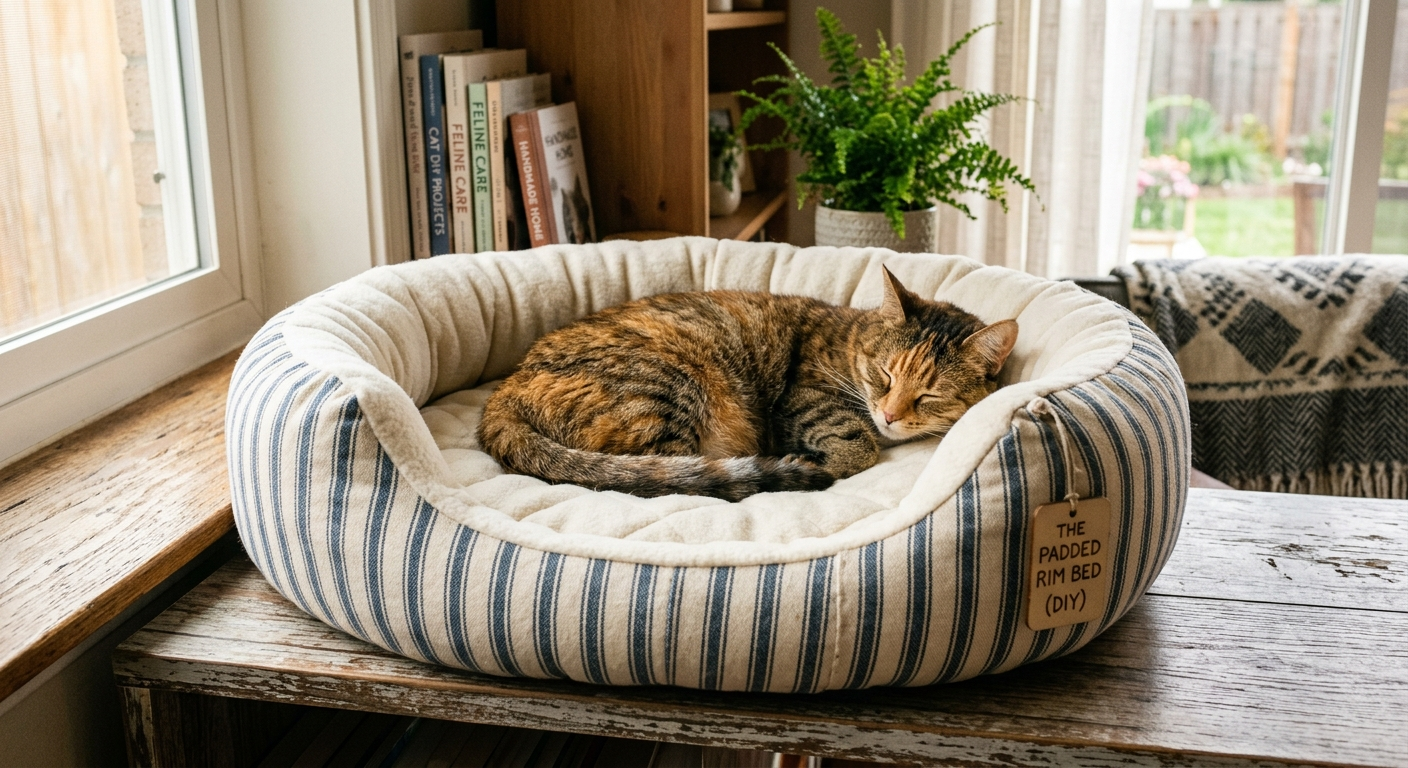
The Padded Rim Pet Bed features a fluffy bottom and folded-down edge over polyfil to give the rim a stable feel. The cats like to place their paws into the crack as they sleep. The idea is simple: it keeps them off the floor as they nap.
The padded rim modification converts the basic bowl bed into a bed with a cushioned upper rim — a feature that multiple experienced cat bed makers note produces increased use, as cats frequently rest their heads on the rim while sleeping in the bowl.
Additional materials: Polyfil stuffing (approximately one cup for the rim) and a blunt tapestry needle for assembly.
The padded rim is created by working the final several rows of the bowl bed in extra-long double crochet, then folding these rows over polyfil and securing the fold with slip stitches to the interior of the bowl. The polyfil inside the fold creates the cushioned rim.
Pattern 3: The Cat Cave Bed — 6 Hours, Intermediate
The crochet cat sack hideaway is a great bed for those cats that like to sleep in their bed, rather than on it. Some cats like doing this because they appreciate the darkness and the respite.
The cat cave crochet pattern extends the bowl bed concept upward and inward to create a fully enclosed sleeping space — a dome with a cat-sized entrance opening that provides complete darkness inside and the maximum security that an enclosed sleeping space creates.
The structural challenge: A crocheted cave must maintain its dome shape without external support. This is achieved through:
Option 1: Crochet around an inflated balloon, then apply fabric stiffener to the exterior surface of the finished piece. Allow it to cure completely before deflating the balloon.
Option 2: Work two strands of yarn together throughout the dome section — the doubled yarn creates a stiffer fabric that holds its shape better than single-strand work.
The pattern progression: Work the flat circular base as in Pattern 1. After the increase rounds are complete, work even rounds for the wall section (as in Pattern 1). Then begin decreasing — sc 5, sc2tog — every round to create the dome curve. Leave an opening of 7 to 8 inches when the walls have reached the desired height, completing the dome on the section opposite the entrance while leaving the entrance section at wall height.
Pattern 4: The Two-In-One Bed — Reversible Design
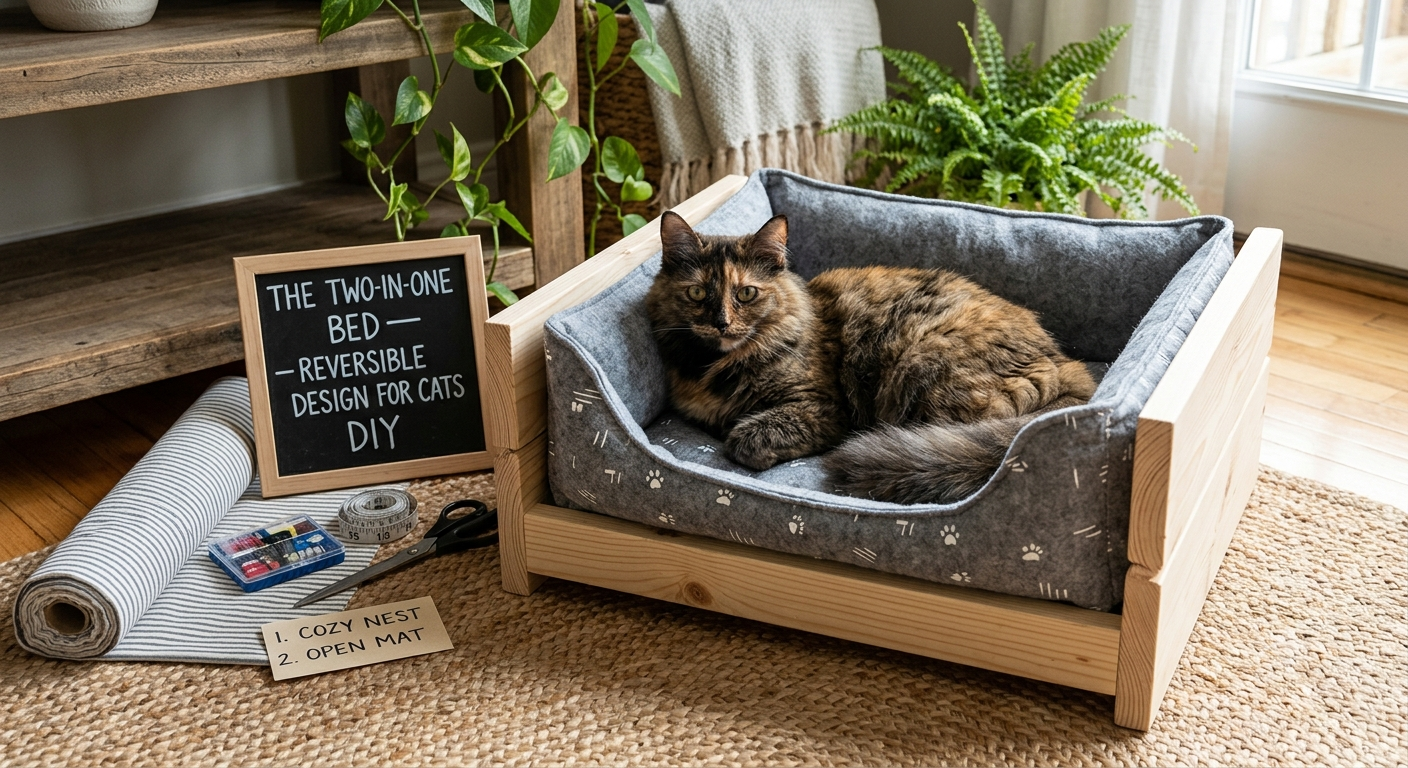
This crochet cat bed pattern comes in two sizes to accommodate small (up to 8 lbs), medium (up to 14 lbs), and large (up to 20 lbs) cats. It features flexible sides that can easily be adjusted to suit your cat’s preference — either curled up with higher edges or flipped inside out for sturdier sides.
The reversible cat bed uses two different textures on the inside versus the outside — faux fur yarn on the interior facing and standard bulky yarn on the exterior — allowing the bed to be flipped seasonally. The faux fur interior faces inward in winter for maximum warmth. The standard yarn interior faces inward in summer for a cooler surface.
Materials: One ball of super-bulky standard yarn (Bernat Blanket or equivalent) and one ball of faux fur yarn (Lion Brand Go For Faux or equivalent) in compatible colors.
Work the two halves separately and join them by working through both layers simultaneously on the joining round.
Pattern 5: The Flat Cat Mat — 20 Minutes, Absolute Beginner
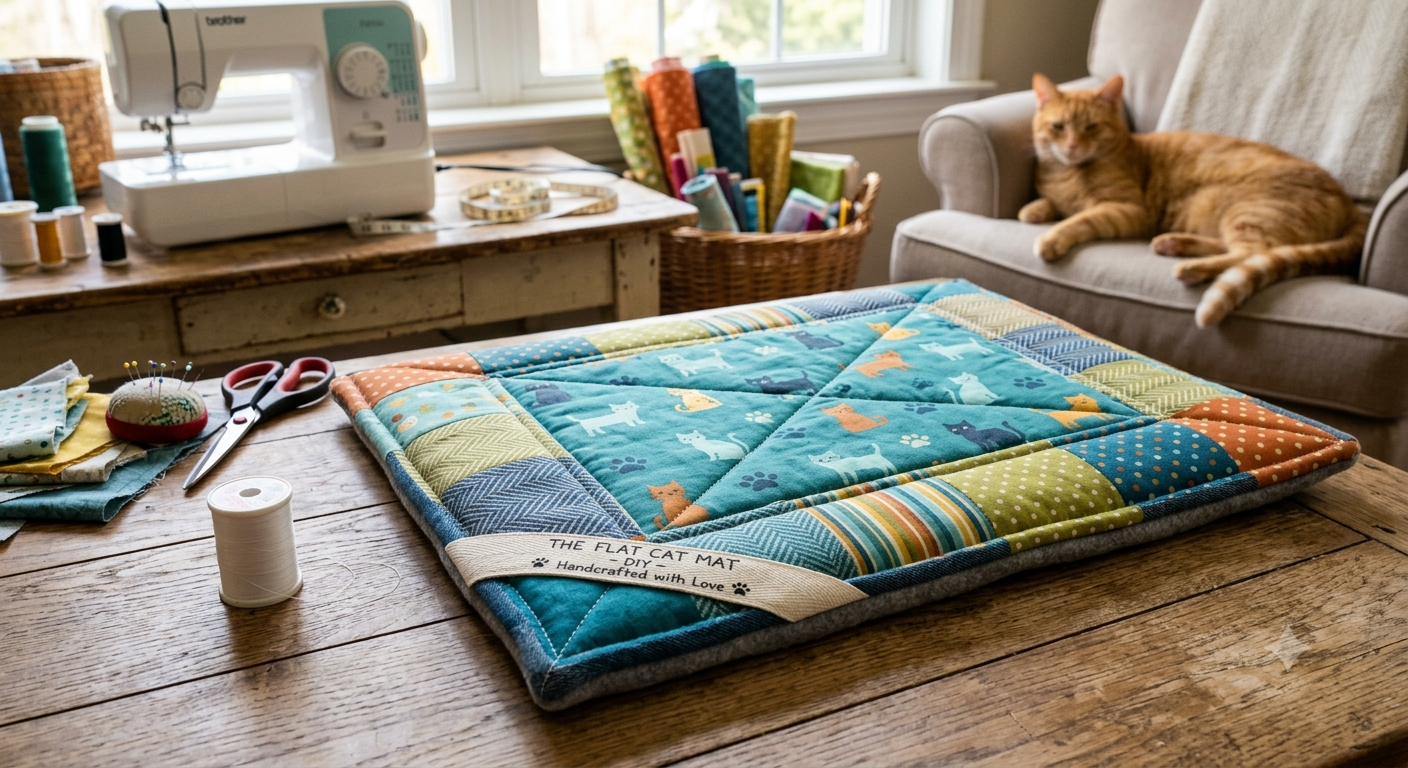
Who says the cat bed you crochet has to be complex? Your cat might love this Crochet Cat Mat as much as any cat cave or bowl-style bed. The ideal project for beginners, this cat mat is easy to crochet and utilizes very few stitches.
The flat cat mat is the most honest possible cat bed — a single large square or rectangle of dense crocheted fabric, with no shaping, no assembly, and no technique beyond chain and single crochet.
The pattern: Chain 40 (or any multiple of 1). Single crochet across, chain 1, turn. Repeat until the piece is square or to the desired dimensions. Fasten off. That is the pattern.
The mat works because the texture of the crocheted surface — the raised loops of each stitch — provides the tactile engagement that cats seek in resting surfaces. Many cats prefer the flat mat to elaborate bowl beds because the flat surface allows them to stretch fully and change position without constraint.
Pattern 6: The Couch Bed — The Tiny Sofa
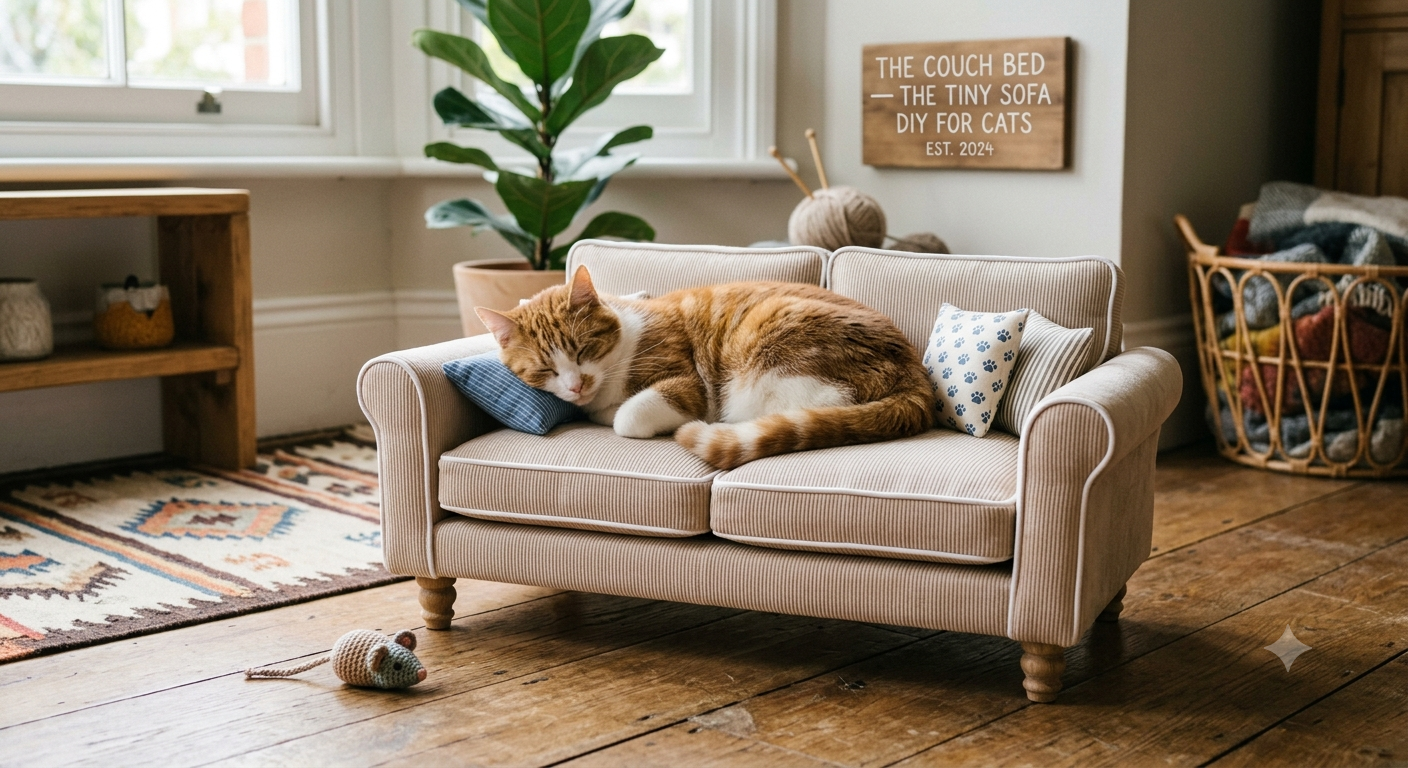
I’ve been seeing a lot of these cat couches lately, and I just love them. Plus, this pattern by TLYC Blog uses faux fur yarn, which really levels up this couch.
The tiny sofa cat bed — a miniature version of a couch complete with back cushion and armrests — is the most photographed crochet cat furniture design on Pinterest and the one most likely to generate the “where did you get this?!” comment from guests.
Construction: The sofa is built in three sections: the seat (a flat rectangular panel), the back cushion (a slightly shorter rectangular panel), and the two armrests (smaller rectangular panels attached to the sides). All sections are stuffed with polyfil and joined by crocheting through both layers.
The key detail: Use faux fur yarn for the seat and back cushion sections and a coordinating standard yarn for the visible edges and arms. The faux fur provides the visual impact of upholstered furniture while the standard yarn edges provide clean, defined lines.
Pattern 7: The Cat Ear Bed — The Instagram Favorite
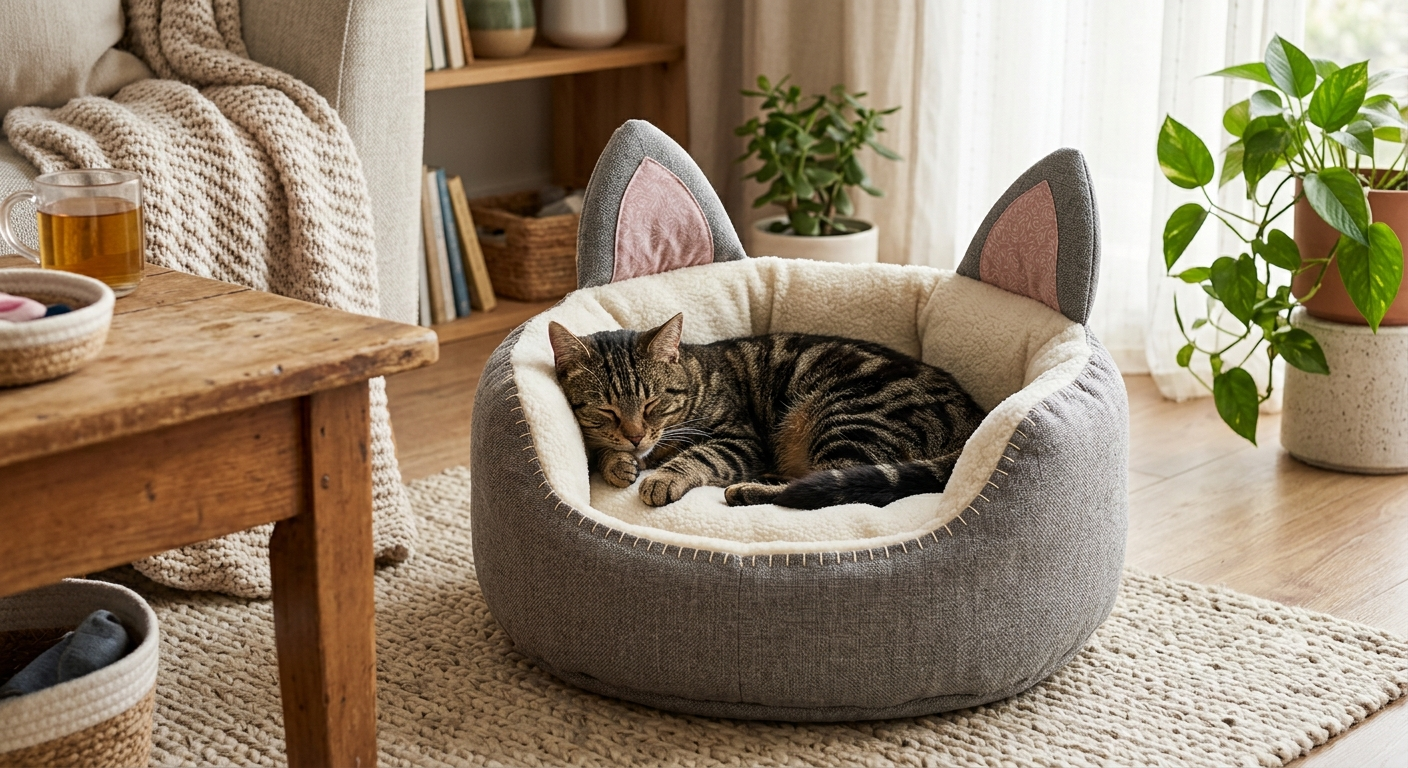
This cat bed is all stitched with a single color of yarn, but it’s got a unique appearance nonetheless, thanks to the cat ears stitched into the top! It’s complete with whiskers, a nose, and even eyes, giving it more character than any of the other beds on this list.
The cat ear bed takes the standard bowl bed and adds two ear structures crocheted directly into the top rim — creating a bed shaped like a cat face that is simultaneously functional and completely impractical to photograph without also photographing the cat inside it.
The ear construction: After completing the main bowl bed, pick up stitches along the rim in the two ear positions. Work each ear as a small triangle — increasing every round for three rounds, then decreasing back to zero. The ear should stand approximately 3 inches tall.
The face details: Embroider eyes, nose, and whisker dots on the exterior face of the bowl using a contrasting yarn color and a tapestry needle. These features do not affect function but transform the bed from a simple bowl into an instantly recognizable character.
Pattern 8: The Scraps Bowl Bed — Zero Waste
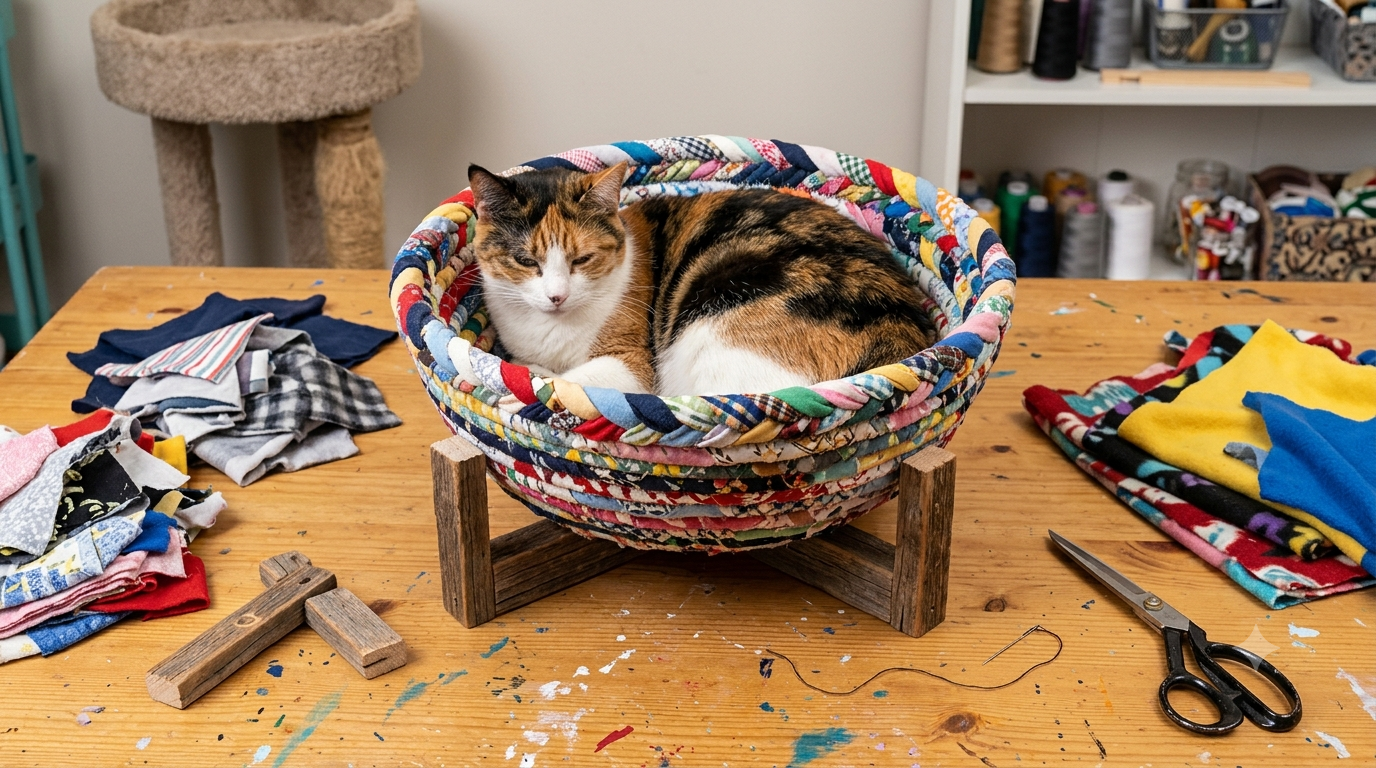
This cozy cat bed crochet pattern is maybe my favorite part because it was a scrap yarn project! So, here’s another pattern idea to bust through your stash and make a cute cat gift.
Every crocheter has a stash of remaining yarn — partial skeins in various colors that are not enough for any planned project but too much to throw away. The scraps bowl bed uses all of it deliberately, changing colors every time a skein runs out.
The resulting striped pattern — irregular, imperfect, unique — is one of the most visually appealing versions of the basic bowl bed, and the construction knowledge that every stripe represents one partial skein rescued from the stash makes the finished piece particularly satisfying.
The only constraint: All yarns used should be the same weight category. Mixing weights produces uneven tension and irregular walls.
Making the Bed Your Cat Actually Chooses
They weren’t interested in the beds at first, much to my dismay, but then I would find them snuggled together in them regularly. They are now a staple in front of the fireplace and in sunny spots around the house.
The introduction process for a crocheted cat bed follows the same principles as any new cat furniture: position it where the cat already rests, add catnip and a worn piece of clothing to the interior, and leave it alone for 24 to 48 hours before interacting with it.
The washing protocol that extends bed life: Remove as much hair as you can with your hands (picking it off), and then throw it in the wash on cold and let it air dry. Cold wash preserves the yarn structure. Always air dry — tumble drying distorts the crocheted shape of anything but the flattest mat patterns.
The crochet cat bed you make this weekend will be used differently from anything commercially produced. Not because it is necessarily more elaborate — some of these patterns are as simple as any commercial option. But because it carries your scent in the fibers, because you made it specifically for this cat, and because the texture of hand-crocheted fabric is simply something that most cats choose preferentially when given the option.
Eight patterns. Two hours to six. A complete guide to the yarn, the technique, and the introduction process that makes it work. Save this to Pinterest, share it with every cat-owning crocheter you know who has not yet made the bed their cat will love more than the sofa, and go choose your yarn today.