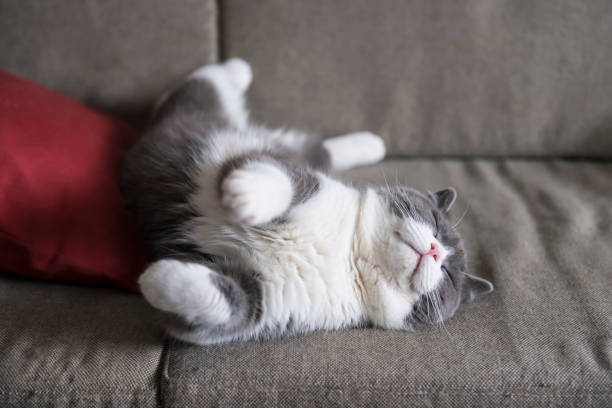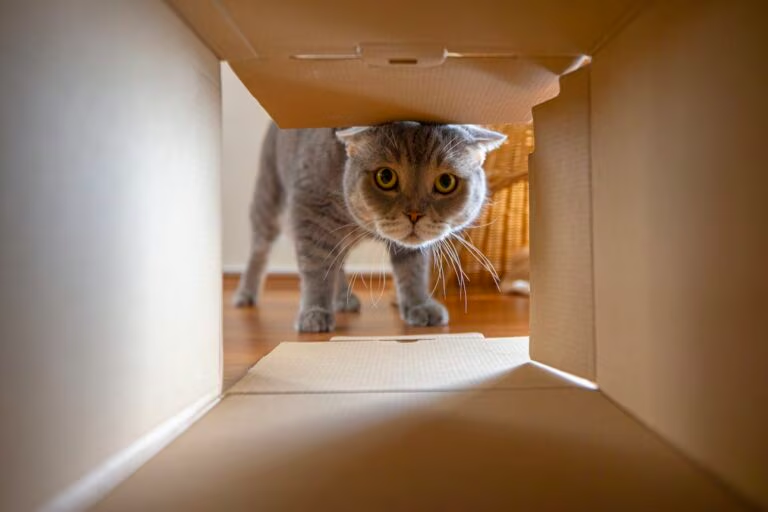
Your cat disappears sometimes, not in a concerning way — in the specific, deliberate way of a creature who has decided that the world has been sufficiently experienced for the moment and that what is required now is complete enclosure. They want darkness. They want a space that fits their body exactly and contains only themselves. They want the cat cave.
The desire for enclosed resting spaces is not a behavioral quirk. It is the expression of a deep instinct — the same instinct that drives wild cats to rest in tree hollows, under dense undergrowth, and in rocky crevices rather than in the open. The enclosed space is safe because it eliminates the threat vectors that an open space leaves available. A cat in a cave cannot be approached from behind. Cannot be descended upon from above. Can only be reached through the one entrance they are watching.
Your domestic cat does not have these threats. But the instinct that evolved to manage them is still completely present, and a cat who can satisfy it through access to an appropriately sized enclosed resting space is a calmer, more settled, less anxious cat than one whose environment provides no such option.
These eight DIY cat cave designs — ranging from a fifteen-minute no-skill cardboard build to an elaborate felted wool cave that takes a weekend and produces something genuinely beautiful — all satisfy this need in a specific, complete way that commercial cat caves rarely do.
What Makes a Cat Cave Actually Work
Before the builds — the specifics that determine whether your cat uses the cave or investigates it once and goes back to the cardboard box.
Size: The ideal cat cave is slightly larger than the cat’s body. Not significantly larger — the security benefit comes from the snugness, the sense of being contained. A cave that is too large feels like an open space with a roof rather than an enclosed sanctuary. Target approximately 1.5 times your cat’s body length in diameter and 1.3 times their shoulder height in interior height.
Entrance placement: A single entrance that the cat can observe while resting inside is the optimal configuration. The entrance should face the room’s primary activity direction — the cat wants to monitor the environment while resting safely enclosed. An entrance that faces a wall defeats the purpose entirely.
Material warmth: The interior surface material matters significantly. Hard surfaces (cardboard, plastic) are acceptable for temporary or investigative use, but are not what cats choose for extended resting. Soft, insulating materials — fleece, wool, Sherpa fabric — are what produce the four-hour sleep sessions that indicate a cat has genuinely accepted a resting space as theirs.
Darkness: The interior of the cave should be darker than the surrounding room. Thin walls that transmit light, or materials that allow diffuse illumination, reduce the security effect of the enclosure. Denser materials — thick felted wool, multiple fabric layers, opaque construction — produce the genuine darkness that cats prefer.
Cave 1: The T-Shirt Cave — 5 Minutes, Zero Skill
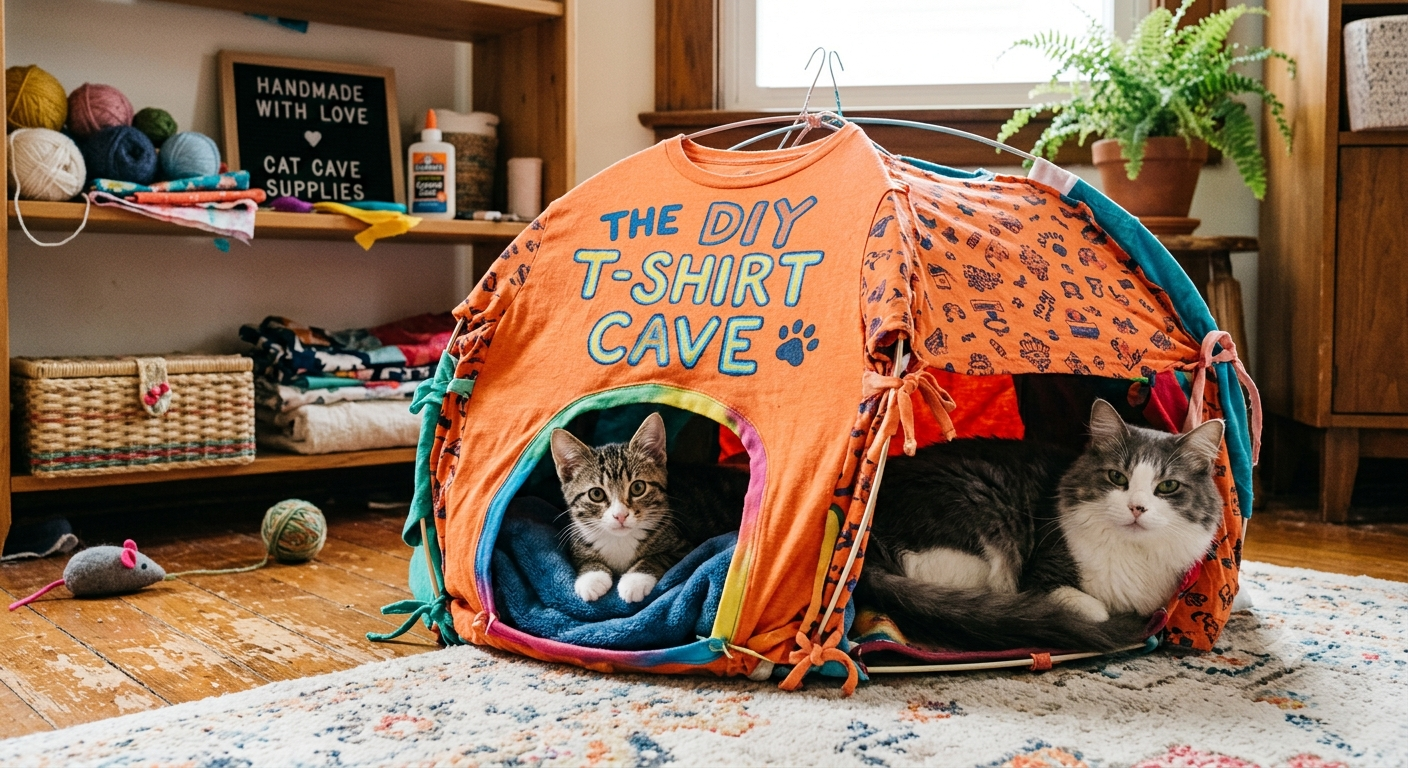
The five-minute cat cave is the starting point for every owner who wants to test whether their cat will actually use an enclosed space before investing time or money in a more elaborate build.
Materials:
- One large t-shirt (adult size L or XL)
- One sturdy wire hanger
- Optional: a handful of dried catnip
The technique: Reshape the wire hanger into a rough circle approximately 12 to 14 inches in diameter. Insert it into the t-shirt body, positioning it at about the chest level of the shirt. Pull the t-shirt over a cardboard box or a sturdy bowl so the reshaped hanger creates the entrance frame. The t-shirt’s body becomes the cave walls, and the sleeves hang down as additional entry points or visual barriers.
Place inside a cardboard box for added structure, or simply let it hang from a low branch, a hook, or the arm of a sofa. Add a pinch of catnip inside.
The test results from this cave tell you everything you need to know about whether your cat will use an enclosed space, at zero cost and five minutes of investment. If they do not use the t-shirt cave, a $200 felted wool cave will sit equally unused. If they love it, you have confirmation to invest in a more permanent build.
Cave 2: The Cardboard Hideout Cave — 30 Minutes, Free
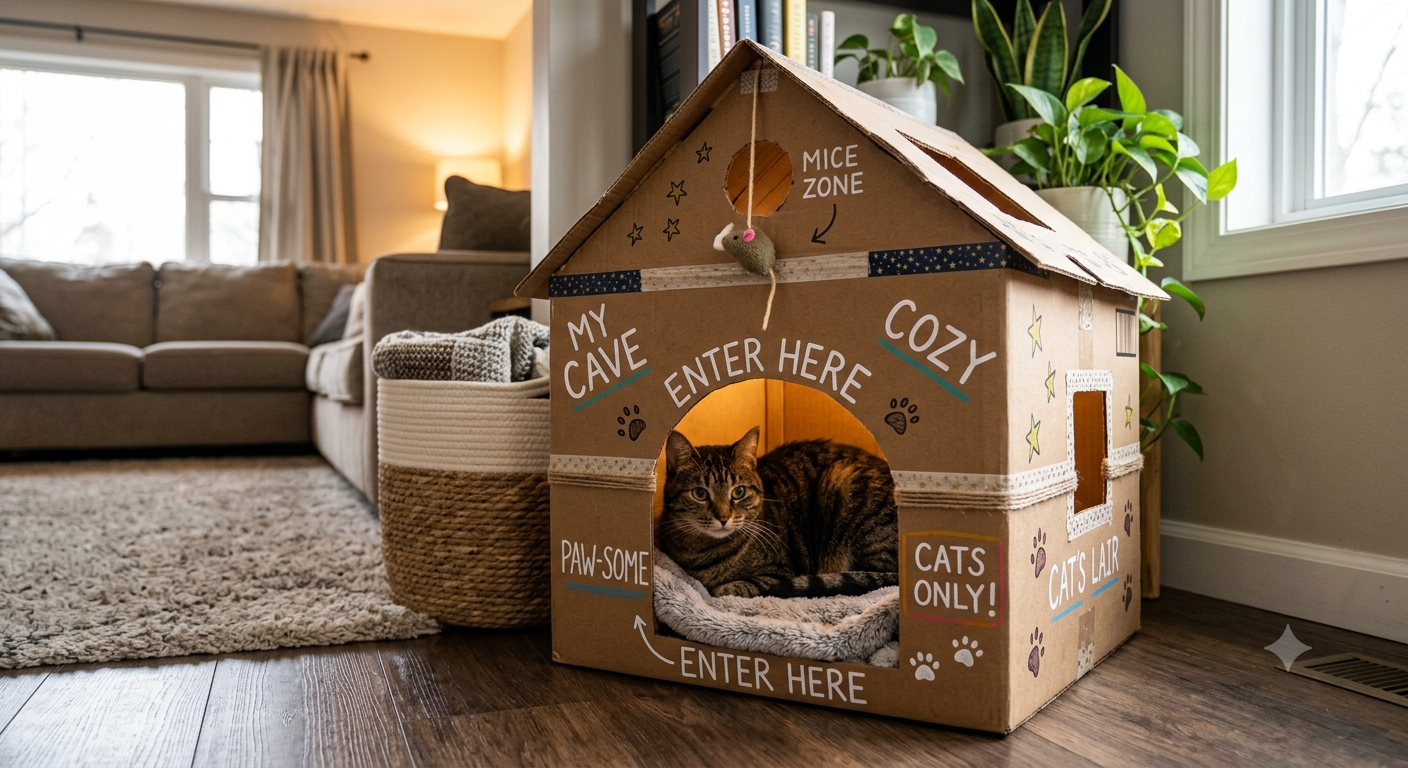
Cardboard is one of the most underestimated cat materials available. The texture, the smell (cardboard has a specific paper-and-glue scent that many cats find appealing), the sound it makes under paw, and the insulating qualities of corrugated board all make it a genuinely preferred material for many cats — not just an acceptable substitute for something better.
Materials:
- Two large cardboard boxes (moving boxes are ideal)
- Duct tape or hot glue
- Box cutter or craft knife
- Optional: fleece blanket to line the interior
The build: Cut one box down to approximately 14 inches in height. This is the cave body. Cut an entrance hole in one end — approximately 7 inches wide by 7 inches tall, positioned centrally in the end panel. Reinforce all edges with duct tape. Place the second box, cut to the same height, over the first as a lid — or overlap the flaps of the first box to create a roof structure.
Line the interior with a fleece blanket cut to fit the floor — this converts the cardboard from an investigation space to a resting space. Add catnip to the blanket.
For decoration: cover the exterior with a single piece of adhesive contact paper in a pattern or color that suits your home’s aesthetic. This converts the obvious cardboard cave into something that reads as an intentional interior choice rather than recycled packaging.
Lifespan: Three to six months of regular use before the cardboard compresses and the structure loses its integrity. Replace at that point with a new identical build — the replacement takes thirty minutes and costs nothing.
Cave 3: The Felted Wool Cave — The Beautiful One
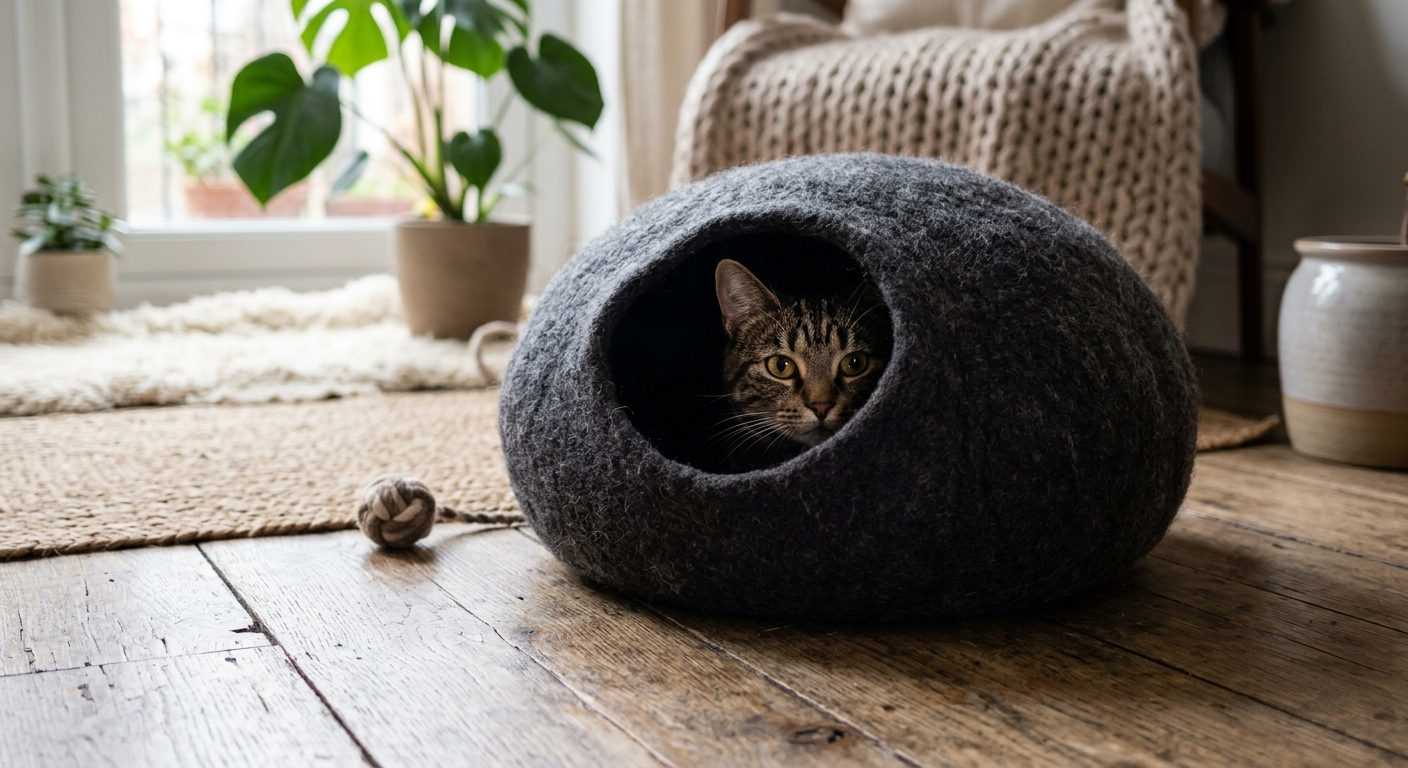
The felted wool cat cave is the build that consistently generates the most Pinterest saves of any DIY cat furniture item. The organic, rounded form. The depth of color available in wool. The handmade quality that is visible in every finished surface. And the fact that your cat — pressing their body into the thick, warm, dark enclosure — is using something that took skill and time to create specifically for them.
Felted wool cat caves are made using either wet felting (a process that mats wool fibers by agitation in hot water with soap) or needle felting (the use of a barbed needle to interlock wool fibers). The wet felting approach produces a cave much more quickly — three to four hours for a complete cave — and is accessible to anyone regardless of prior felting experience.
Materials for wet felting:
- Roving wool (unspun wool fiber), approximately 200 to 300 grams for a standard cat-sized cave
- Hot water and dish soap
- An inflated balloon sized to your desired cave interior
- A pool noodle or similar object for the entrance form
- A flat work surface covered with bubble wrap
The process:
Inflate the balloon to approximately the interior dimensions of the desired cave. Lay roving wool in thin layers over the balloon surface, alternating the fiber direction with each layer. Apply hot soapy water and begin felting the surface by applying firm friction — rubbing the wool surface gently at first, then with increasing pressure as the fibers begin to interlock.
Continue adding layers and felting until the wool surface is approximately 1/2 inch thick. Felt the entrance area last, using the pool noodle as a form to maintain the opening while the surrounding wool felts.
Allow to dry completely over the still-inflated balloon. Once fully dry, deflate the balloon and remove it through the entrance. The cave holds its shape from the felted structure.
The result: A cave that looks like it belongs in a high-end Etsy shop, that smells of wool (which cats find calming), that provides complete darkness inside, and that regulates temperature slightly — warmer in winter, cooler in summer — through the insulating properties of the wool.
Cave 4: The Crochet Cat Cave — For the Crafty Owner
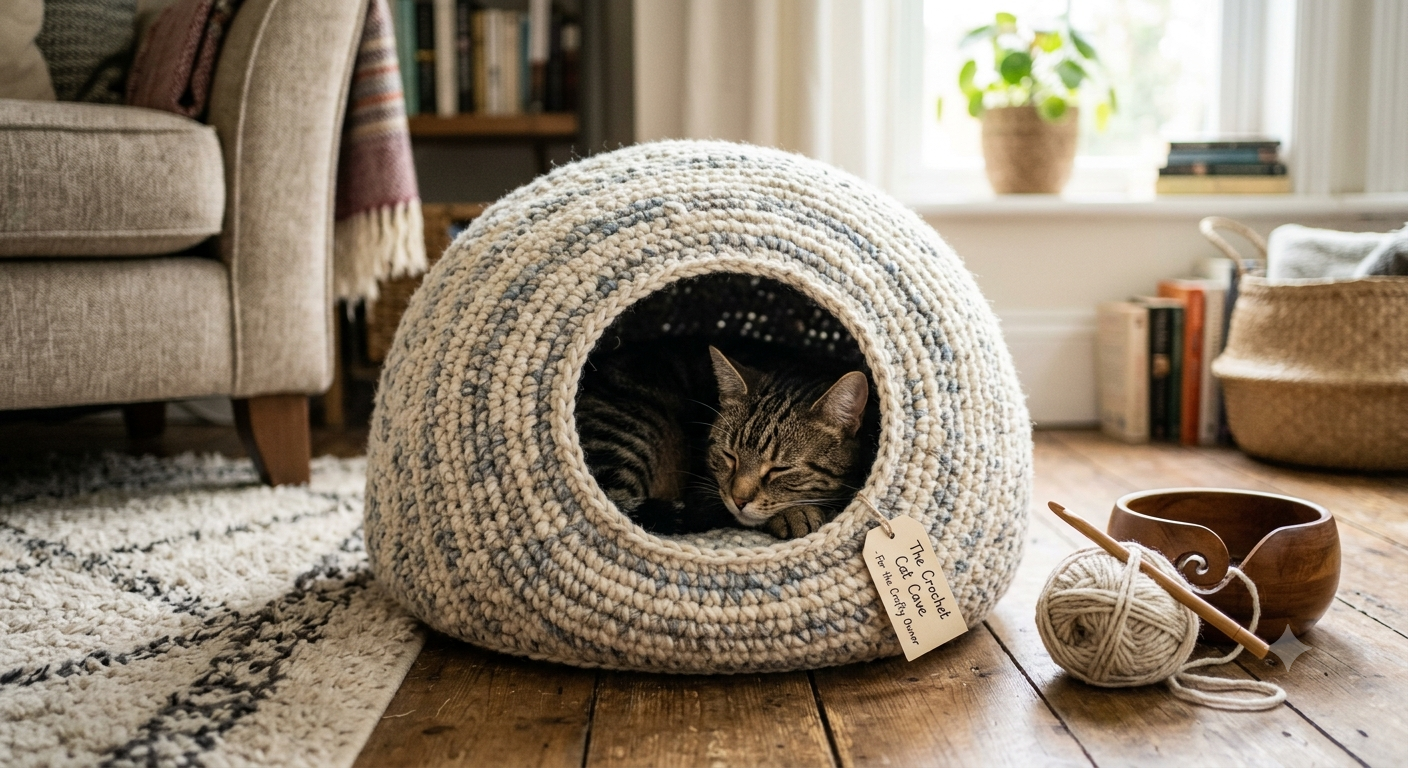
The crochet version of the cat cave produces a structurally complete enclosed space using bulky or super-bulky yarn and basic crochet technique — no felting required, no balloon form, no specialized equipment.
The structural challenge: A crocheted cave must be stiff enough to maintain its dome shape without collapsing on the cat inside. This is achieved through one of two methods: crocheting around a stiffening form that remains inside the finished cave, or using a yarn-stiffening spray on the completed cave.
Method 1 — Stiffening form: Crochet the dome over an inflated balloon, applying fabric stiffener as you work. The stiffener soaks into the yarn and cures to a semi-rigid form that holds the cave’s shape without the balloon present.
Method 2 — Internal structure: Crochet the dome shape in the round, beginning from the bottom and working upward. Insert a pre-formed wire or plastic frame inside the finished dome — the frame provides the structural support while the crocheted surface provides the soft interior.
Basic pattern:
Using a size 10mm hook and super-bulky yarn: magic circle, single crochet 6 into the circle. Increase evenly every round for five to six rounds until the base diameter equals the desired cave floor dimension. Then work even (no increase) for approximately six rounds to form the walls. Begin decreasing evenly every round to close the dome. Leave an opening of approximately 7 to 8 inches when the walls have reached the desired height before the dome curve begins.
Time to complete: Four to six hours for an experienced crocheter using super-bulky yarn.
Cave 5: The Wooden Box Cave — Rustic and Permanent
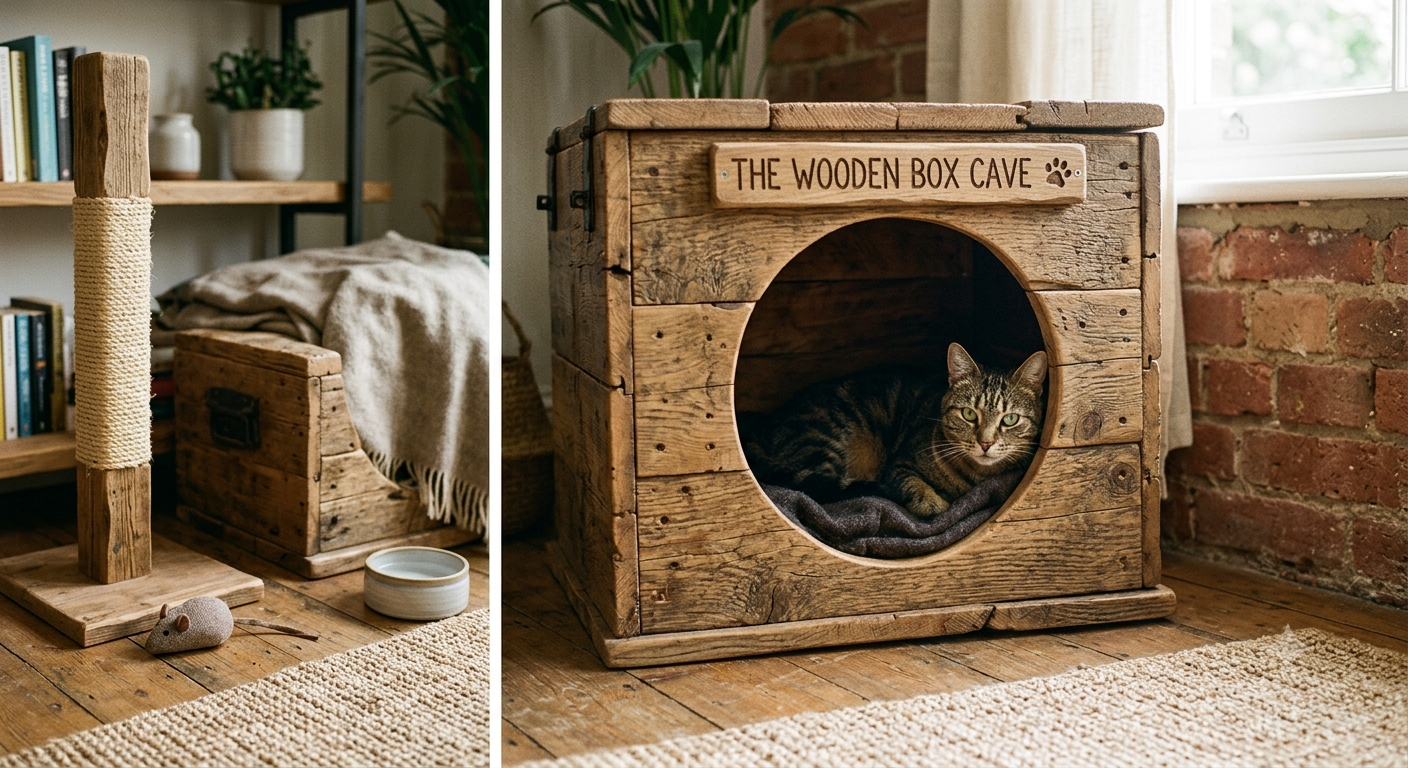
A wooden box cave — built from reclaimed wood, pallet boards, or standard lumber — provides the most permanent and structurally sound cat cave available. It also provides the most design flexibility: the exterior can be painted, stained, or left natural; the interior can be lined with any material; the entrance can be shaped into any form from a simple circle to an arched doorway.
Materials:
- 1×6 lumber for the box body and roof
- 1/4-inch plywood for the back panel
- Interior lining fabric (Sherpa or faux fur)
- Wood screws and wood glue
- Sandpaper for edge finishing
Dimensions: External: 16 inches wide, 14 inches tall, 18 inches deep. Internal: 14 inches wide, 12 inches tall, 16 inches deep. Entrance opening: 7 inches wide, 8 inches tall, positioned centrally on the front panel.
The build: Cut all panels from the 1×6 lumber. Assemble the box with glued and screwed butt joints at all corners. Attach the back panel in a rabbet or simply face-nail it to the back edges. Cut the entrance hole with a jigsaw. Sand all edges smooth — particularly the entrance edge, which the cat will pass through daily. Line the interior with Sherpa fabric glued to all six interior surfaces.
Optional decorative elements: A small porch roof above the entrance — a piece of wood angled at 45 degrees above the door — gives the cave a cottage-like appearance. Paint the exterior in a tone that matches your room’s color palette.
Cave 6: The Fabric Tent Cave — Collapsible and Portable
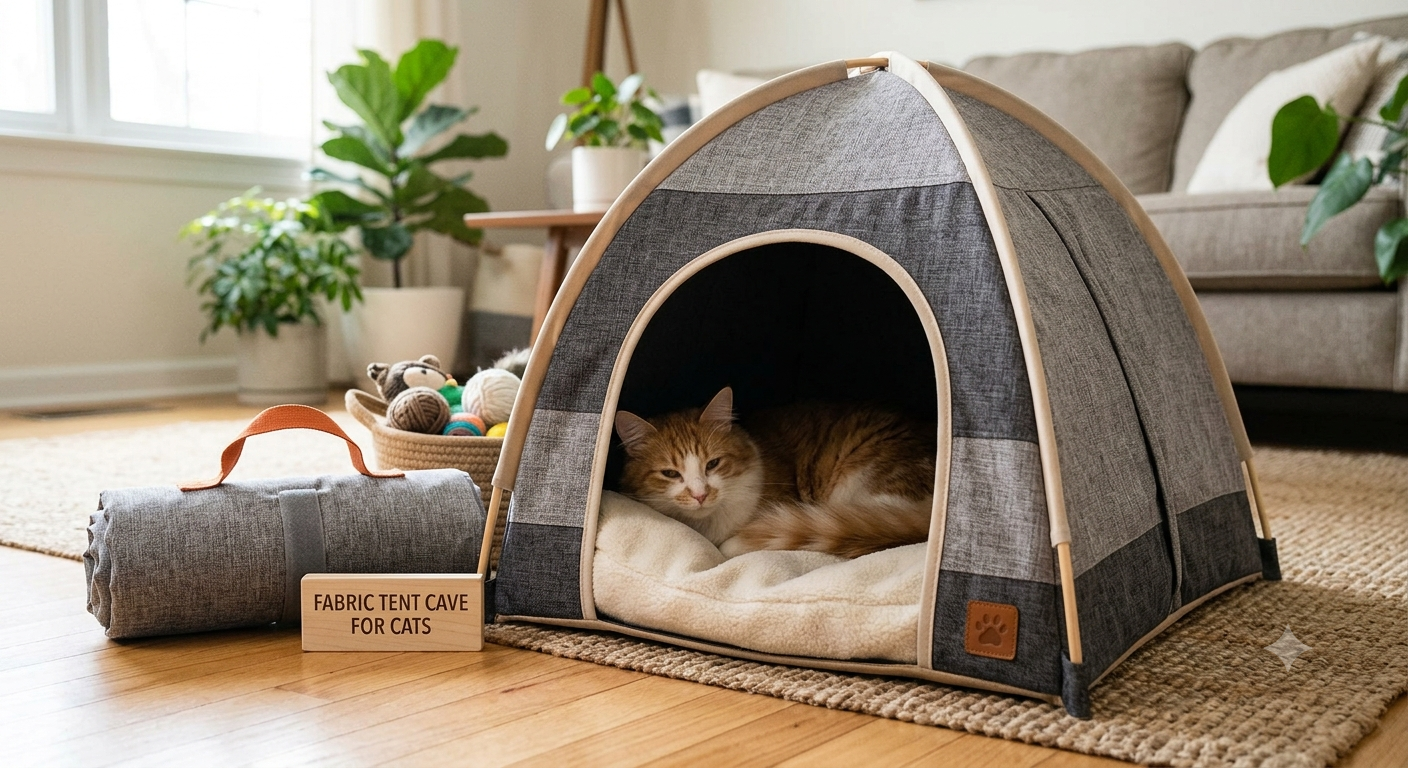
The fabric tent cave is the most practical cat cave for multi-room households — it is lightweight, collapsible, and can be moved from room to room as the cat’s preferred location changes.
Materials:
- 1/4-inch dowel rods, four lengths at 18 inches each
- Heavy fabric — canvas or denim works well
- Sewing machine or fabric glue
- 4 fabric corner pockets to hold the dowel rod frame
The structure: The four dowel rods form a pyramid or A-frame shape, with fabric stretched between them. The tension of the fabric against the rods provides the structural support for the tent shape. A floor panel completes the enclosure.
Sewing the cover: Cut the fabric into four triangular panels. Sew the panels together along the three upper edges, leaving one panel unsewn at its lower edge to create the entrance. Sew corner pockets at each apex of the assembled cover to hold the dowel rod ends.
The cover disassembles completely for washing — genuinely important for any pet furniture that will be used daily.
Cave 7: The Plant Basket Cave — Zero Build Required
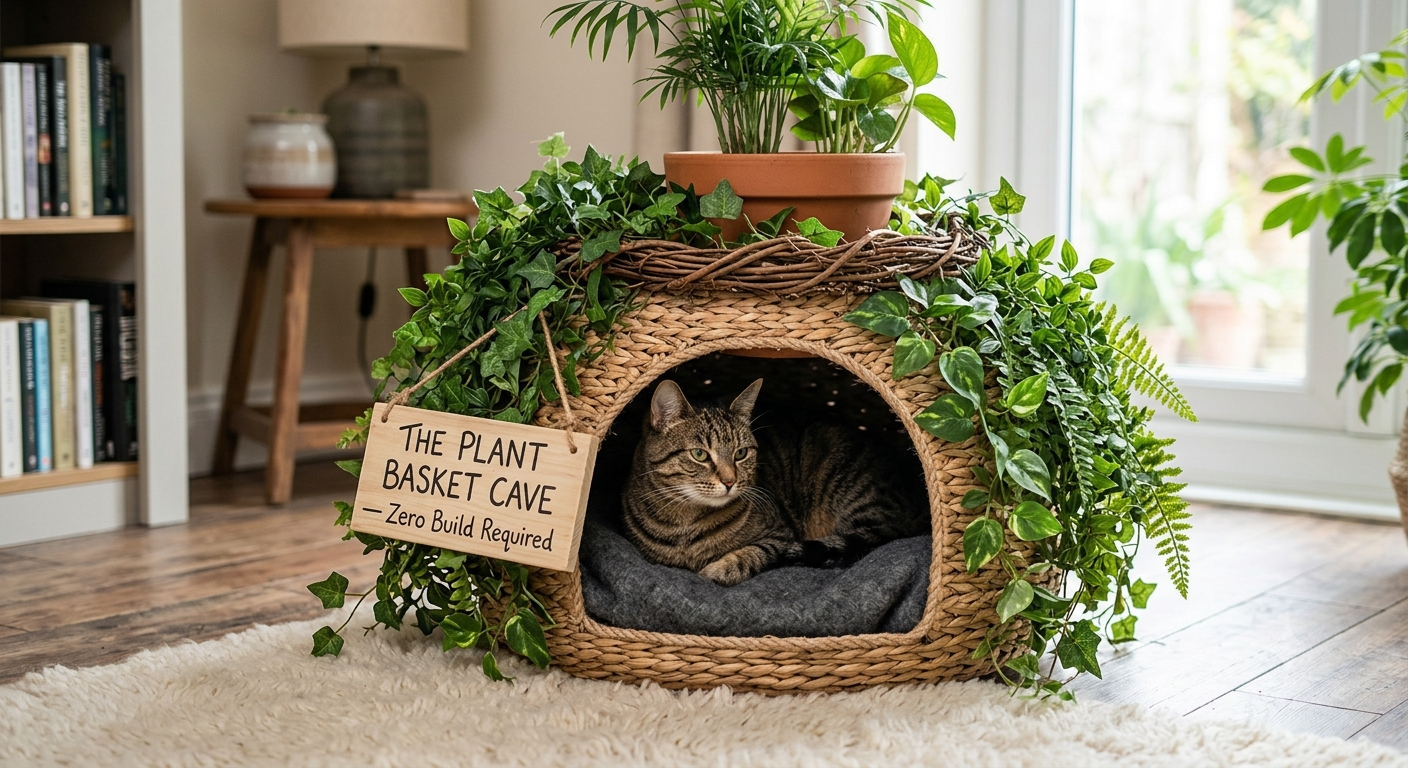
Large wicker or seagrass baskets — available from home goods stores — with a folded fleece blanket inside and a partially draped throw creating the entrance: this is the cat cave that requires no building, no sewing, and no tools. Exactly fifteen minutes from purchase to cat-ready.
Select a basket with an interior diameter of at least 14 inches and a height of at least 12 inches. Line with a folded fleece blanket. Drape a second blanket partially over the basket opening to create the sense of enclosure from above — many cats find partial overhead coverage more appealing than a completely open basket top.
The basket aesthetic — natural wicker or seagrass — integrates beautifully into almost any home design and reads as intentional home décor rather than pet furniture. Multiple baskets of different sizes throughout the home provide a low-cost, high-design enrichment solution.
Cave 8: The Under-Furniture Cave — The Smartest Use of Existing Space
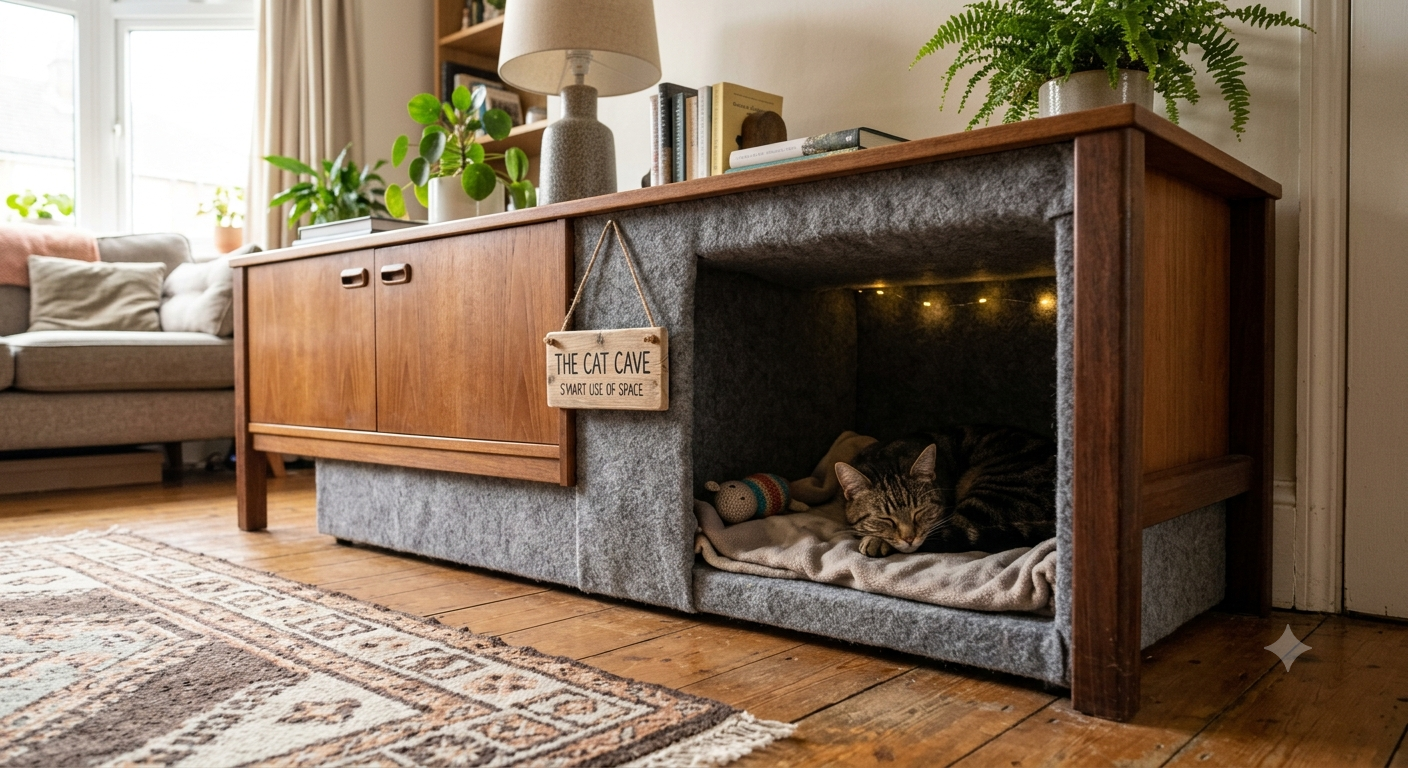
The underside of a sofa, a low platform bed, or a sideboard already constitutes a natural cat cave — enclosed on three sides, dim, appropriately sized, and positioned in the rooms where human activity makes observation interesting. Many cats choose these spaces independently.
The DIY cave enhancement converts this existing space into a genuinely comfortable, dedicated resting area:
Attach a fleece curtain across the open front of the under-furniture space, creating a three-quarter enclosure. Add a non-slip mat inside, covered with a removable Sherpa blanket. Secure the curtain so it hangs freely, and the cat can enter and exit by pushing through it.
The under-furniture cave costs almost nothing to create, uses space that is already occupied in the cat’s behavioral territory, and gives official purpose to a space the cat was already using unofficially.
Introducing the Cave
New enclosed spaces require introduction, even with cave-preferring cats. Place the completed cave in a location where the cat already spends time. Add catnip inside and a worn piece of your clothing. Leave it completely alone for 24 to 48 hours — do not demonstrate use, do not place the cat inside, do not draw attention to it.
Investigation will happen on the cat’s timeline. Once a cat has slept in an enclosed space, they return to it consistently — the scent marking they deposit in the first sleep session is what converts the cave from a new object to their sanctuary.
The cat that disappears sometimes is not being antisocial. They are meeting a need that the rest of their environment cannot fully satisfy — the need for complete enclosure, complete darkness, and the specific security of a space that fits exactly. Give them that space. Build it from wool or wood or cardboard, or your old t-shirt. Build it this weekend. And the next time they disappear, you will know exactly where they are.
Save this guide to Pinterest, share it with every cat owner who has found their cat sleeping in a drawer or under the sink, and recognize what that behavior is communicating. The cat is asking for a cave. Now you know how to build one.