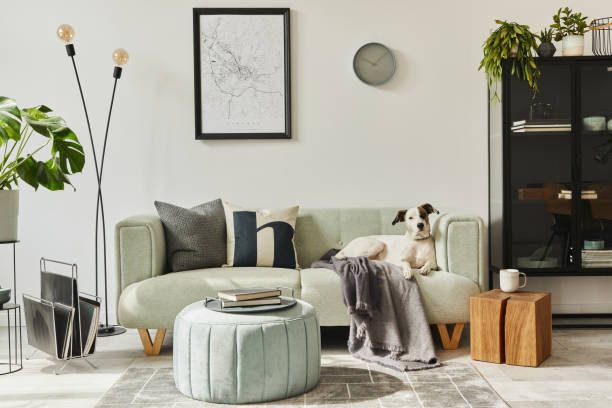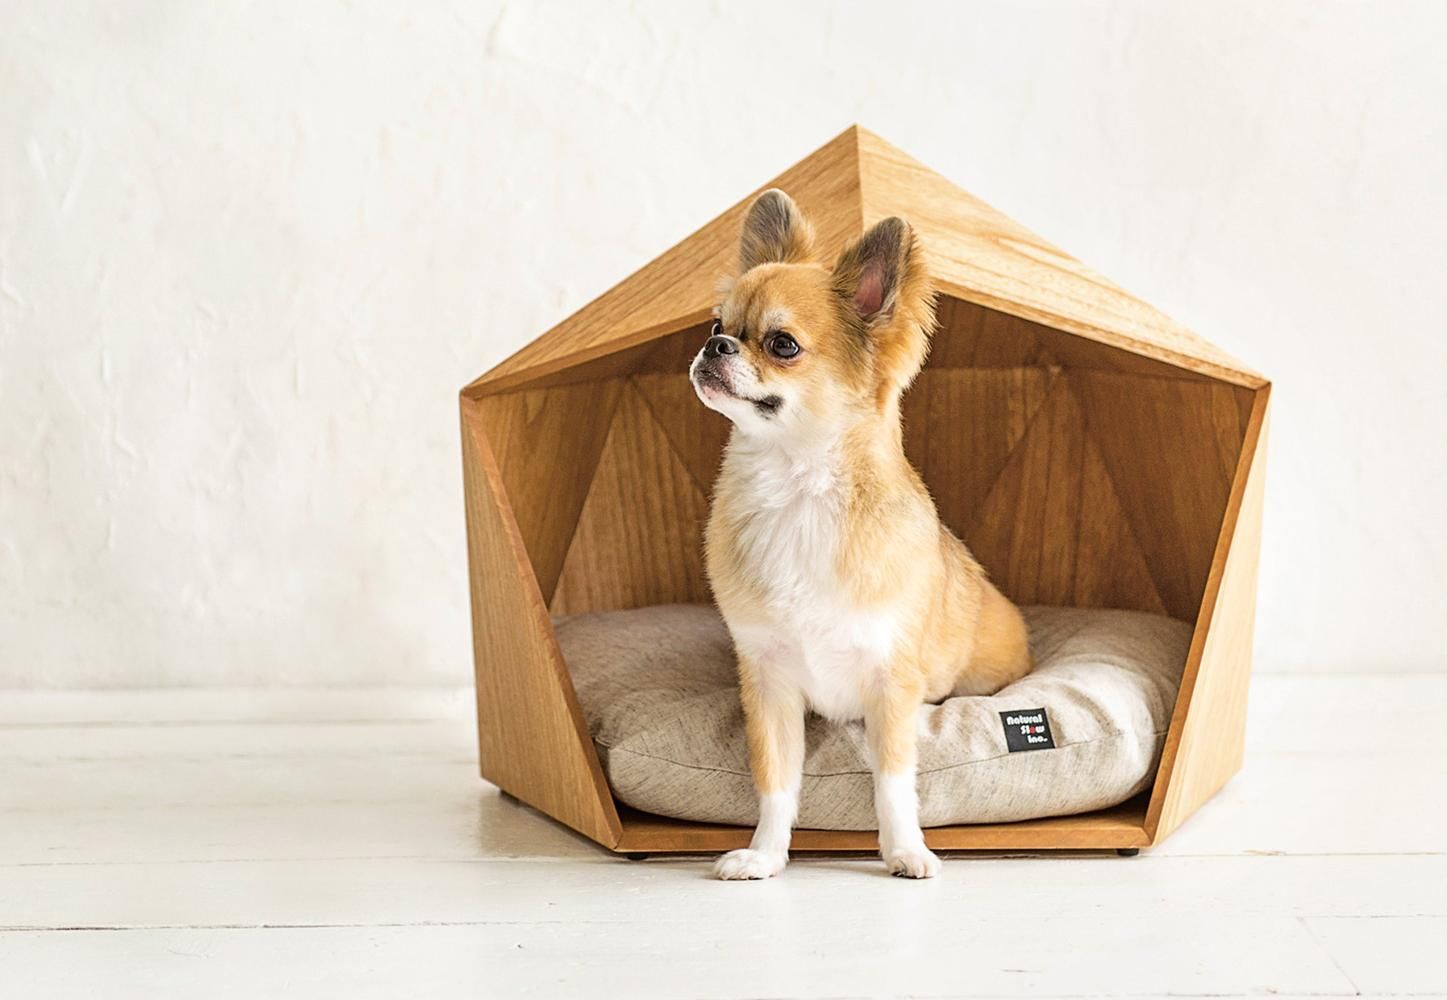
Stand in a pet store in front of the doghouse options, and the problem becomes immediately clear. The cheap plastic ones are too hot in summer and too cold in winter. The wooden ones that actually insulate are priced as though lumber has become a luxury material. And the aesthetic of virtually every commercially available dog house lands somewhere between “functional afterthought” and “something that reduces the value of whatever yard it is placed in.”
The DIY dog house solves every one of these problems simultaneously, for less money and with significantly better results. You choose the insulation. You choose the materials quality. You choose the aesthetic. And you build it to the specific dimensions of your specific dog, rather than the generic sizing that commercial dog houses use to serve the broadest possible market with the minimum possible material investment.
The building skill required ranges from genuinely beginner-accessible (the pallet house takes an afternoon and a drill) to skilled carpentry (the A-frame craftsman cottage requires proper joinery). Every design on this list is achievable. The question is only which one fits your dog, your yard, your aesthetic, and your current Saturday afternoon availability.
Before You Build: The Specifications That Determine Whether the House Gets Used
The most common reason a dog house goes unused is wrong size. The instinct is to build big — to give the dog “room.” This instinct is wrong.
A dog house works by trapping the dog’s body heat within the enclosed space. A house that is too large cannot trap sufficient heat and remains cold. The correct internal dimensions for a dog house are: the dog’s shoulder height plus 25% for the interior height, the dog’s length from nose to tail plus 25% for the interior length, and the dog’s shoulder width multiplied by 1.5 for the interior width.
The result should be a space the dog can stand up in, turn around in, and lie fully stretched — and nothing more. This constraint feels counterintuitive, but it is the critical design decision that determines whether the house is warm and used or spacious and avoided.
The entrance height: The entrance hole should be approximately 75% of the dog’s shoulder height. A dog who has to duck slightly to enter has created a more effective seal against cold air infiltration than one who walks straight through without contact with the frame.
The floor elevation: The house should be elevated two to four inches off the ground. This prevents moisture wicking from the ground into the floor material, prevents insects from easily entering, and provides additional air space beneath the floor that contributes to thermal insulation.
Build 1: The Classic A-Frame — The Timeless Weekend Project
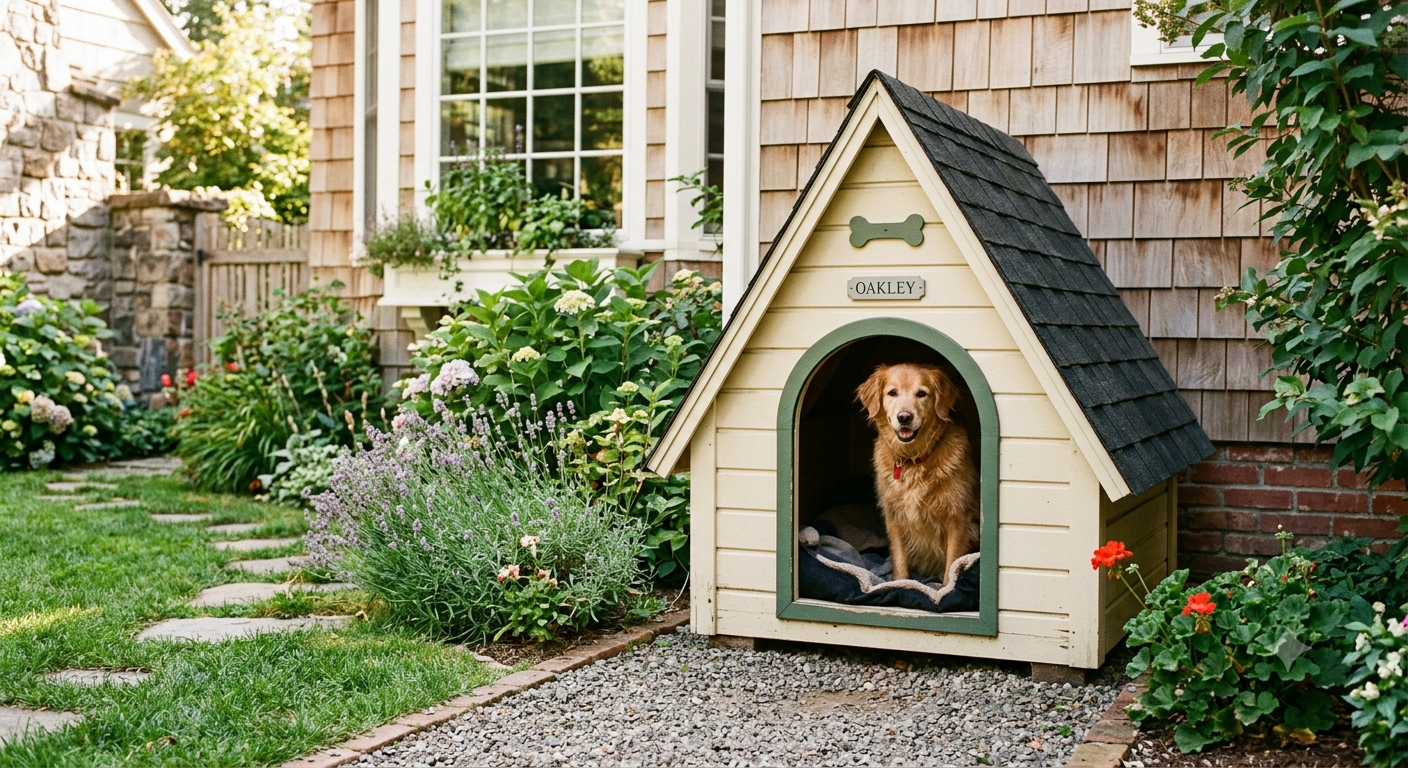
The A-frame dog house is the design that most people picture when they imagine a dog house. Its enduring popularity reflects genuine structural and functional qualities: the steep roof sheds rain and snow efficiently, the structural simplicity makes it accessible to beginning builders, and the silhouette reads as “dog house” in a way that communicates immediately to the dog and to every person who sees it.
Materials for a medium dog (25–50 lbs):
- 1 sheet 3/4-inch exterior-grade plywood (floor, side walls, back wall)
- 2 sheets 1/2-inch exterior-grade plywood (roof panels)
- 2×4 lumber (four 8-foot lengths for framing)
- 2×6 lumber (two 8-foot lengths for the ridge beam and base supports)
- Roofing felt and asphalt shingles or corrugated metal roofing
- Exterior wood screws and wood glue
- Exterior paint or wood stain
- Hinged back panel for easy cleaning access
The build sequence:
Build the base frame first from 2×4 lumber, creating the elevated floor structure. Attach the plywood floor panel. Build the side wall frames — two identical triangular structures that form the A-frame silhouette. Connect the side walls with the ridge beam at the peak and the base plates. Attach the plywood walls and back panel. Cut the entrance hole in the front panel. Attach roof panels and apply roofing material. Hinge the back panel to allow interior access for cleaning. Paint or stain all exterior surfaces with two coats of exterior-grade finish.
Time: 6–8 hours for a confident beginner. Cost: $80–$140.
10 Dog Corner Ideas That Are Cozy, Stylish, and Proof That Dogs and Design Can Coexist →
Build 2: The Insulated Winter House — For Dogs Who Live Outdoors
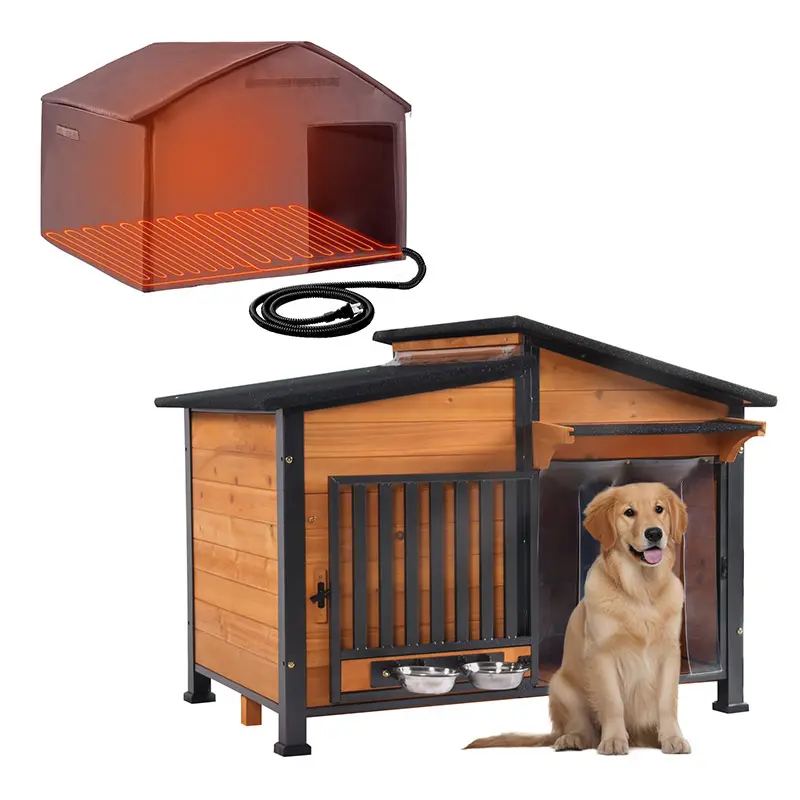
Dogs who spend time outdoors in cold climates need more than shelter from rain — they need genuine thermal insulation that makes the house maintain usable warmth even when temperatures drop significantly below freezing.
The insulation system:
Standard exterior plywood exterior. 1.5-inch rigid foam insulation cut to fit between the interior and exterior wall panels. Interior plywood lining covering the foam. A raised floor with rigid foam insulation beneath the floor panel. A door flap (heavy-duty rubber or vinyl strip curtain) across the entrance that the dog can push through while retaining most of the interior warmth.
The thermal reality: A well-insulated dog house with a door flap, sized correctly to the dog, is ten to fifteen degrees warmer than outside ambient temperature based on the dog’s own body heat alone. In mild winter conditions, this is adequate. In severe cold conditions, a thermostatically controlled heating pad designed for pet use adds safe, low-level supplemental warmth without the fire risk of traditional heating elements.
What not to use: Heat lamps are not appropriate for enclosed dog houses — the fire risk in a space containing dog bedding is significant. Never use human electric blankets — they are not designed for the moisture conditions of a dog house.
Build 3: The Pallet Dog House — Free Weekend Project
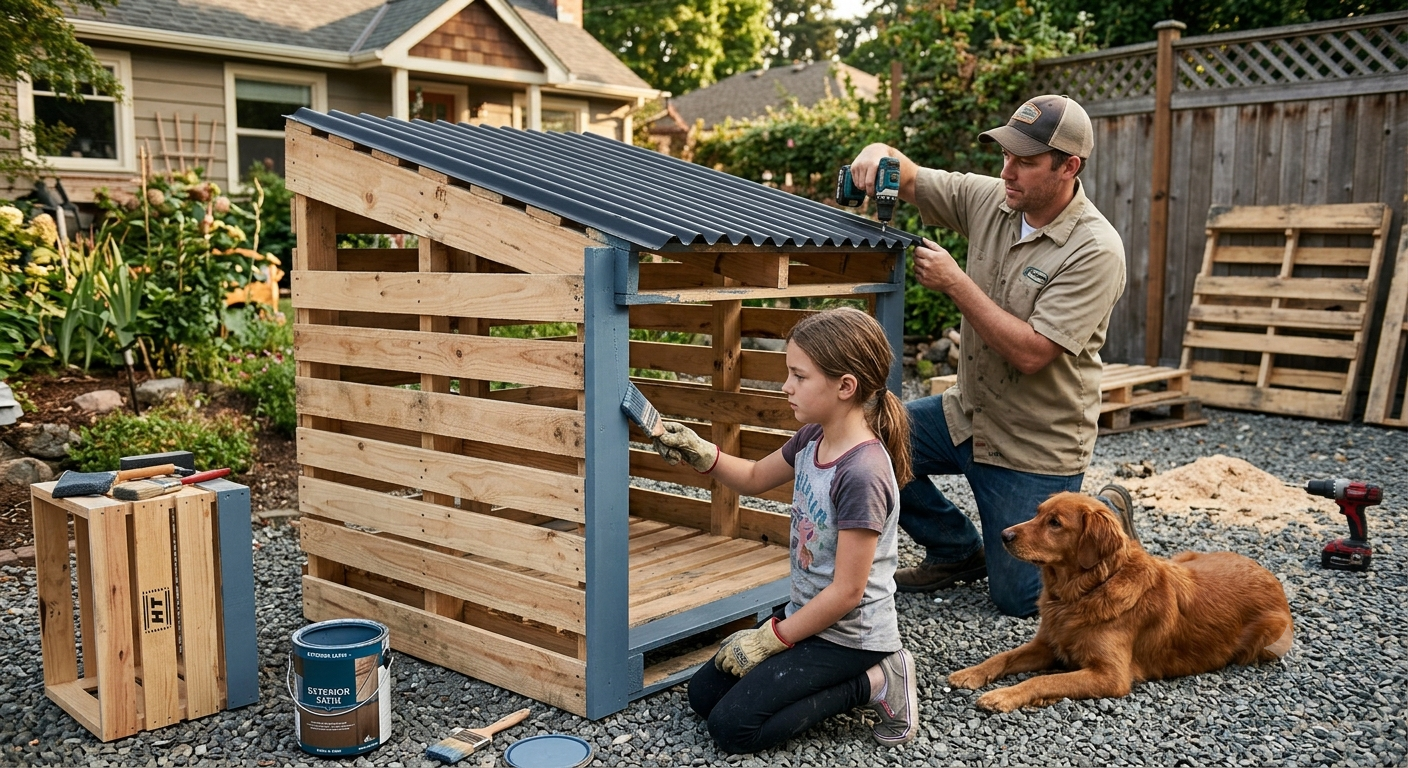
Three standard wooden pallets. A drill, screws, and one afternoon. The pallet dog house is the most accessible DIY dog house build available — it requires neither significant skill nor significant materials investment — and the resulting structure, when properly constructed and finished, is both functional and genuinely charming.
The build: Two pallets become the side walls (stood vertically). A third pallet, positioned at an angle between the tops of the two vertical pallets, becomes the roof. Connect with exterior screws at every junction point. Line the interior with a fourth pallet or a sheet of plywood to create the floor. Tarp or corrugated roofing material over the pallet roof provides weatherproofing.
Critical pallet selection: Use heat-treated pallets only (marked HT on the side). Never use chemically treated pallets (marked MB — methyl bromide) for any pet enclosure.
The finishing work that matters: Sand every exposed edge completely. Apply two coats of exterior paint to protect the wood and produce an intentional aesthetic. Add a piece of rigid insulation to the roof interior if the climate requires it.
Time: 3–4 hours. Cost: $0–$30 for materials if pallets are sourced free.
Build 4: The Craftsman Cottage Dog House — The Pinterest Dream
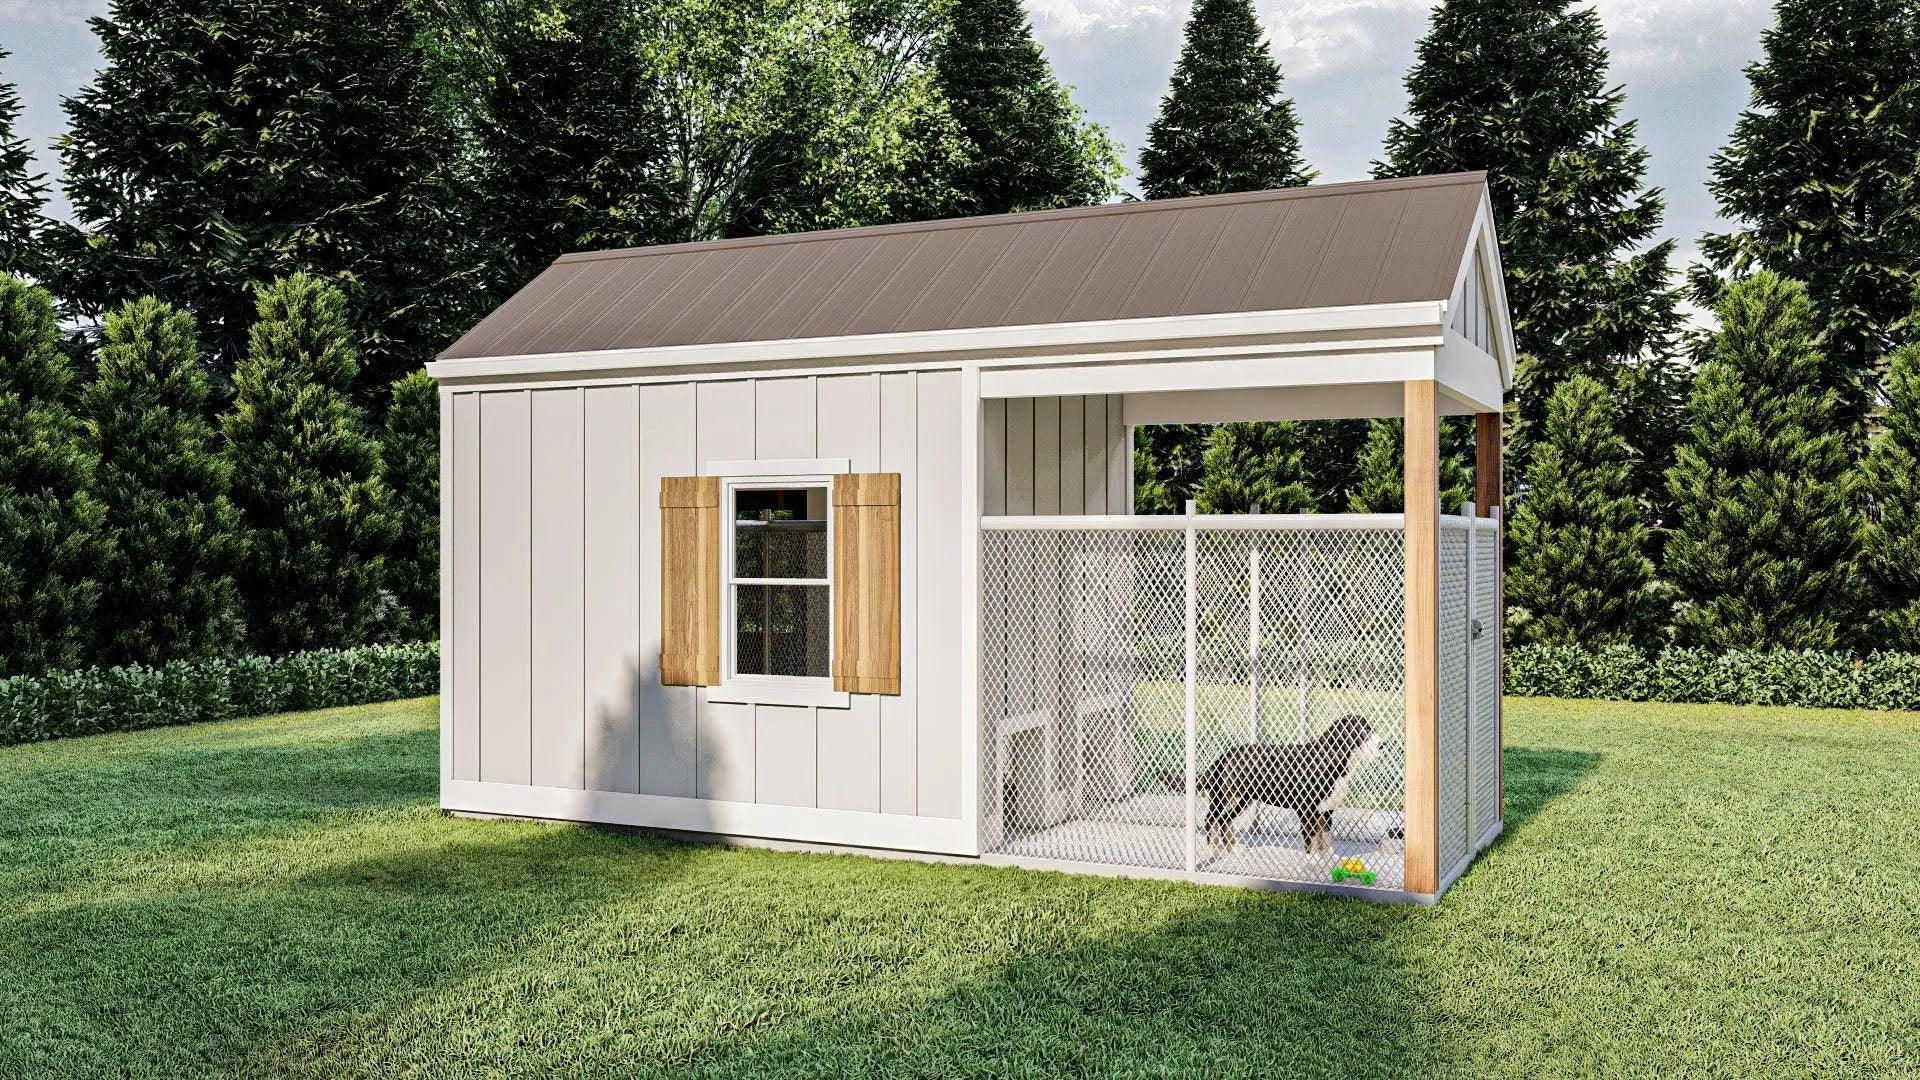
The dog house that stops people mid-scroll. The one that makes viewers stop, save, and think “if I had that in my yard, my yard would look better.” The craftsman cottage dog house has a covered porch, a peaked roof with overhang, architectural shingle details, window cutouts (with or without actual windows), a window box, and paint that matches the main house.
The architectural elements that make it:
A covered front porch area — a roof extension beyond the front wall, supported by two small decorative posts, that creates covered outdoor space for the dog before entering. Window cutouts with functional or decorative window trim on the side walls. A window box beneath the window cutout — planted with real flowers or artificial plants. A peaked roof with architectural shingles in a color that coordinates with the home. A name plate above the entrance door. Paint in the same color family as the main house exterior.
The functional interior: Despite the elaborate exterior, the interior is standard — insulated panels, appropriate sizing, elevated floor. The craftsman aesthetic exists entirely on the exterior. The dog does not know or care about the porch posts and window box. But the human who built it, and everyone who sees it, knows.
Time: 16–24 hours over two to three weekends. Cost: $200–$400.
Build 5: The Modern Flat-Roof Dog House — For Contemporary Homes
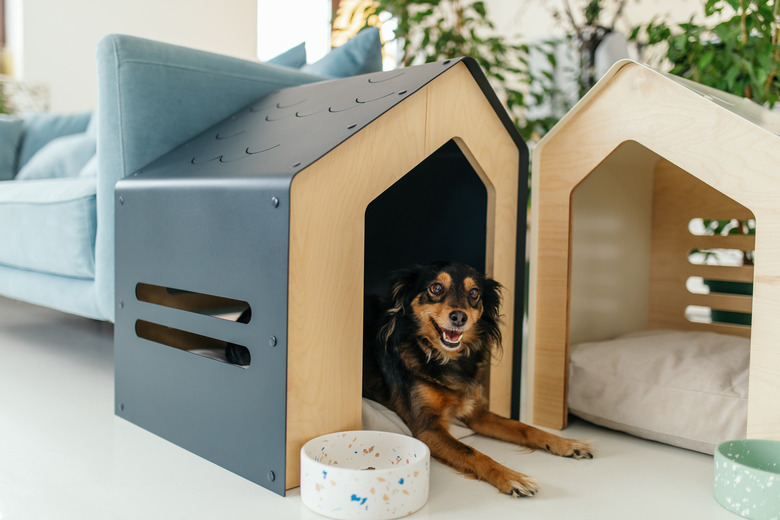
A dog house with clean lines, a flat or very low-pitch roof, natural wood siding, and no decorative elements. It matches a contemporary home exterior perfectly and looks like a deliberate architectural decision rather than a pet accessory that was purchased and placed.
The materials palette:
Cedar or Douglas fir siding — the natural variation in wood grain provides the visual interest that the flat-roof design does not achieve through ornamentation. A flat EPDM rubber roof — waterproof, UV-resistant, virtually maintenance-free. Black powder-coated hardware for the entrance surround and any door elements. Natural or matte finish sealer on the wood exterior rather than paint.
The design principle: The modern flat-roof dog house should look like it could appear in an architectural magazine. The dimensions are clean. The materials are high quality. The entrance is framed rather than simply cut. Everything is precise.
Time: 10–12 hours. Cost: $150–$300.
Build 6: The Dog House With a Green Roof — The Living Architecture Build
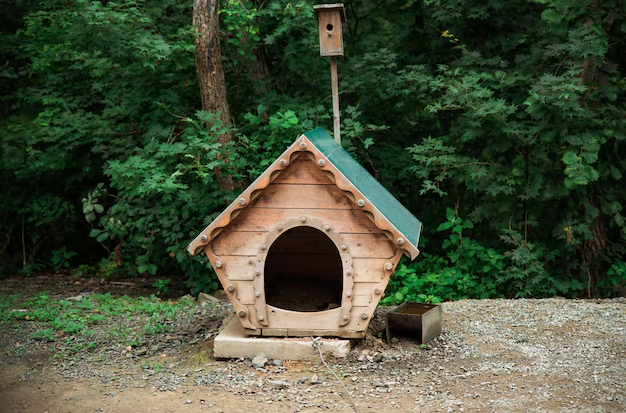
A dog house topped with a soil and plant layer — typically sedum, moss, or low-growing perennials — that provides insulation, visual interest, and the specific quality of looking like the dog house grew there rather than being placed there.
The structural requirement: A green roof is significantly heavier than a standard roof — the soil and plant layer adds 15 to 25 pounds per square foot of roof area. The structural frame must accommodate this load with heavier lumber dimensions and more frequent fastening than a standard house.
The waterproofing layer: Between the structural roof deck and the growing medium, a pond liner or purpose-built green roof membrane prevents moisture infiltration. This layer must be continuous without gaps — any puncture allows moisture access to the structure.
The planting: Sedum varieties are the standard green roof plant — drought-tolerant, low-growing, and available in colors ranging from green through red and purple depending on the variety. Establish the planting in spring and water until the plants are established; a well-selected sedum green roof is self-sustaining thereafter.
The result: A dog house that appears to be part of the landscape. In a garden setting with other plantings, the green roof dog house disappears into the environment in the most beautiful way possible.
Build 7: The Two-Story Dog House — For Small Dog Breeds
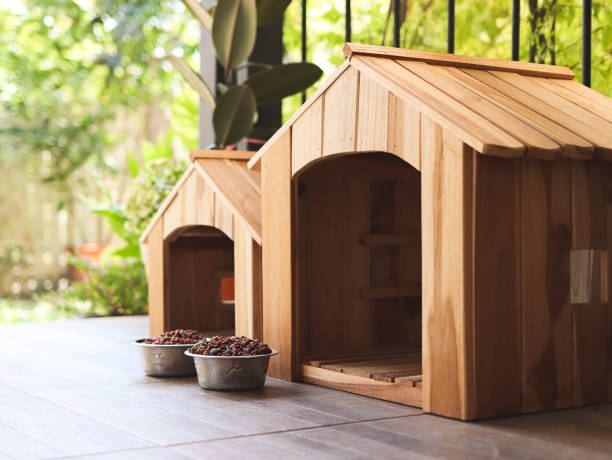
A two-story dog house for small to medium breeds — sleeping loft above, living area below, connected by a small ramp — provides the maximum interior complexity in a relatively small footprint. Small dogs are natural explorers of vertical space, and a two-story house gives them a navigational challenge and a choice between resting levels that single-story designs cannot provide.
The design: The lower level serves as the entrance and living area — the dog enters at ground level into a space with standard access and comfort. A ramp (angled at no more than 30 degrees, with grip strips every three inches) connects to the upper level sleeping loft, which is smaller in footprint and enclosed enough to provide maximum warmth retention.
Best for: Small to medium breeds — up to approximately 25 pounds. The ramp access and smaller upper level are not appropriate for large breeds with orthopedic concerns.
Build 8: The Barn-Style Dog House — Farm Aesthetic at Home
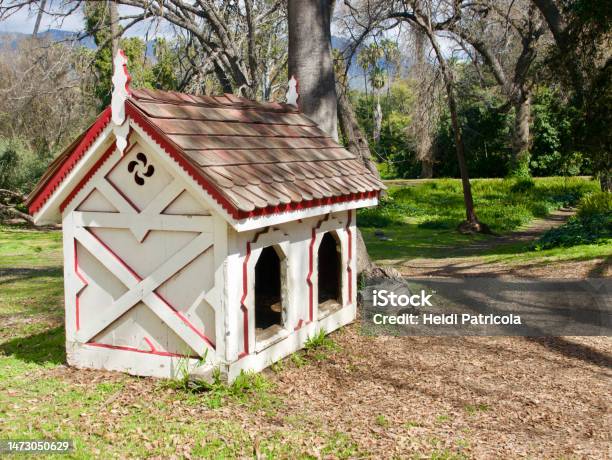
A dog house styled as a miniature barn — gambrel roof, vertical board siding, red paint with white trim, and a Dutch door — that integrates into a rural or farm-adjacent property aesthetic with the specific charm of a building that belongs to a particular agricultural tradition.
The gambrel roof: The defining feature of the barn aesthetic. A gambrel roof has two slopes on each side — a steeper lower slope and a shallower upper slope — that create more headroom in the upper portion of the building than a standard gable roof. In a dog house, this translates to useful interior volume without an excessively tall exterior profile.
The Dutch door option: A Dutch door — split horizontally so the upper and lower halves open independently — at the dog entrance gives the owner control over ventilation and access without the standard single-flap solution. The upper half can be opened for ventilation while the lower half remains closed.
Build 9: The Indoor-Outdoor Dog House — No Compromise Design
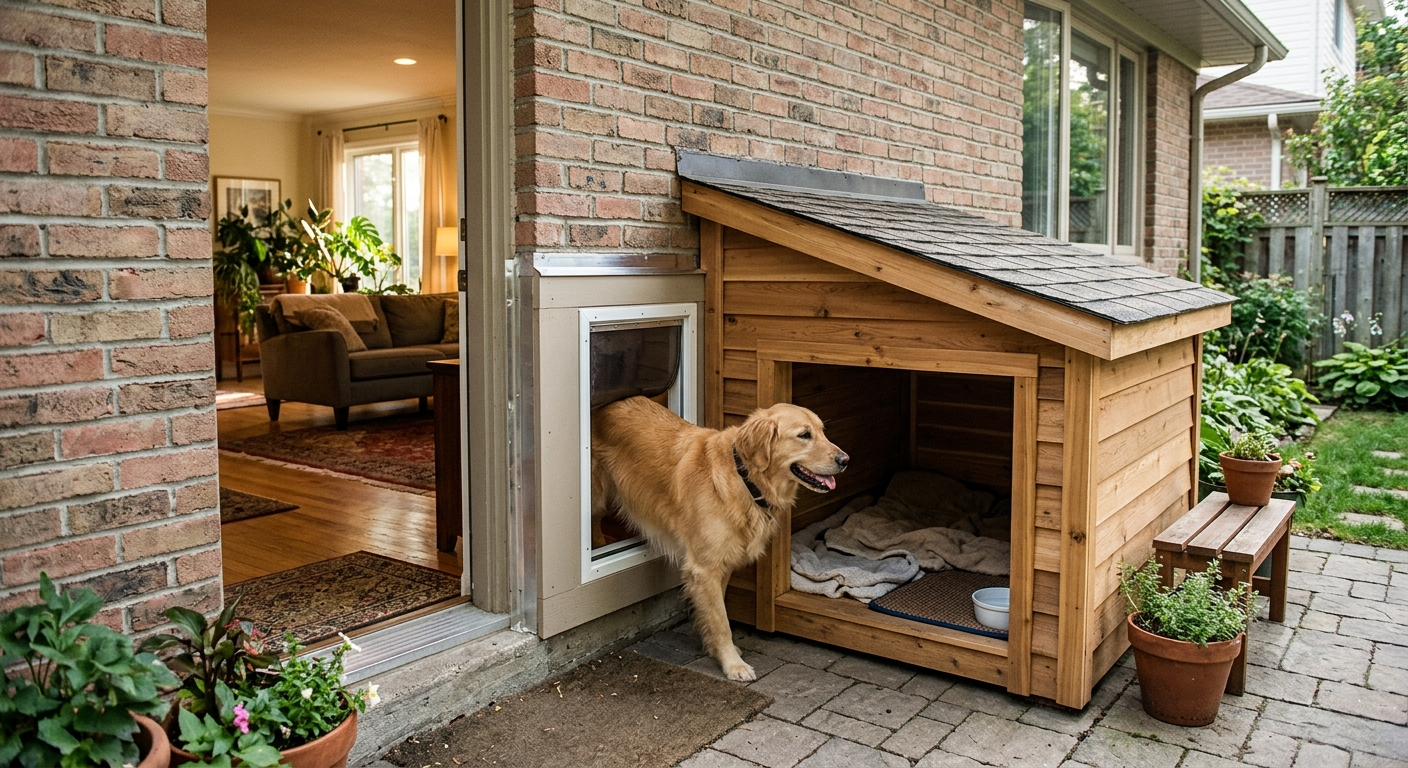
A dog house positioned against the exterior wall of the home, connected to the interior through a dog door in the wall — giving the dog free access between a warm, insulated outdoor house and the interior of the home. The outdoor house is the dog’s transitional space: where they go when they want to be outside without being fully exposed to weather.
The wall connection: A dog door installed in the exterior wall of the home (not a door — a wall installation requires cutting through the wall and installing appropriate insulation around the tunnel section). The dog house is positioned flush against the exterior wall, with its entrance aligned with the dog door.
The benefit: The dog has genuine agency over their environment — inside when they want inside, outside (in their sheltered house) when they want the sensory richness of the outdoor environment without full weather exposure. This design significantly reduces the anxiety that dogs develop when they cannot control their own environmental access.
Build 10: The Heritage Breed Dog House — Sized for Giants
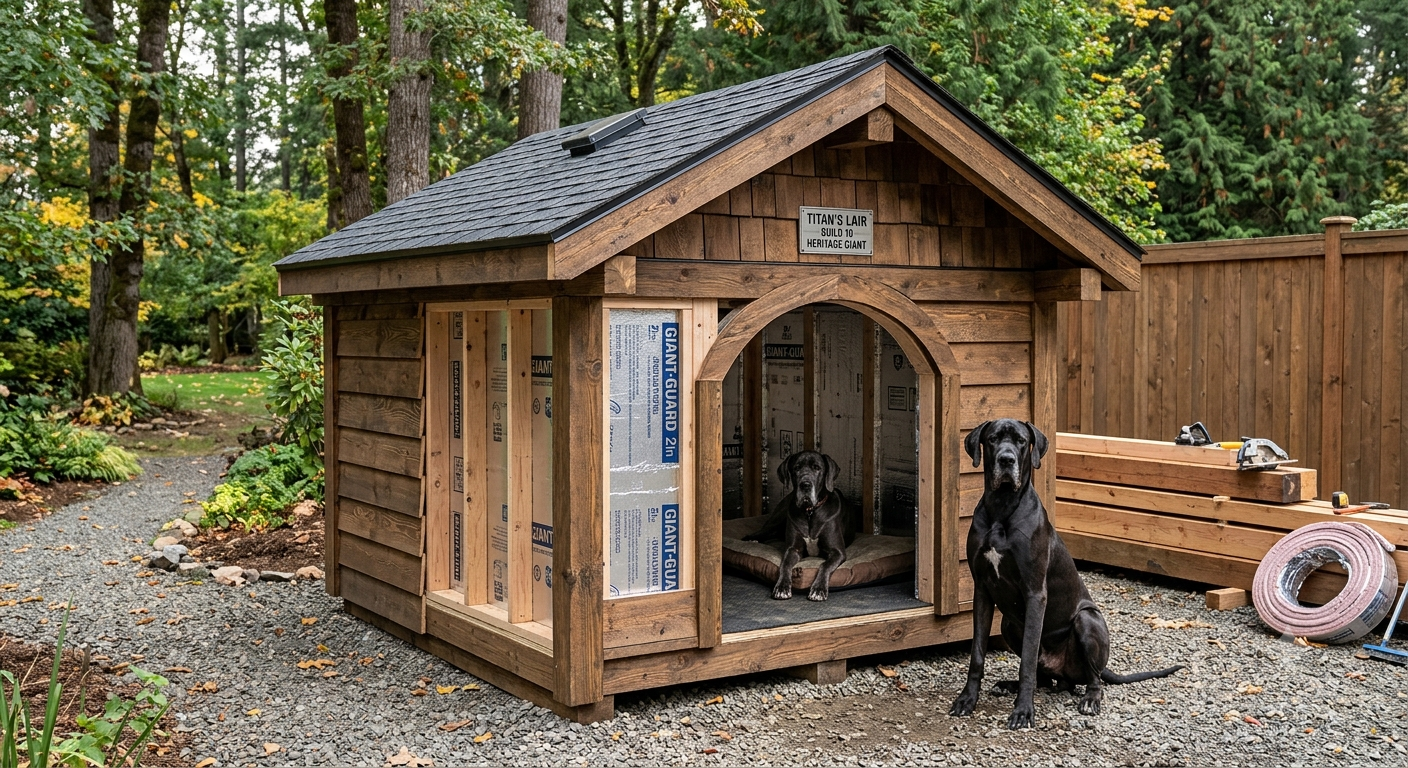
Specific design considerations for large and giant breed dogs (over 80 pounds): the sizing calculations produce genuinely large houses — interior floor dimensions of 36 by 48 inches or more — and the structural requirements scale accordingly.
The structural upscaling: A house for a 120-pound Great Dane requires the same structural approach as the standard builds but with heavier lumber throughout (4×4 framing rather than 2×4 for the primary structure), additional floor support to manage the concentrated weight of the dog moving through the space, and a wider entrance that still provides effective thermal sealing.
The insulation priority: Large dogs generate significant body heat in a correctly-sized house — but a correctly-sized house for a large dog has a larger air volume to heat, requiring better insulation to achieve the same thermal effect as a smaller dog in a smaller house. Use 2-inch rigid foam throughout for large breed builds.
Finishing and Weatherproofing That Makes Any Build Last
The difference between a dog house that lasts two summers and one that lasts fifteen years is the finishing work:
Exterior paint or stain: Two coats of exterior-grade paint applied after sanding. The finish protects the wood from UV degradation and moisture infiltration. Repaint every three to four years.
Roof weatherproofing: Roofing felt beneath any surface material (shingles, metal, or rubber membrane). No exposed wood on any horizontal surface that faces upward.
Floor sealing: Seal the floor surface with an exterior-grade floor sealer before adding bedding. This prevents moisture infiltration from bedding changes, dog waste, and cleaning.
Raised base: Ensure the dog house is elevated a minimum of two inches off the ground on all sides. This gap prevents moisture wicking and provides pest control benefits.
The DIY dog house you build this weekend — whatever scale, whatever design, whatever budget — will be there the next morning when your dog presses their nose against the entrance and makes the specific assessment that determines whether they will use it or not.
The calculation they make is simple: does this fit me, does it feel safe, and is it warm? Build it to the right size, insulate it correctly, and position it in a location that is sheltered from prevailing wind and receives morning sun — and the answer will be yes.
Save this to Pinterest, share it with every dog owner who has a yard and a dog who deserves a proper shelter, and start with the dimensions. Get those right first. Everything else follows.